
Import Applications
Bulk Import adds applications from a spreadsheet, with their applicants, pets, vehicles, references, incomes, residences and employment. It’s only on a computer. It only adds applications, and it doesn’t email anyone.
Fill in the template
Section titled “Fill in the template”-
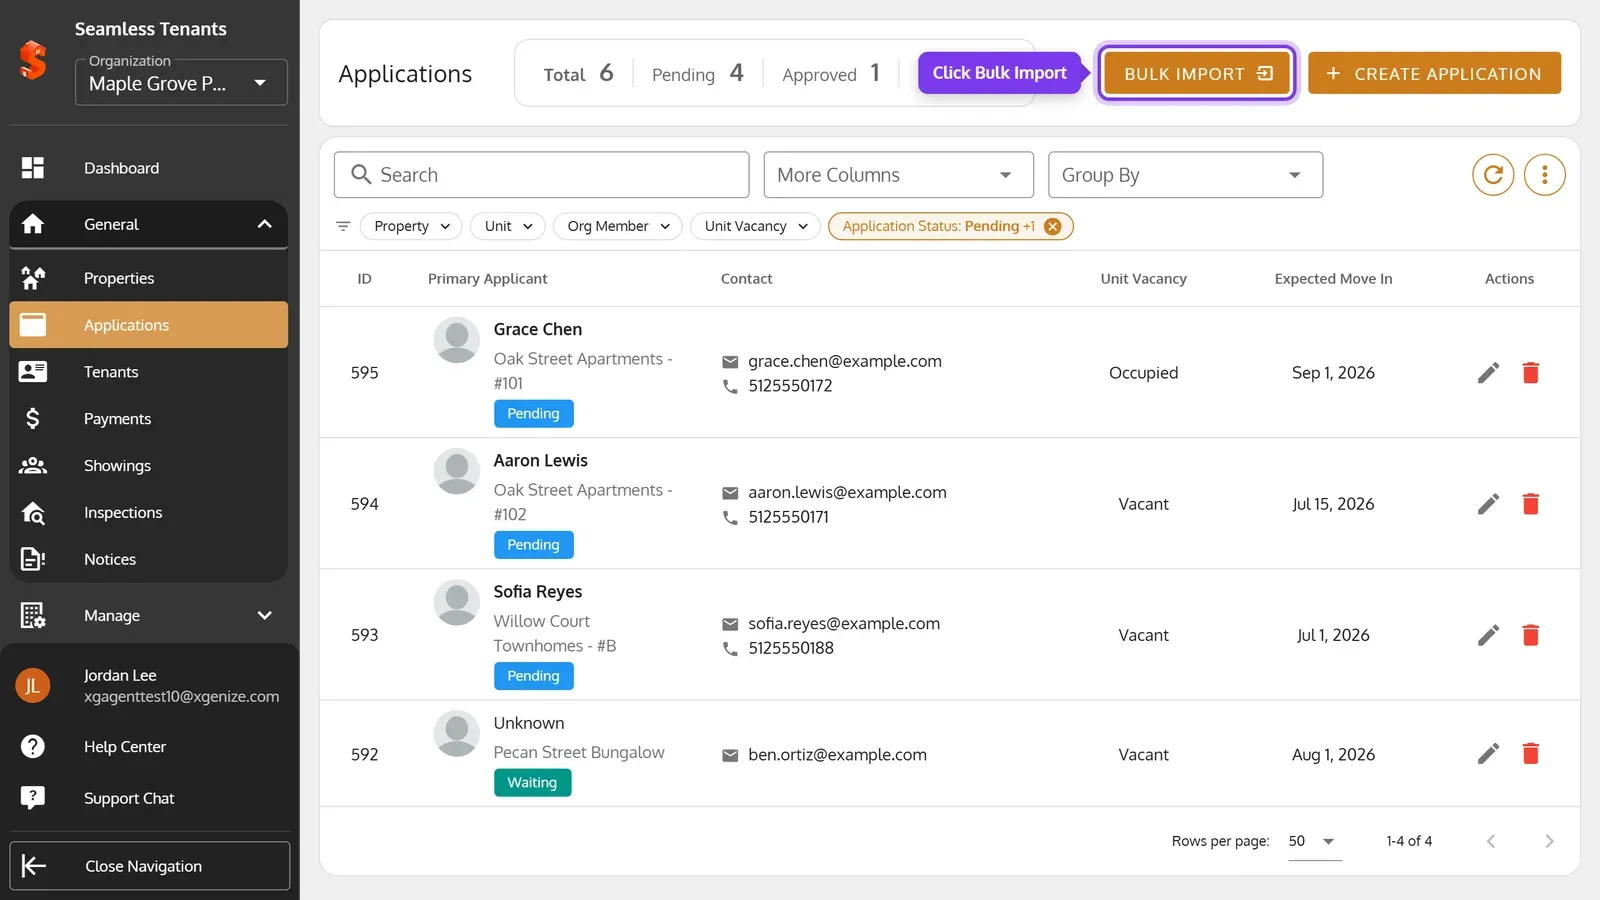
On the Applications page, click Bulk Import.
-
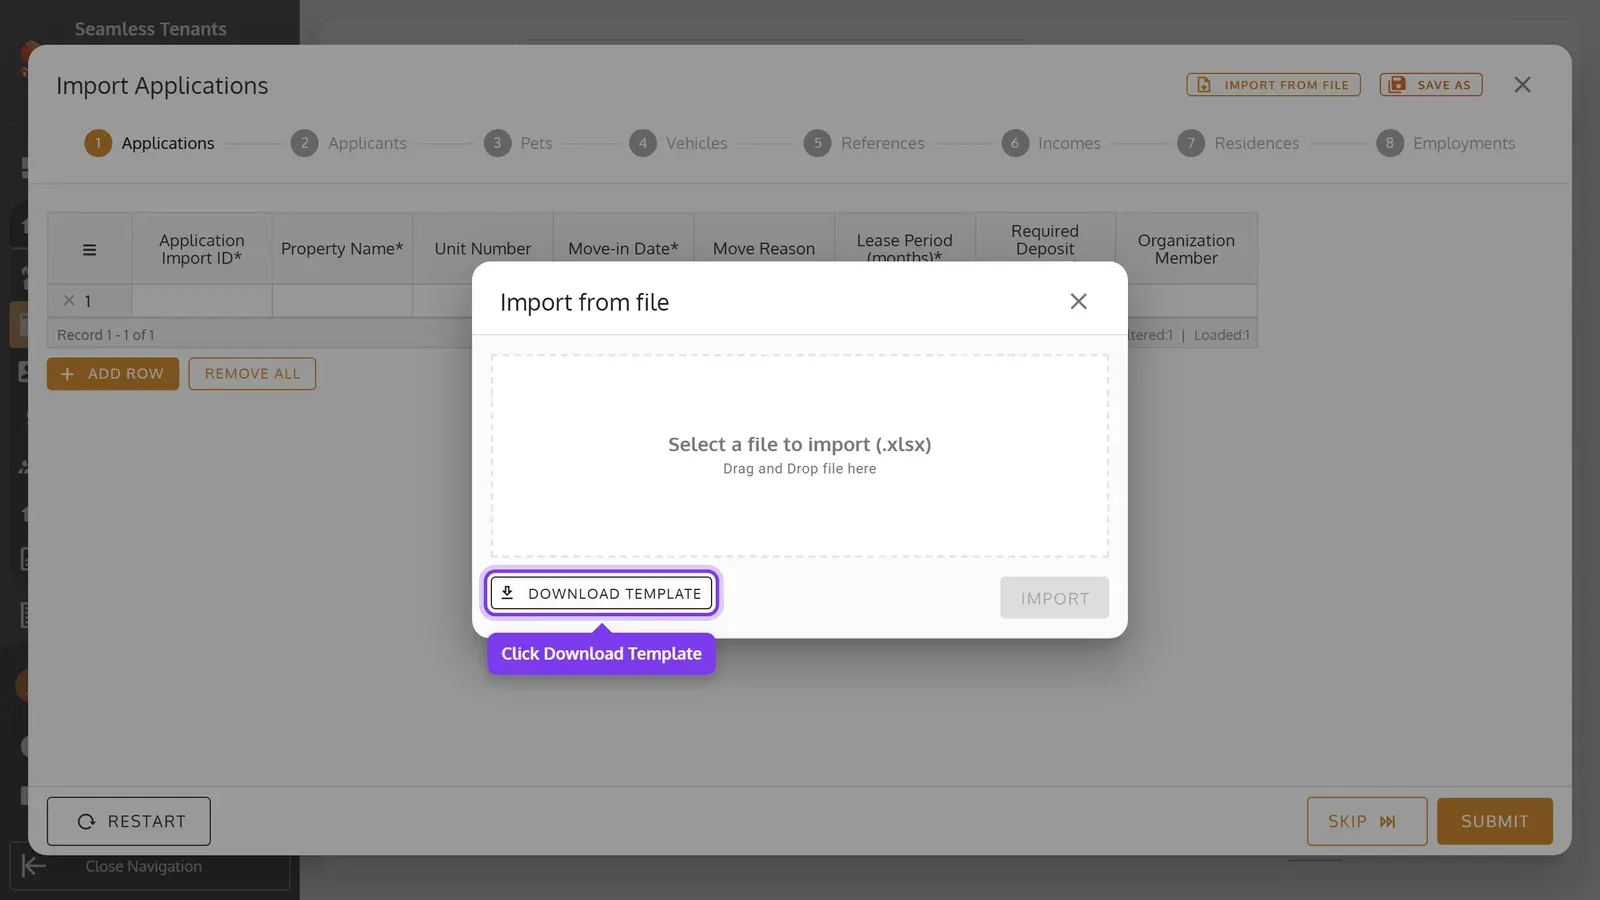
Click Import from file, then Download Template.
-
Open the template in Excel or another spreadsheet app, and add a row for each application on its Applications sheet. Fill in the other sheets for what you also want to add. Columns marked * need a value.
Give each application an Application Import ID of your own, such as A-001. On the Applications sheet, each row is an application:
| Column | What to enter |
|---|---|
| Application Import ID* | Your ID for the application, different on every row and from applications you’ve imported before. |
| Property Name*, Unit Number | The property as it’s named in Seamless Tenants, and the unit for a Multi Unit property. |
| Move-in Date* | The expected move-in date. |
| Move Reason | Optional. |
| Lease Period (months)* | The lease’s length in months. |
| Required Deposit Amount* | In dollars, without commas. |
| Organization Member | Optional. Who in your organization is handling it, by name. |
Dates are YYYY-MM-DD, such as 2027-02-01.
On the other sheets:
- Applicants: the Application Import ID, an Applicant ID of your own, and their details. The first applicant imported for an application becomes its primary applicant. Every other applicant needs a Relationship to Primary: Spouse, Co Head, Dependent, Other, Foster Child, Live In Attendant or None Of The Above. Gender is
Male,FemaleorOther, the SSN has 9 digits and the Phone Number at least 10. ID Type isState IDorDriver License, and ID State the state’s full name, such asTexas. - Pets, Vehicles, References, Incomes, Residences and Employments: one row each, with the Application Import ID and Applicant ID of whose it is.
Import the file
Section titled “Import the file”-
Click Select a file to import (.xlsx) and choose your file, or drag it onto it. Then click Import.
-
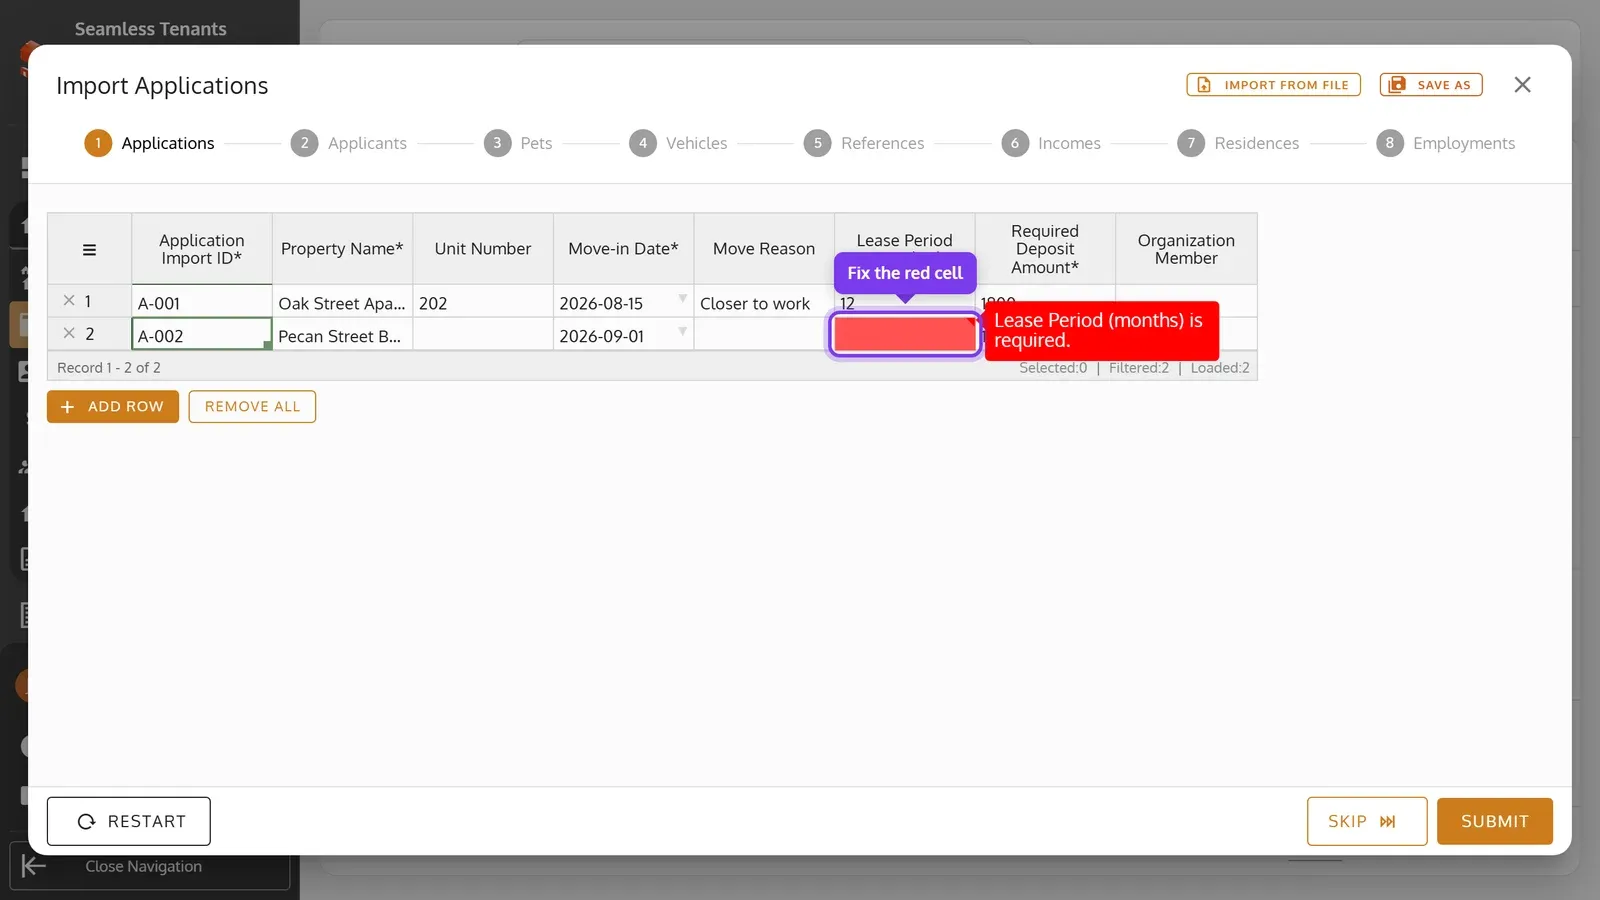
The applications show in a table, where you can still change them. A red cell needs fixing: point to it to see why, then click it and type the value. To leave a row out, click its ×.
-
Click Submit, then Import, then OK. If some rows still have errors, you’re asked whether to import the others without them. Rows that can’t be imported, such as with a property name that doesn’t exist, stay in the table with a warning icon by the row number: point to it to see why.
-
Once every row is in, click Continue to go on to the next sheet’s rows, such as Applicants, and import them the same way. While rows are left, or to pass over a sheet, the button says Skip.
Import Applications before Applicants, and Applicants before their pets and the rest, as each sheet’s rows refer to the ones before.
After the import
Section titled “After the import”Imported applications are Pending. An application imported without applicants has no primary applicant yet: open it and add one, or email the form. It’s Waiting For Applicant once the form goes out.