Schedule a Property Showings, Add Host & Visitors
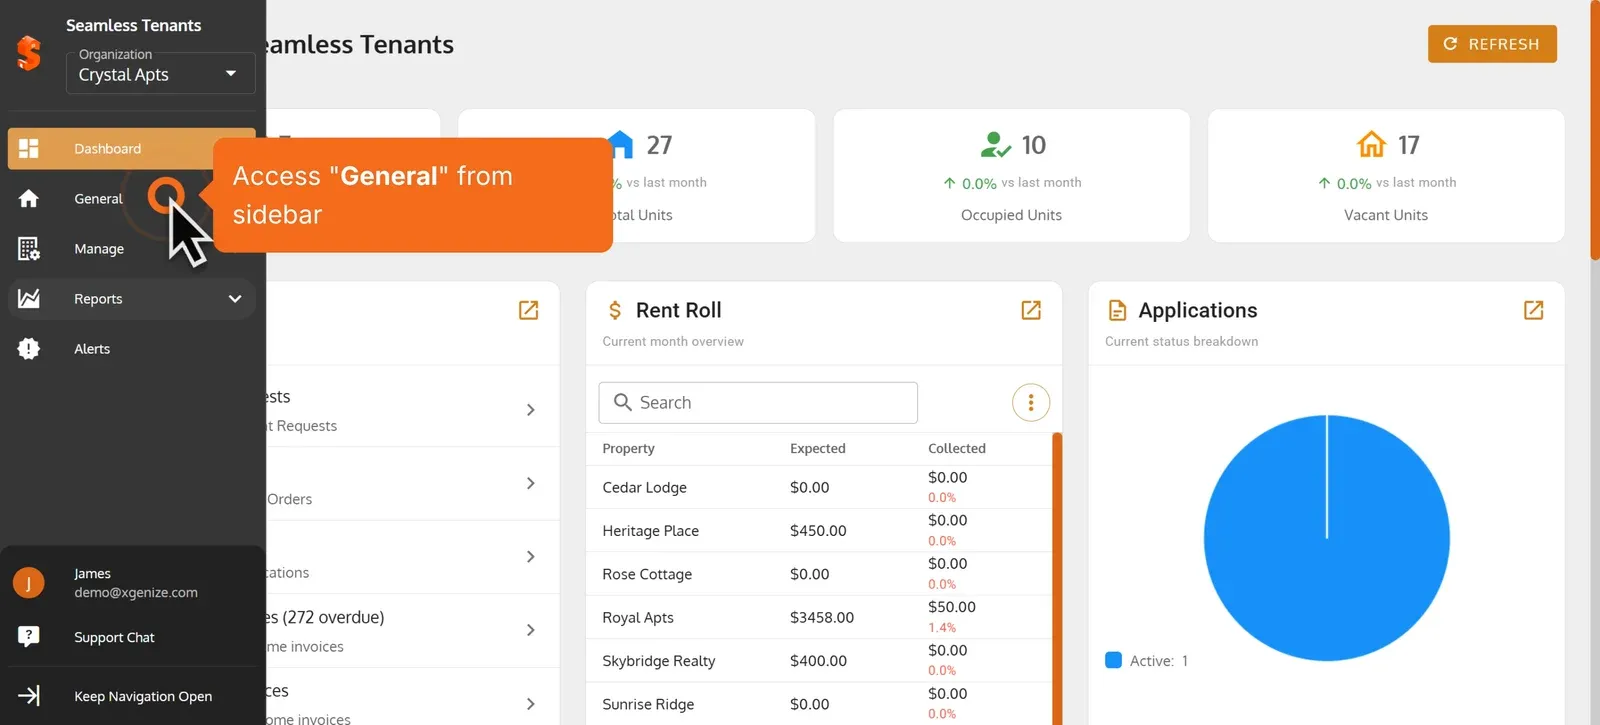
1. Access “General” from sidebar
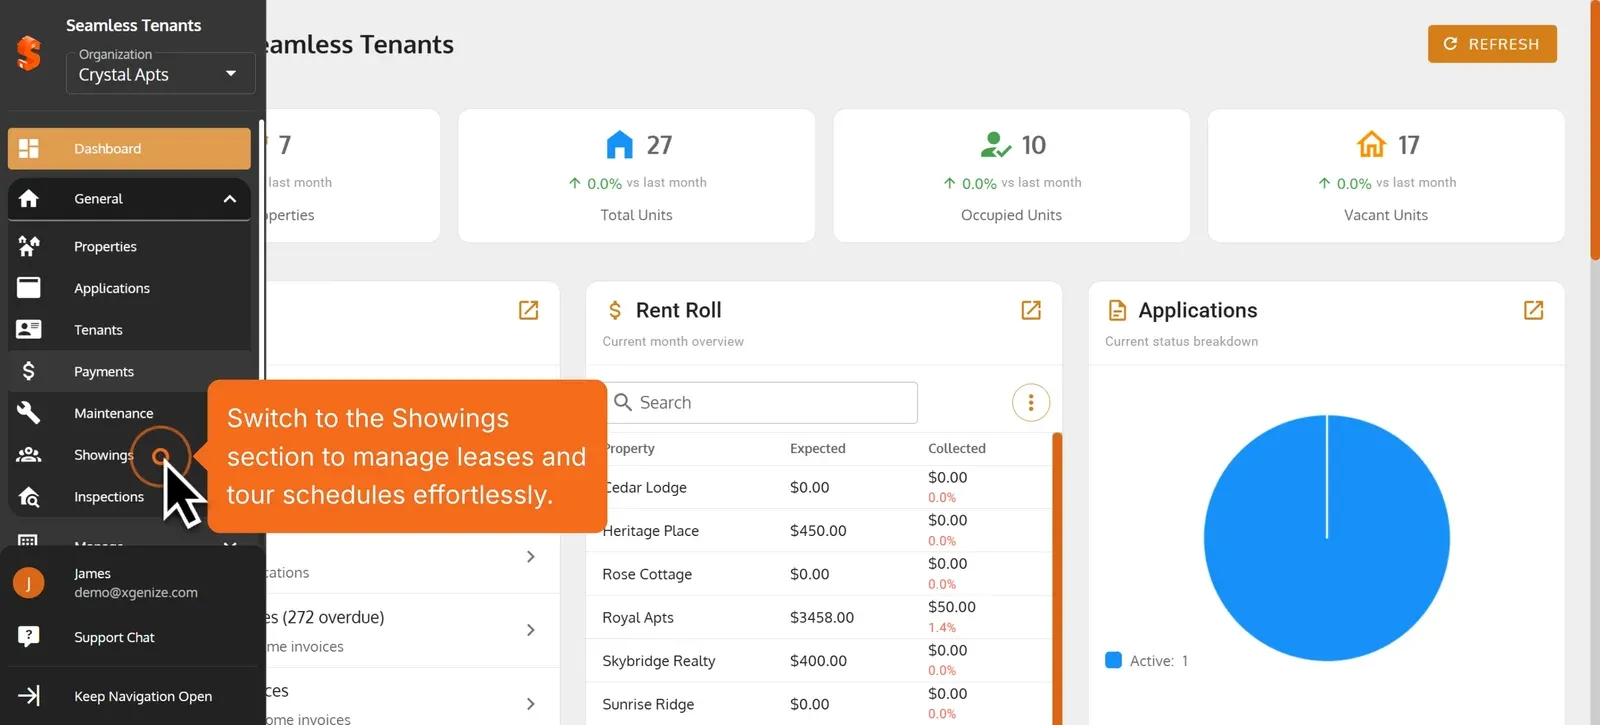
2. Switch to the Showings section to manage leases and tour schedules effortlessly.
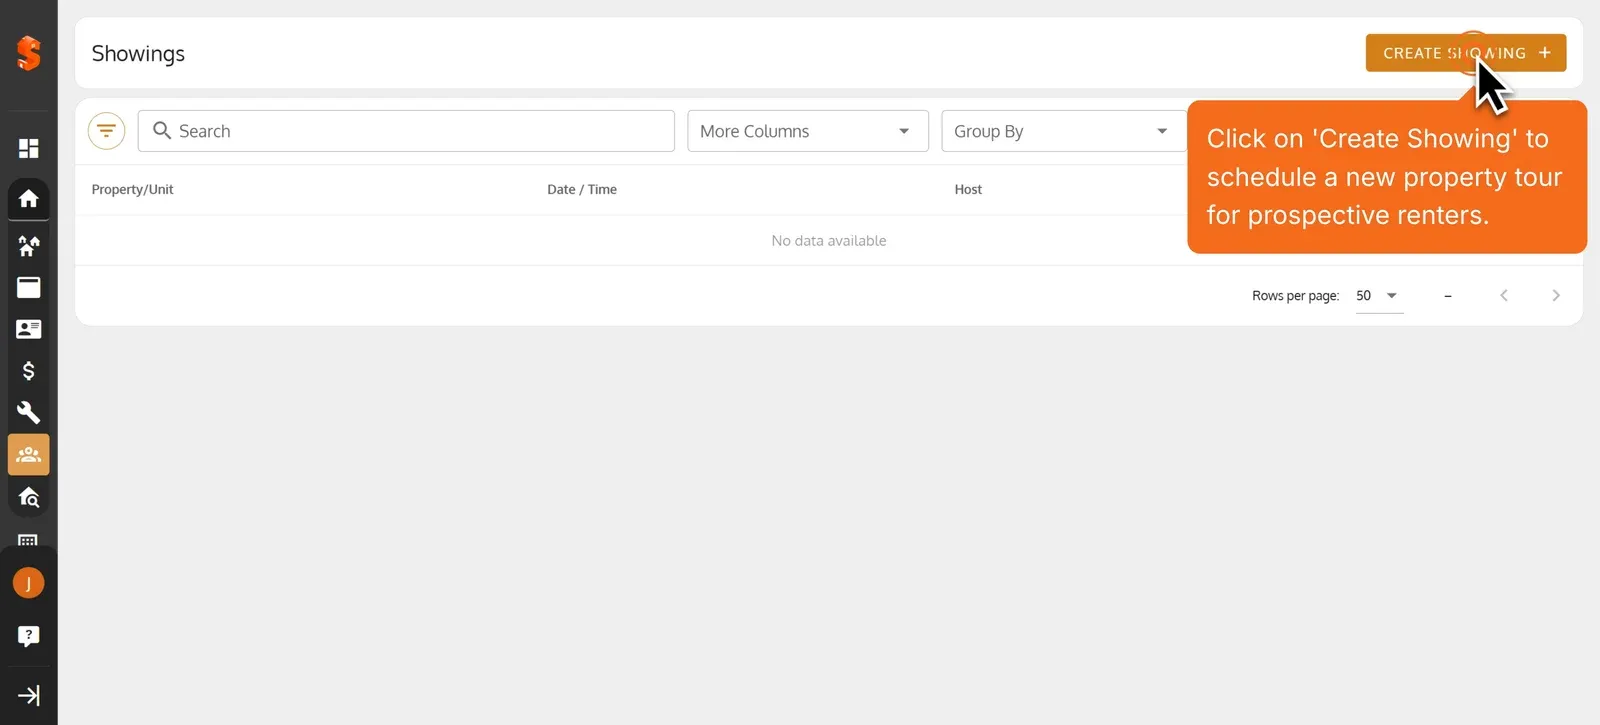
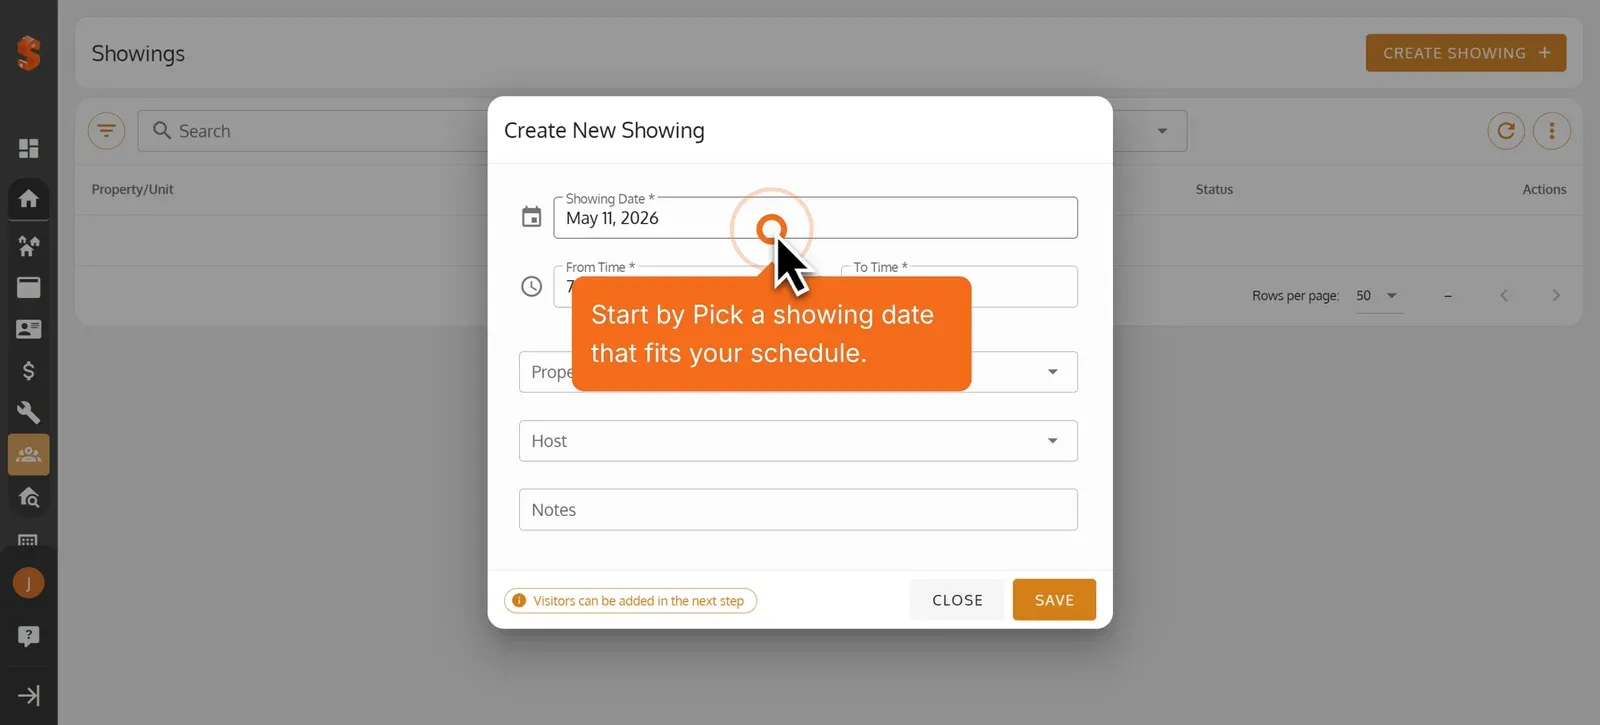
3. Click on ‘Create Showing’ to schedule a new property tour for prospective renters.
4. Start by Pick a showing date that fits your schedule.
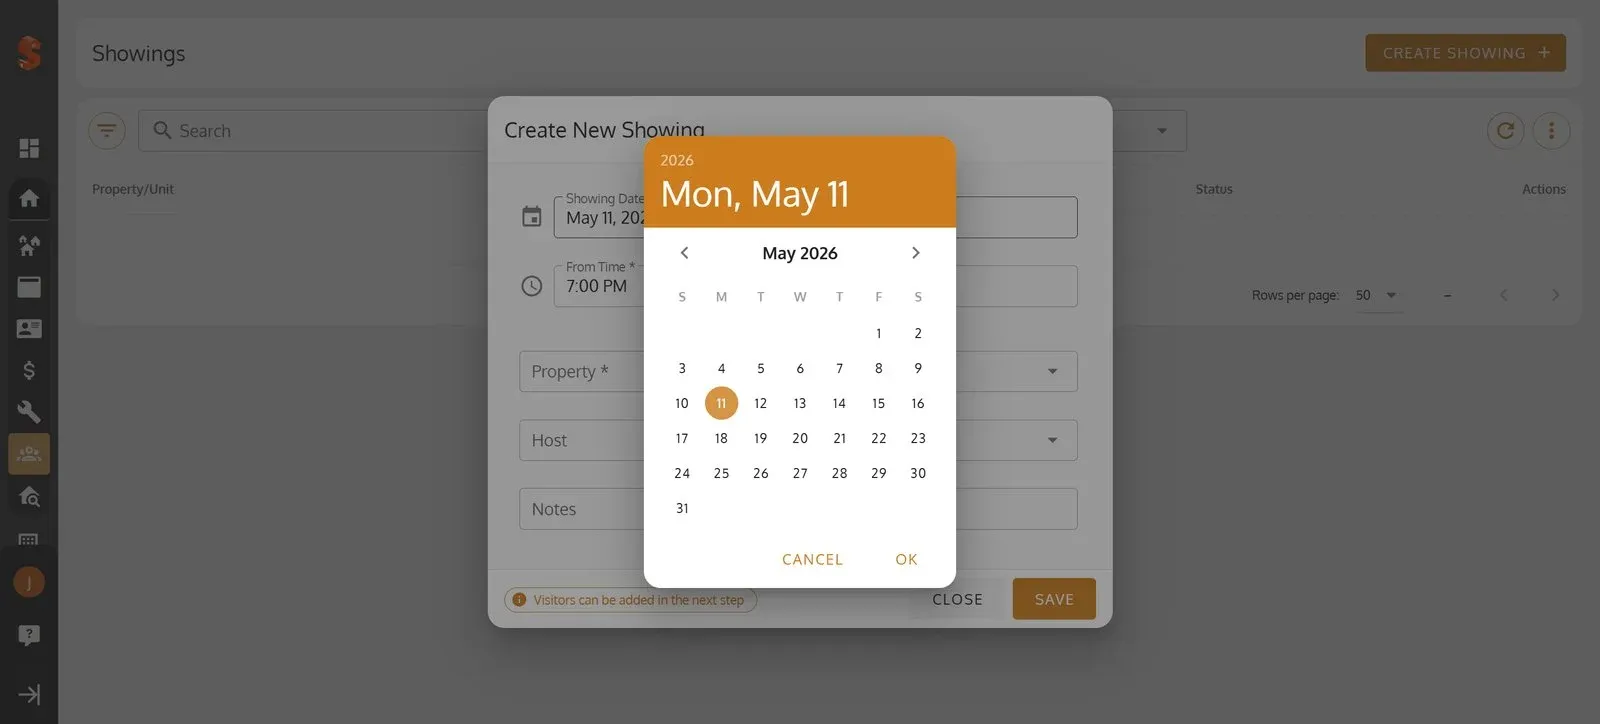
5. Pick a date in the calendar.
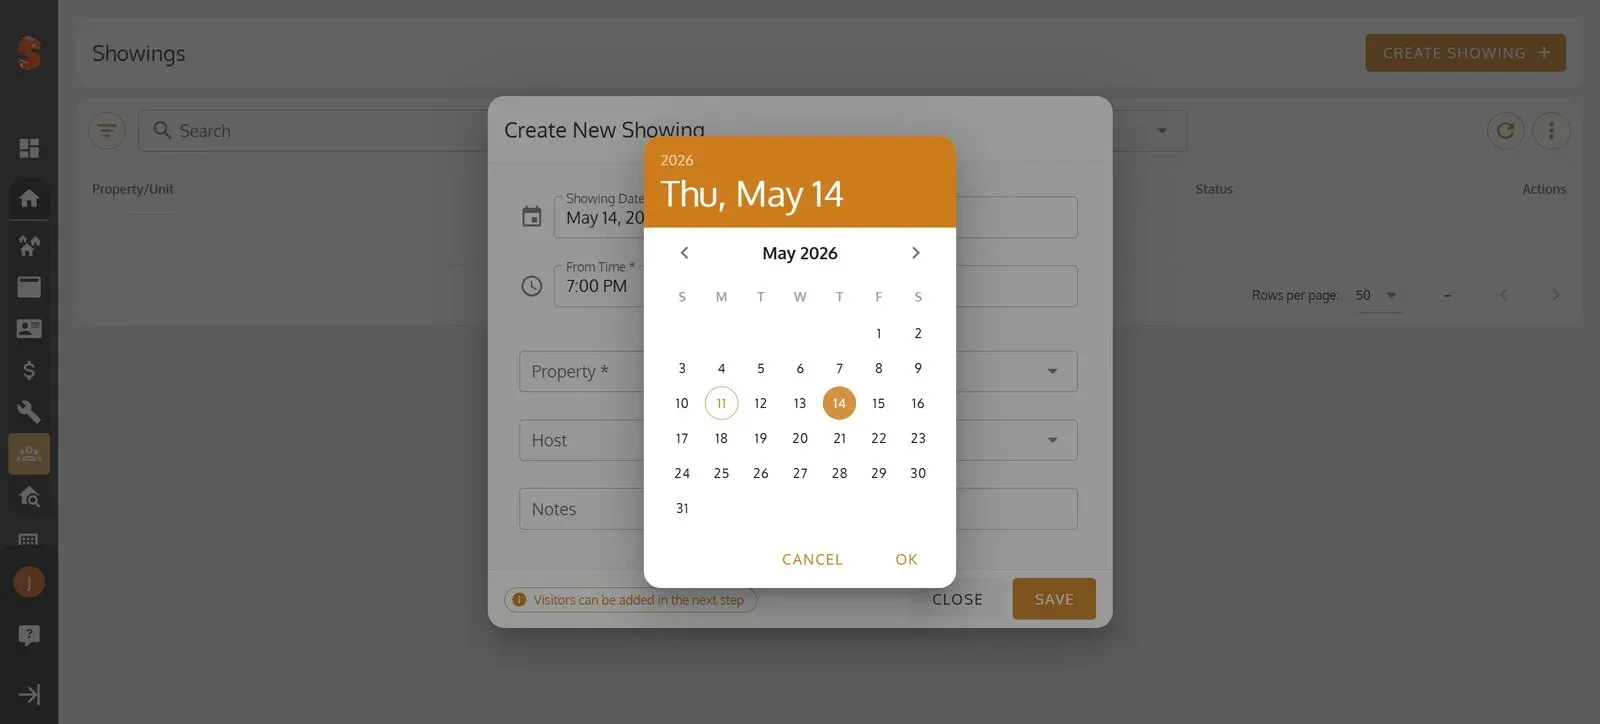
6. Click ‘OK’ to confirm the date.
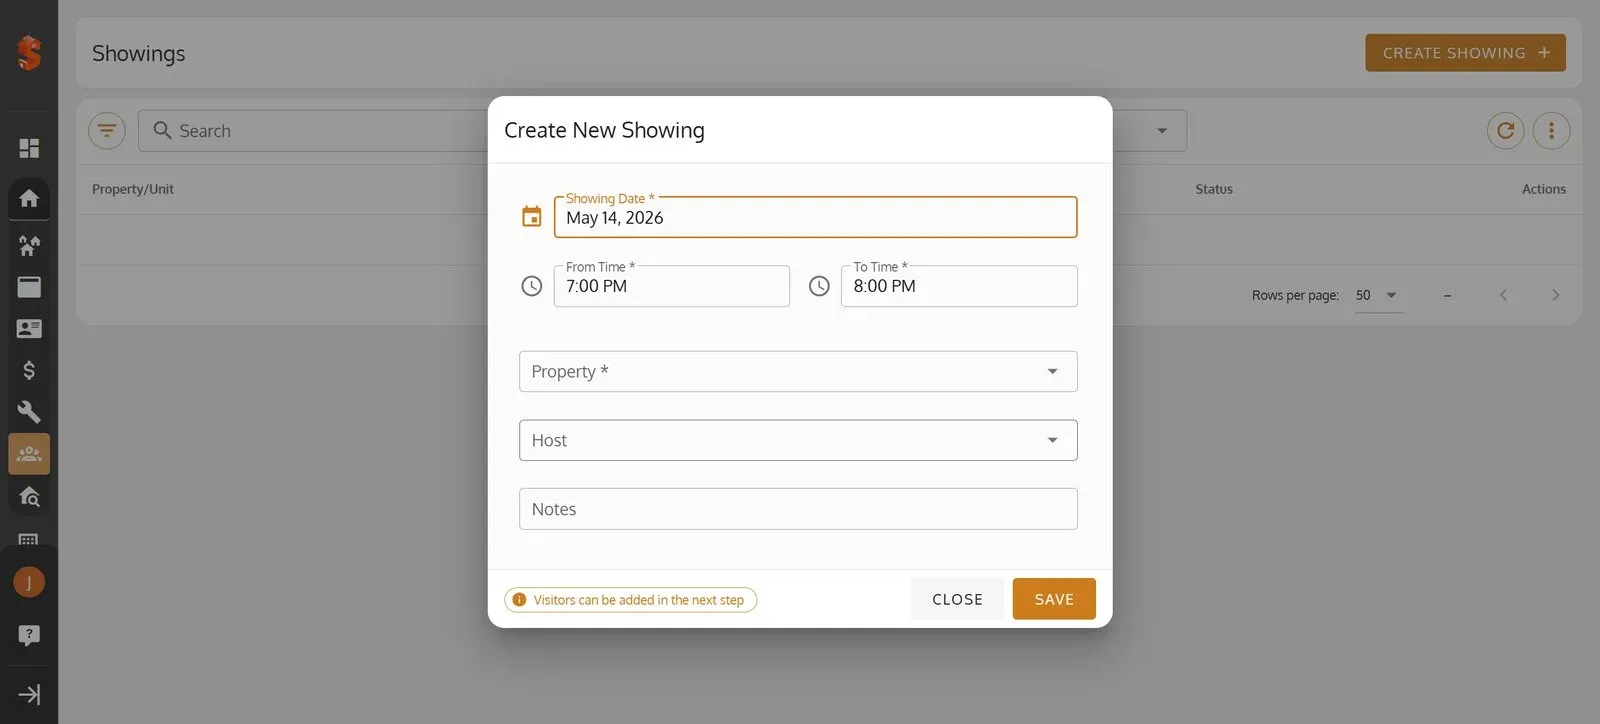
7. Click the ‘From Time’ field to set the start time.
8. Select the start hour on the clock.
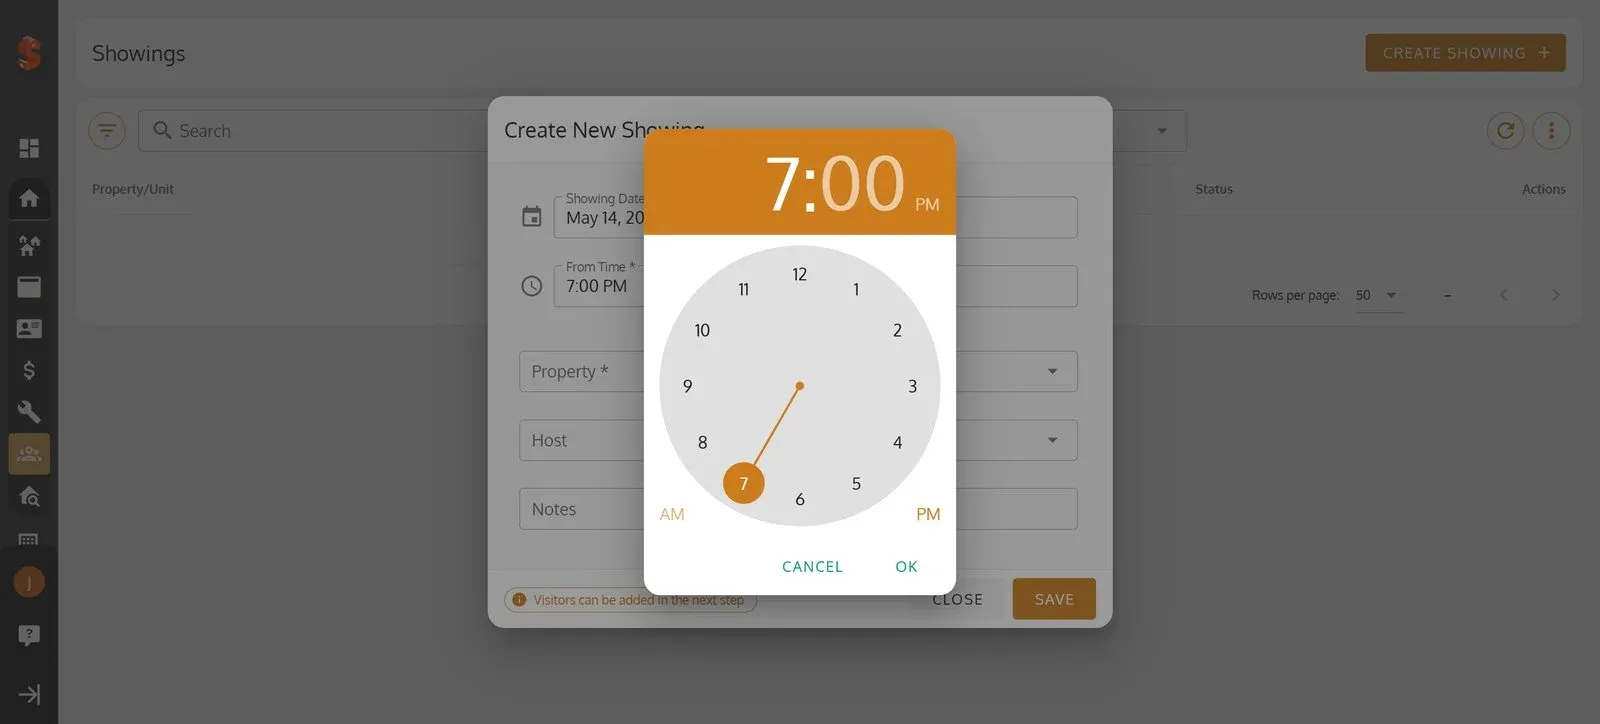
9. Select the minutes.
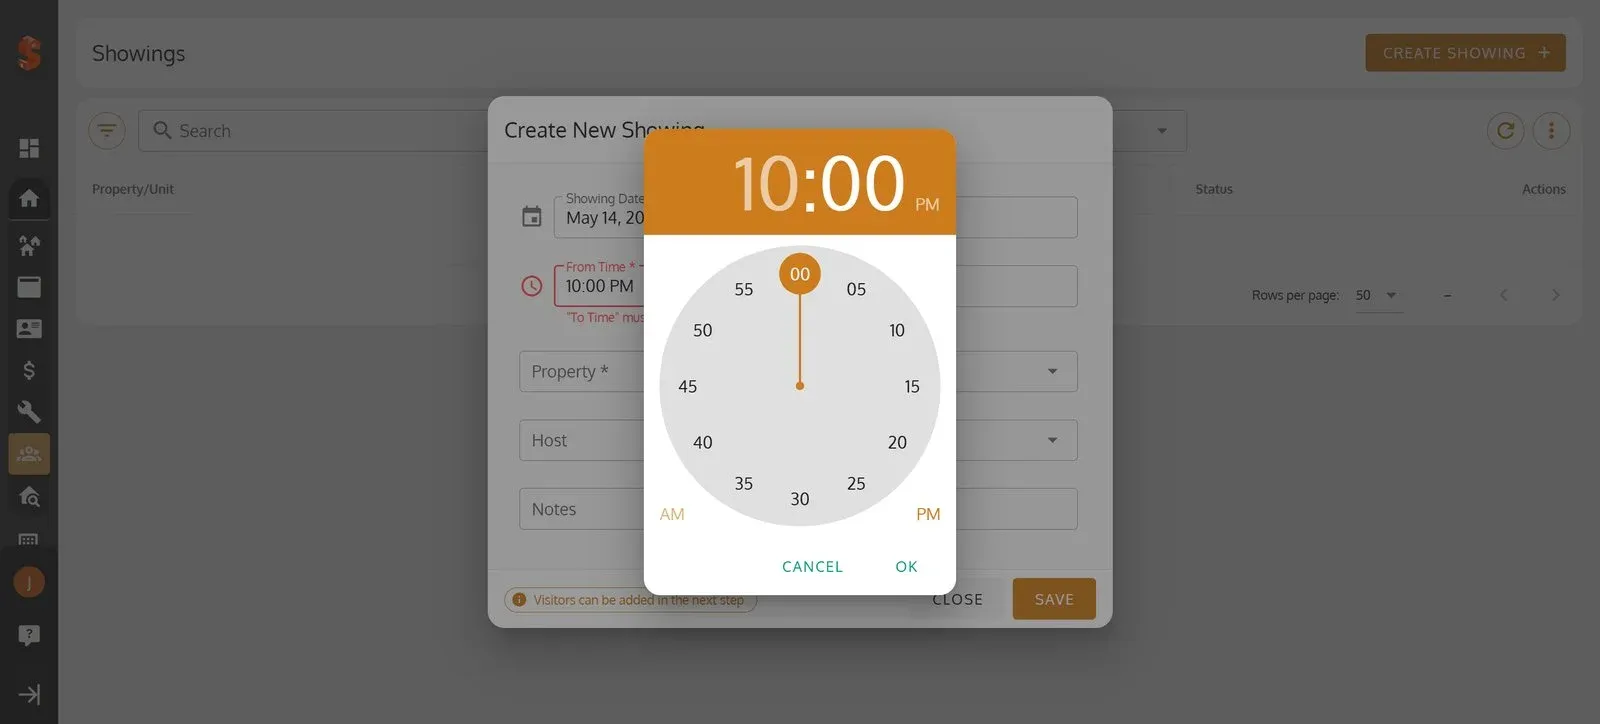
10. Choose ‘AM’ or ‘PM’, then click ‘OK’.
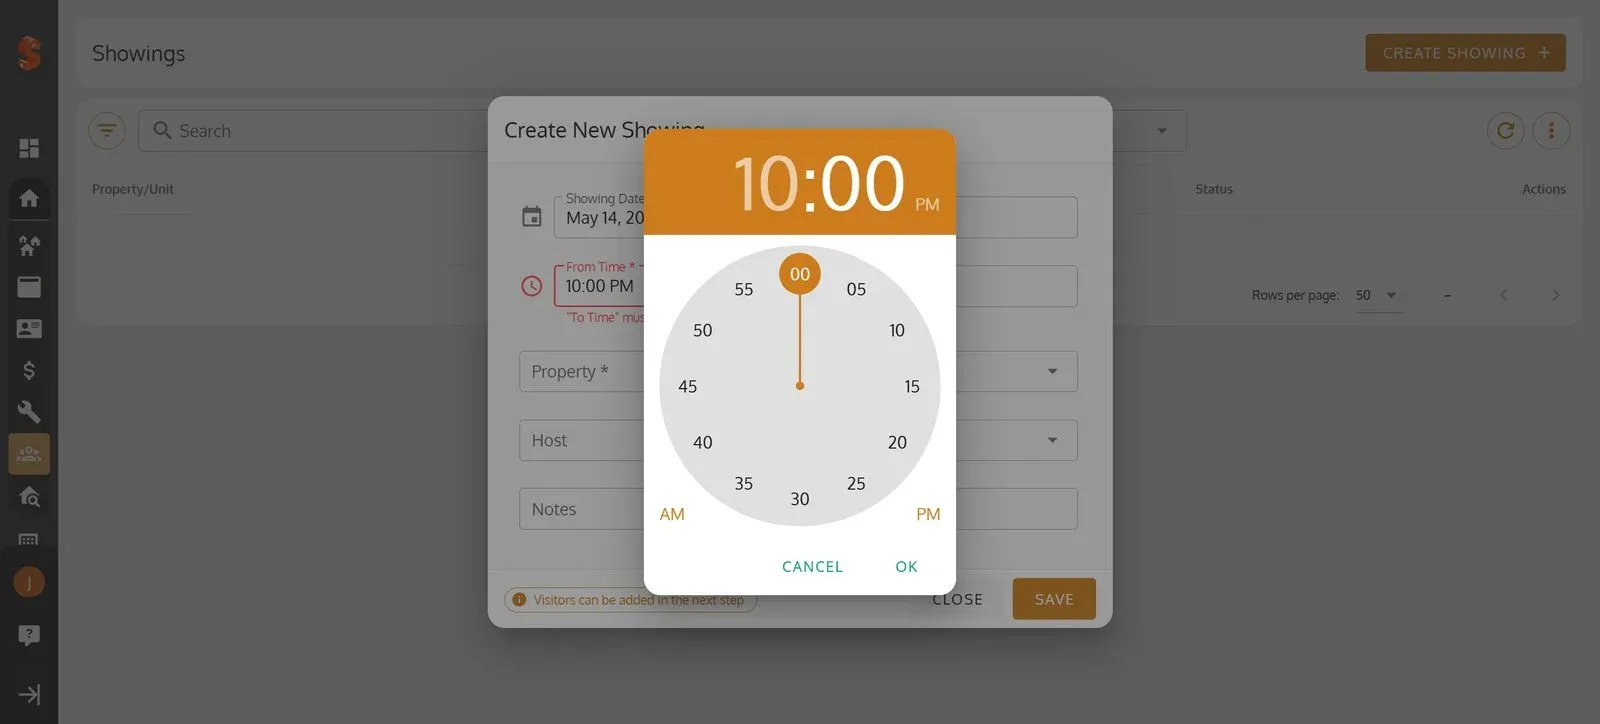
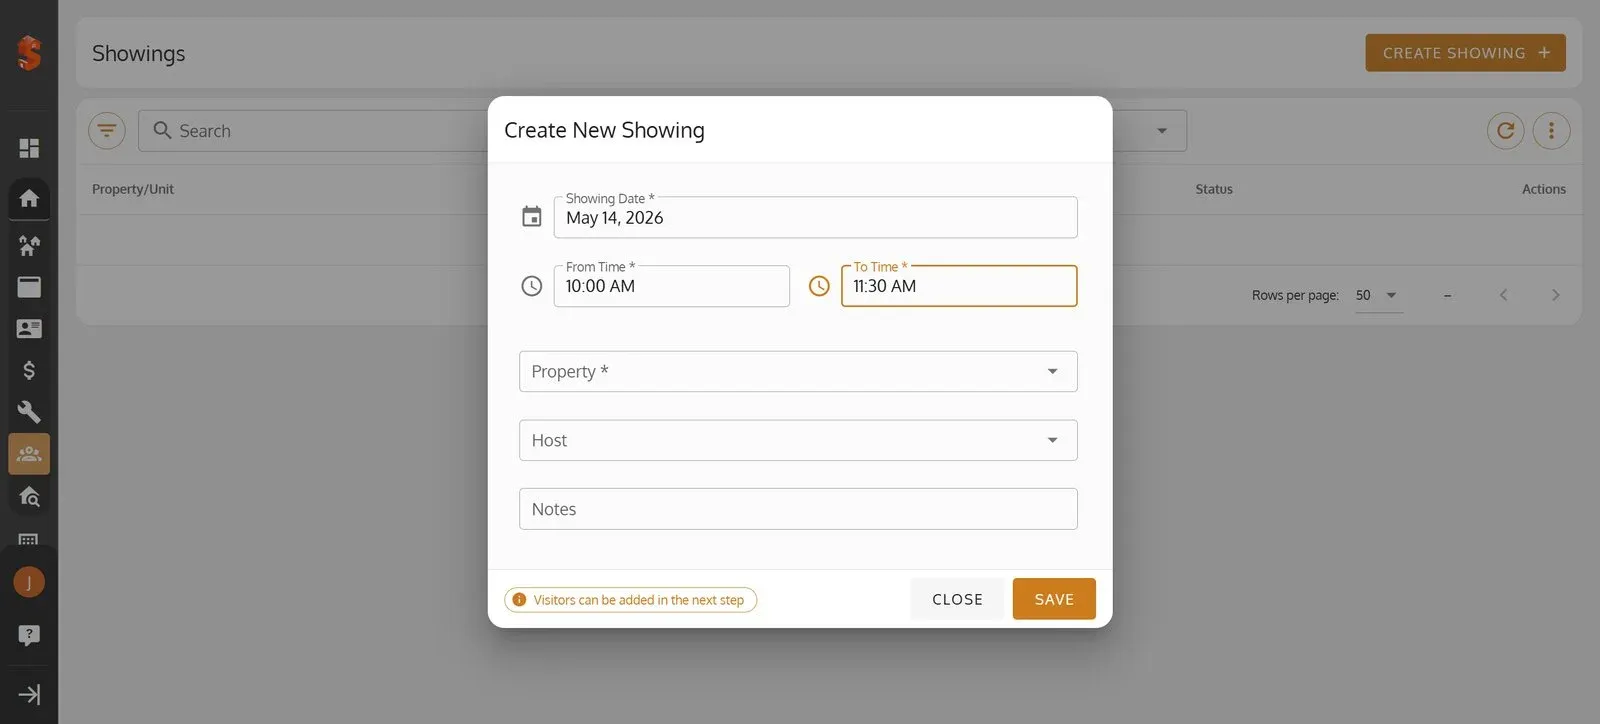
11. Click the ‘To Time’ field to set the end time.
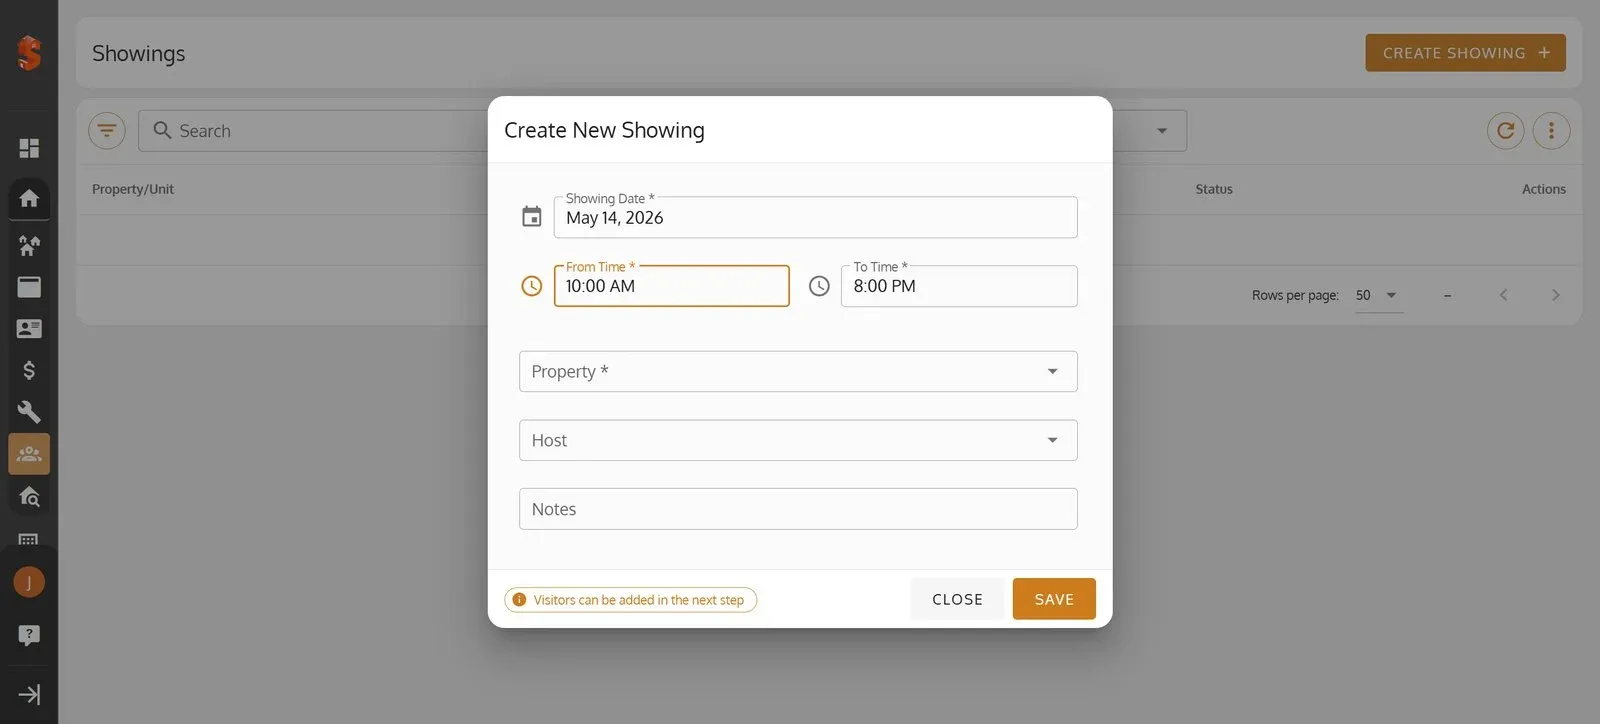
12. Select the end hour on the clock.
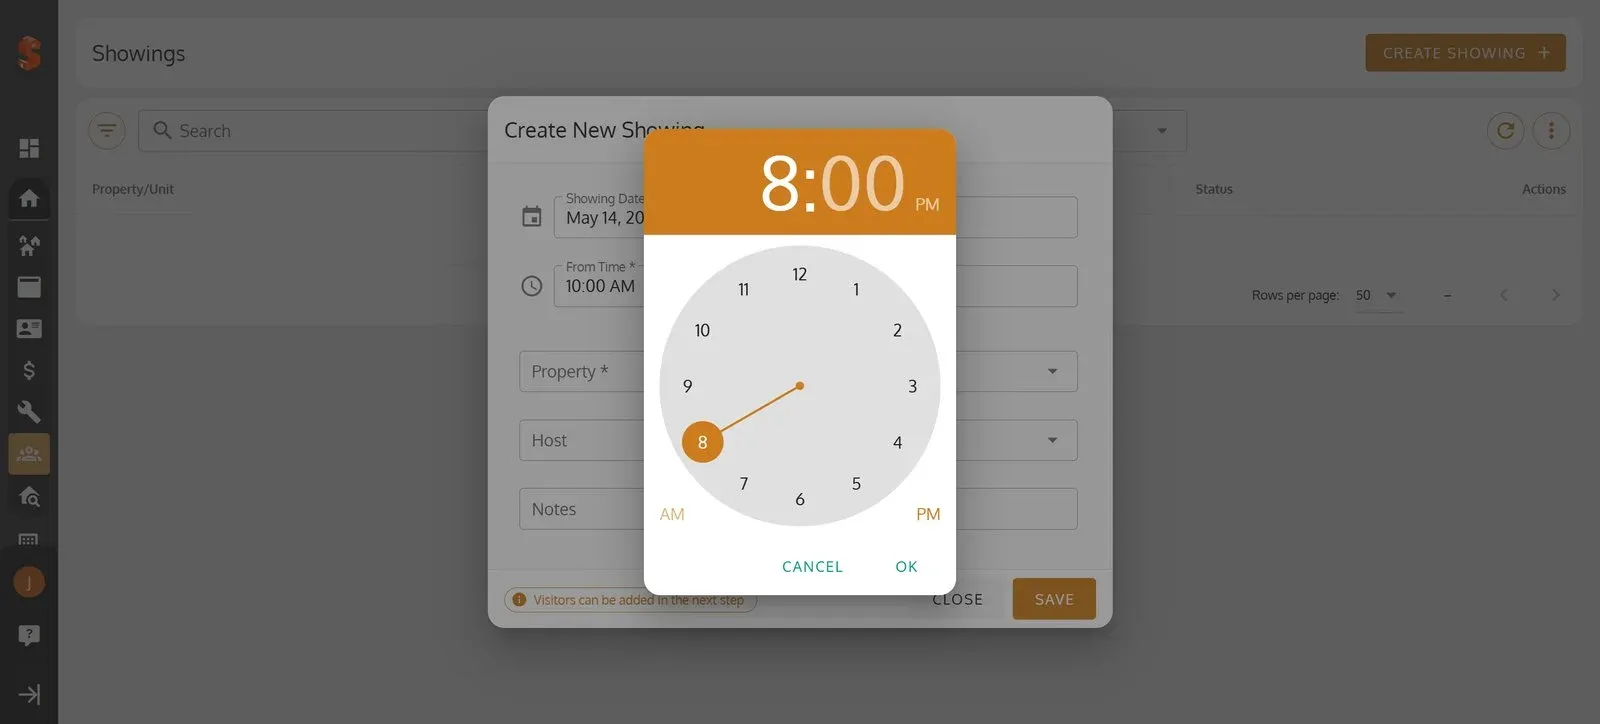
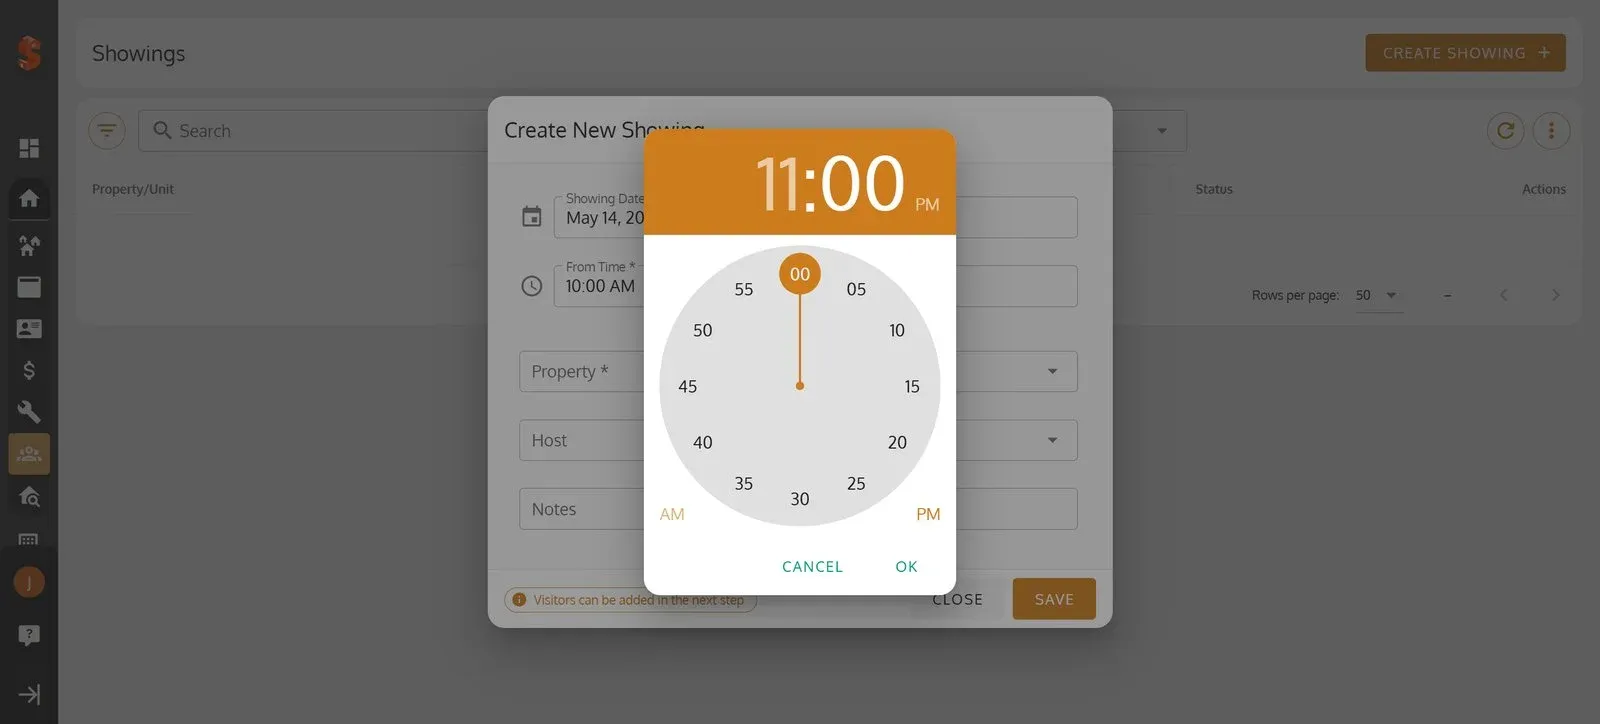
13. Select the minutes.
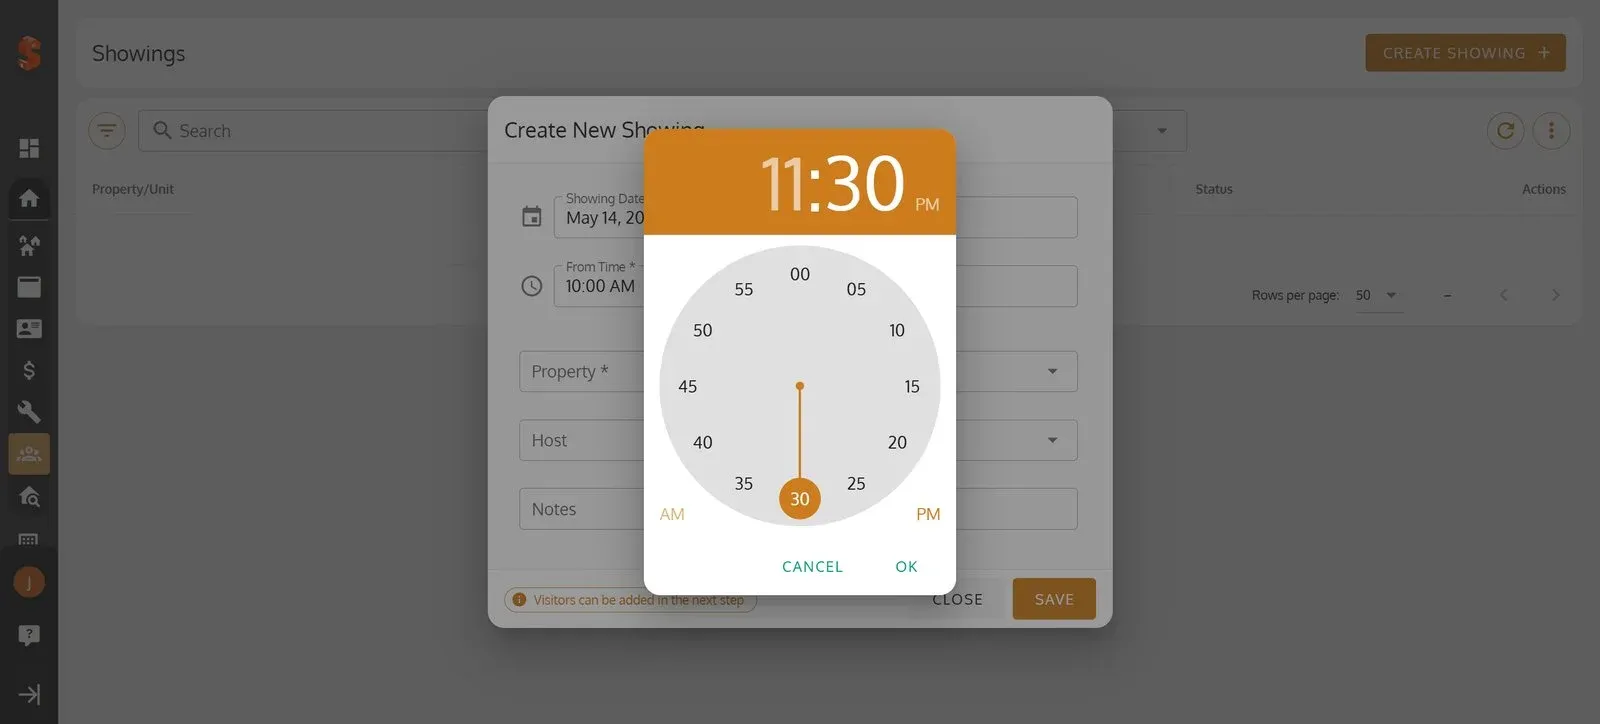
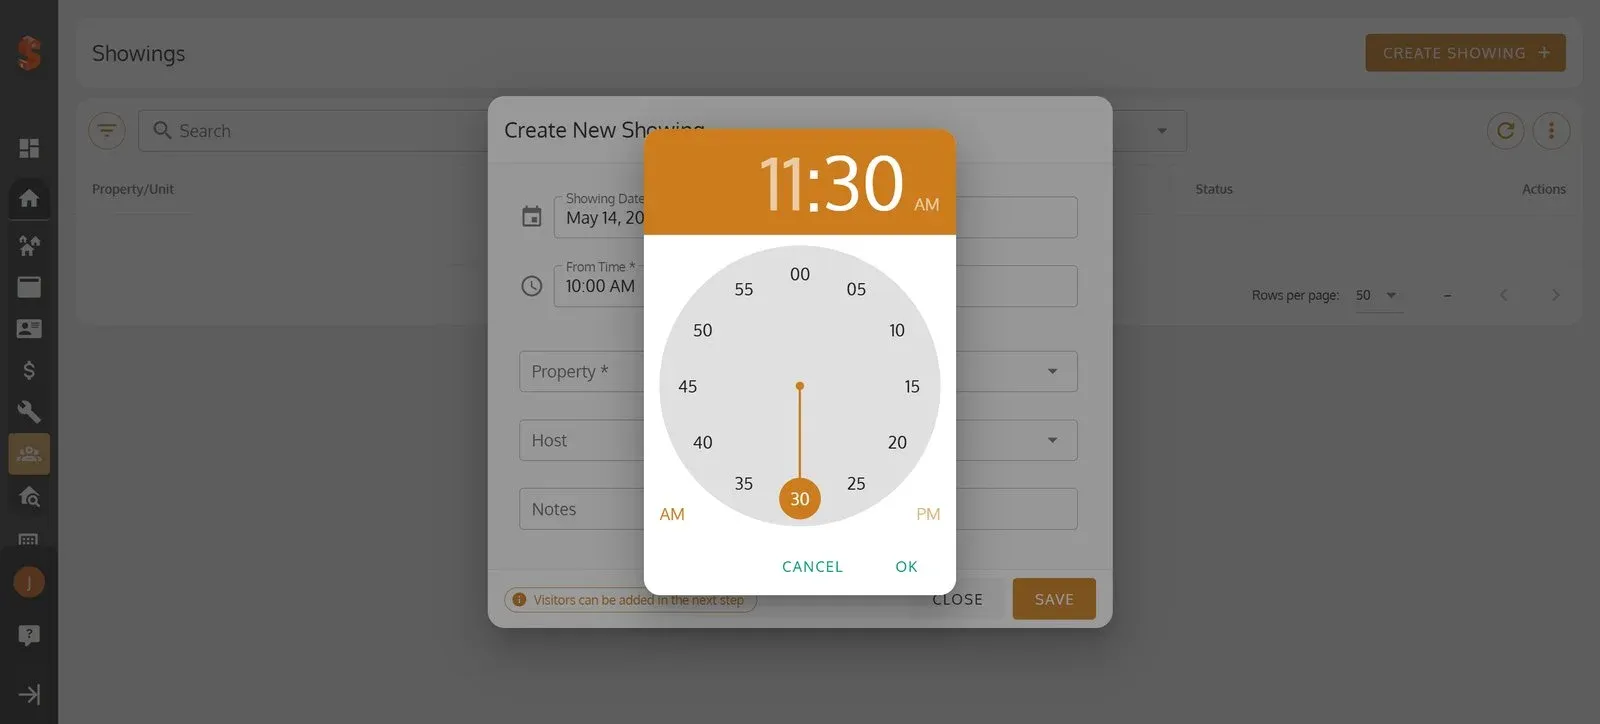
14. Choose ‘AM’ or ‘PM’.
15. Click ‘OK’ to confirm the end time.
16. Open the ‘Property’ dropdown.
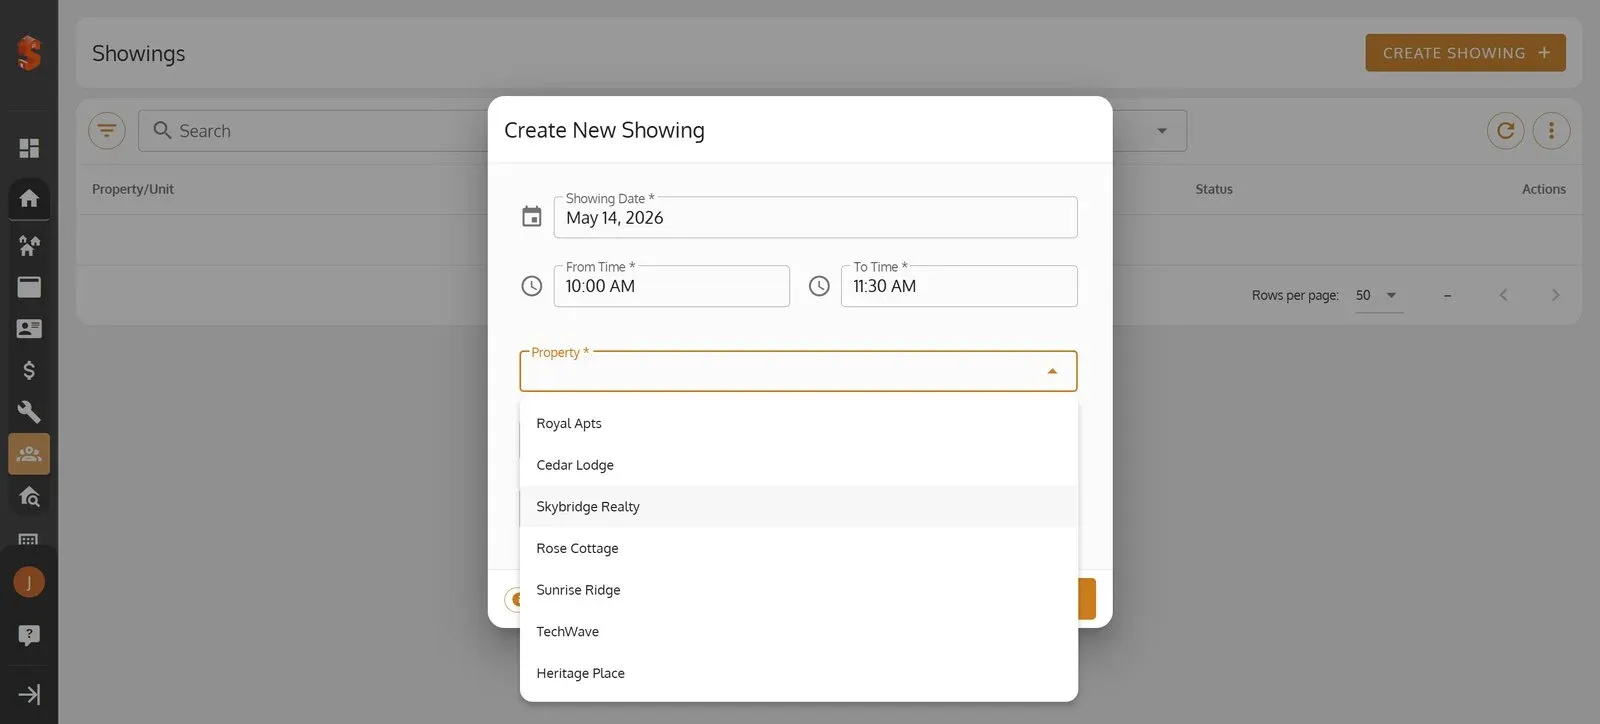
17. Select the property for the showing.
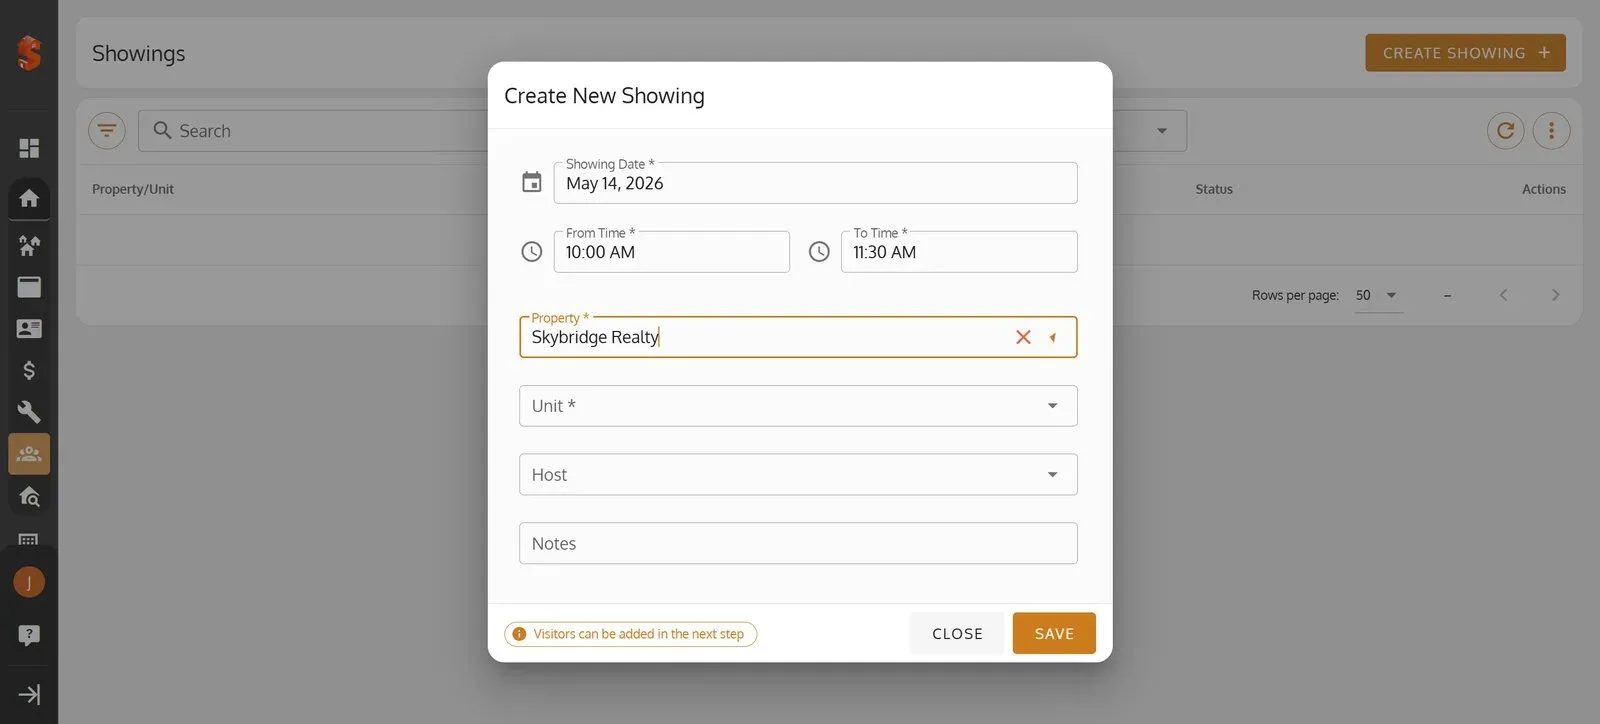
18. Open the ‘Unit’ dropdown.
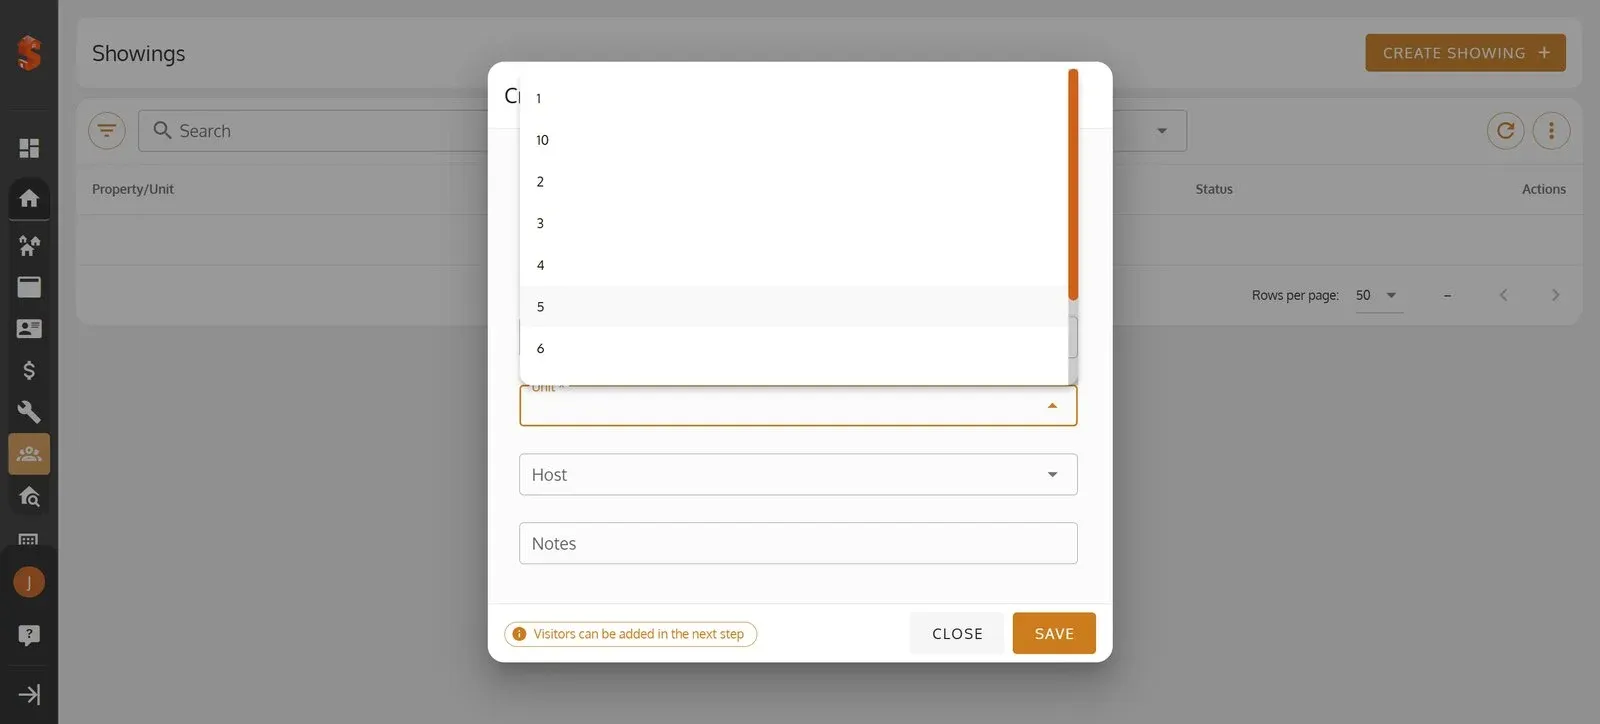
19. Select the unit.
20. Click the ‘Host’ field to choose a host.
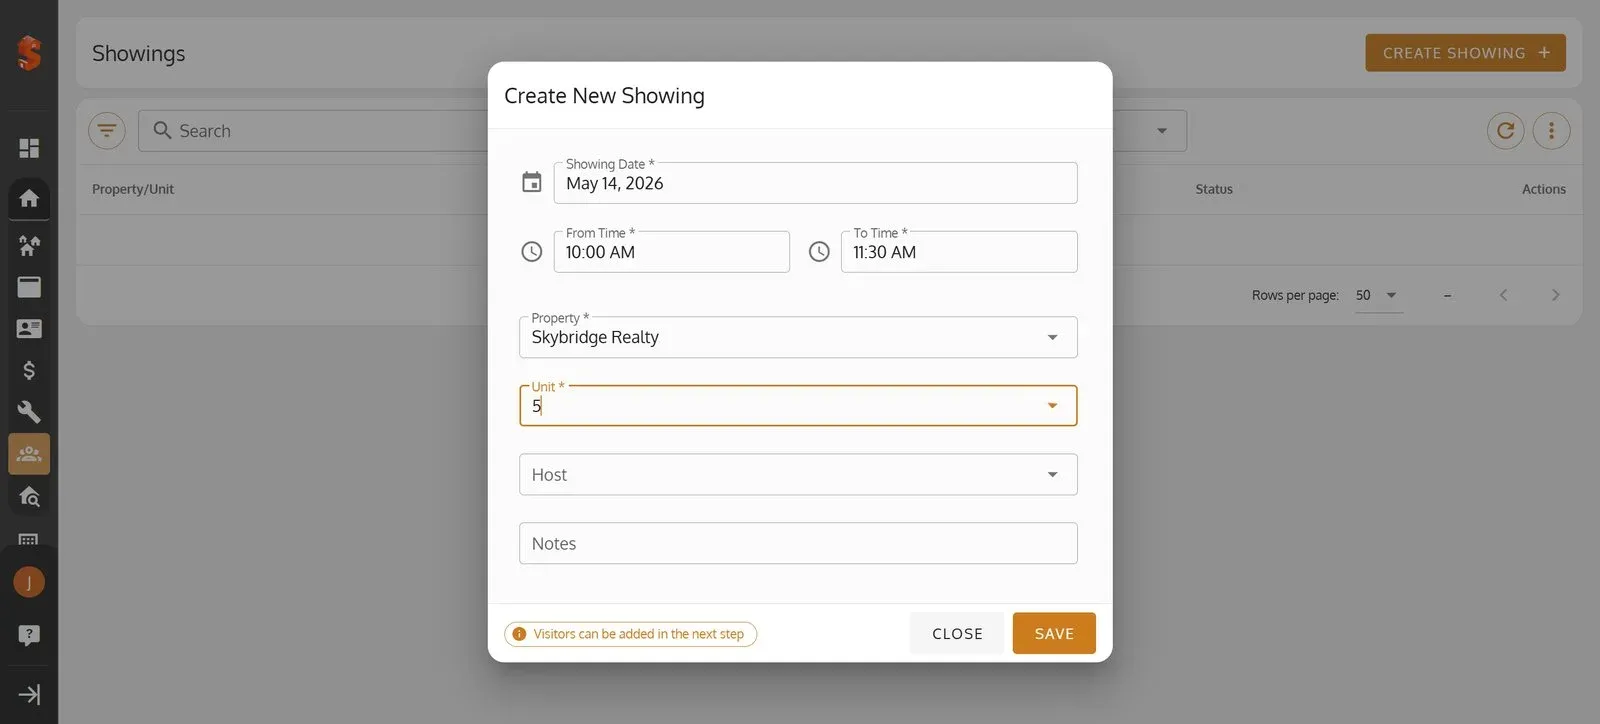
21. To Add a Host, Click Members under Manage Section. Now Click ‘Add Member’. Then fill the details of host or member. Now Click Save. Now you can Choose the Host from the dropdown list in property showings.
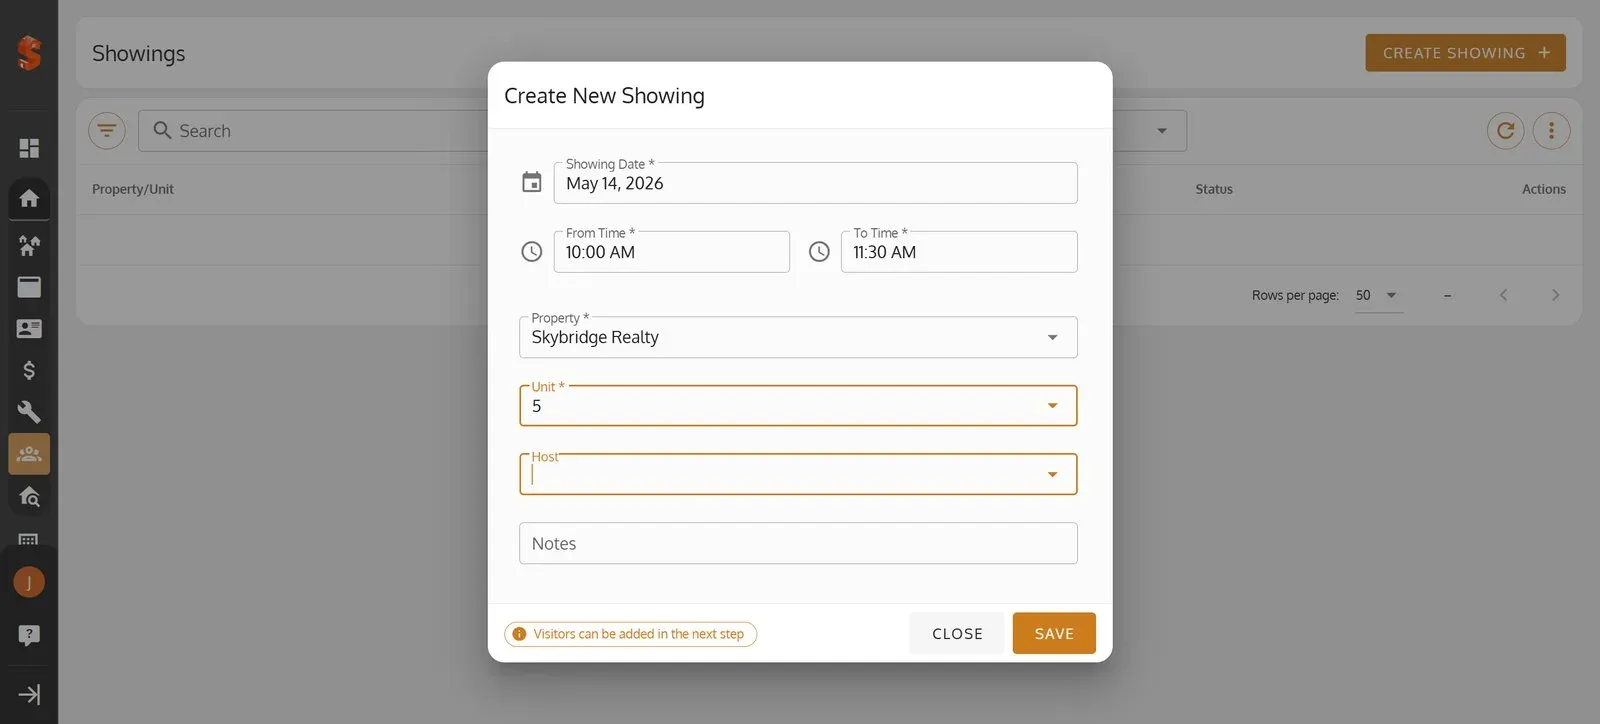
22. Click ‘Save’ to confirm and schedule your new property showing.
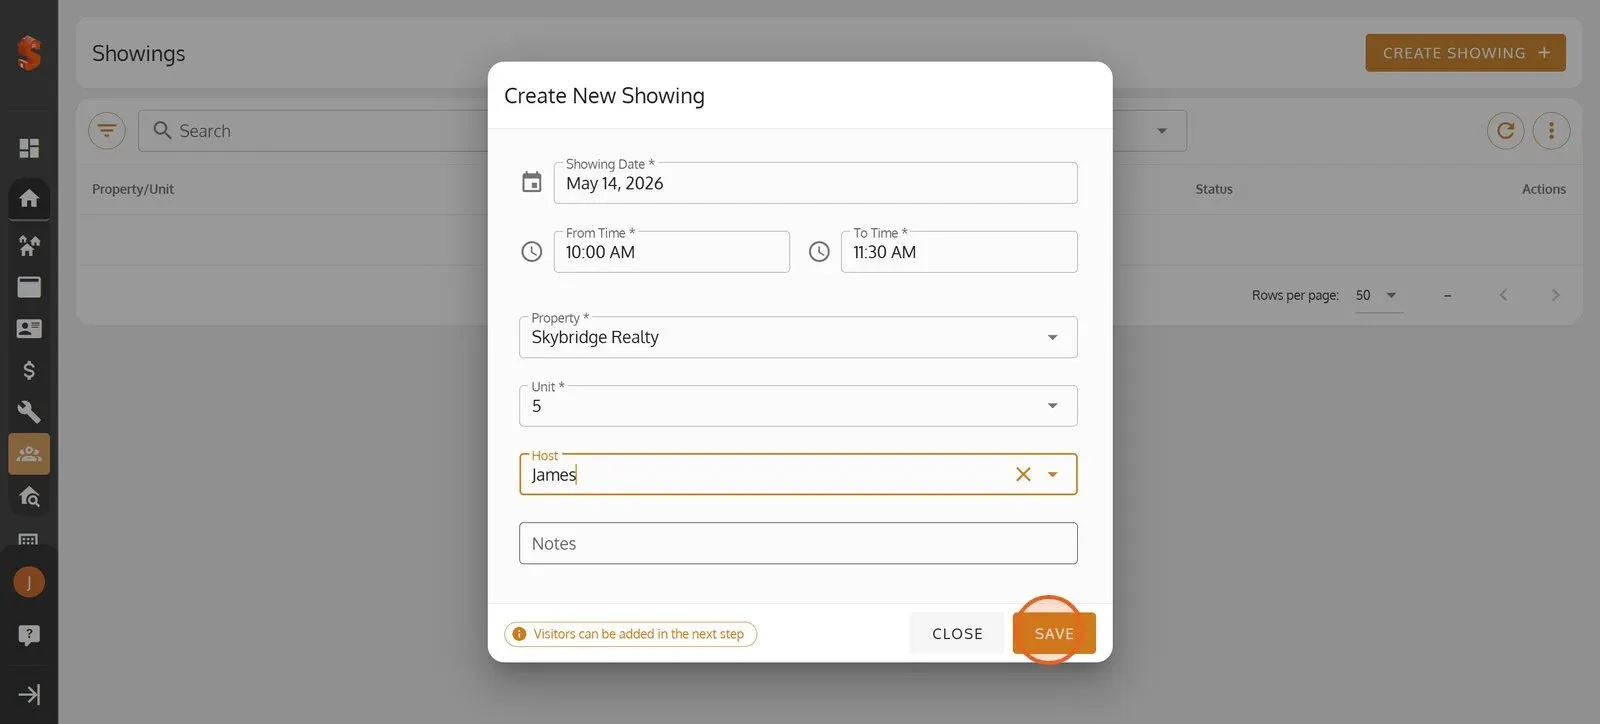
23. The showing is saved, and the Edit Showing dialog opens on the ‘VISITORS’ tab.
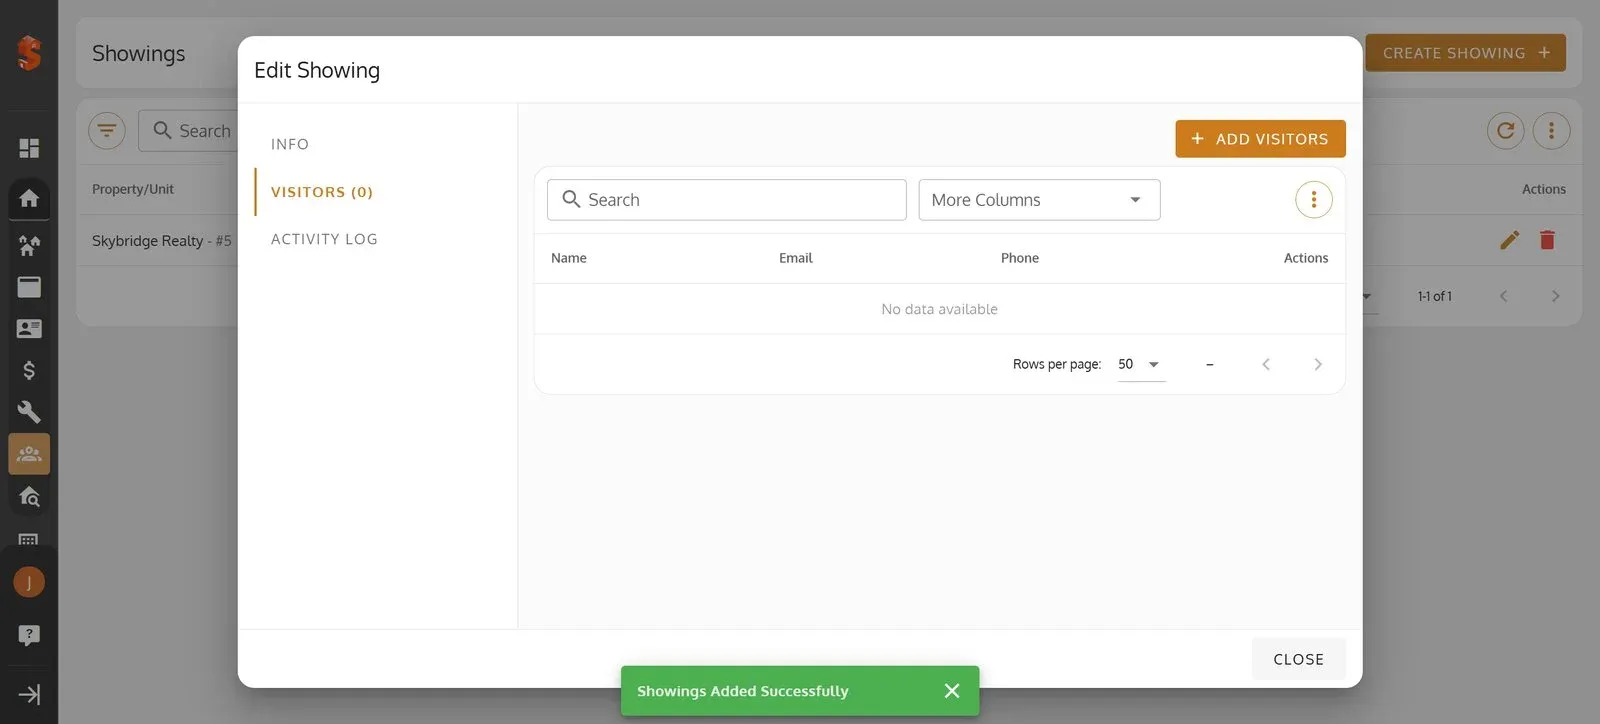
24. Add visitors to your showing with just one click for a more organized event.
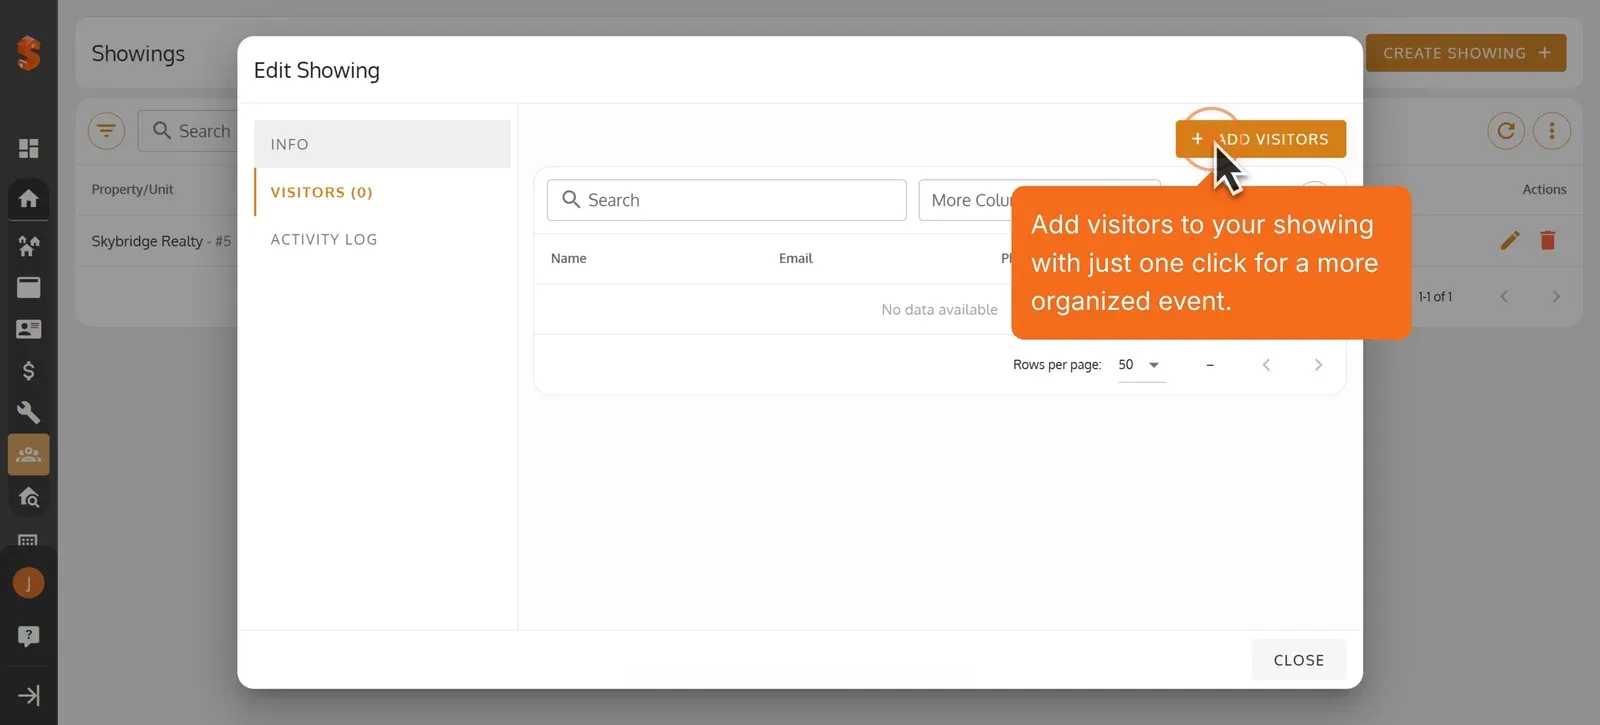
25. Begin by entering the visitor’s full name for your records.
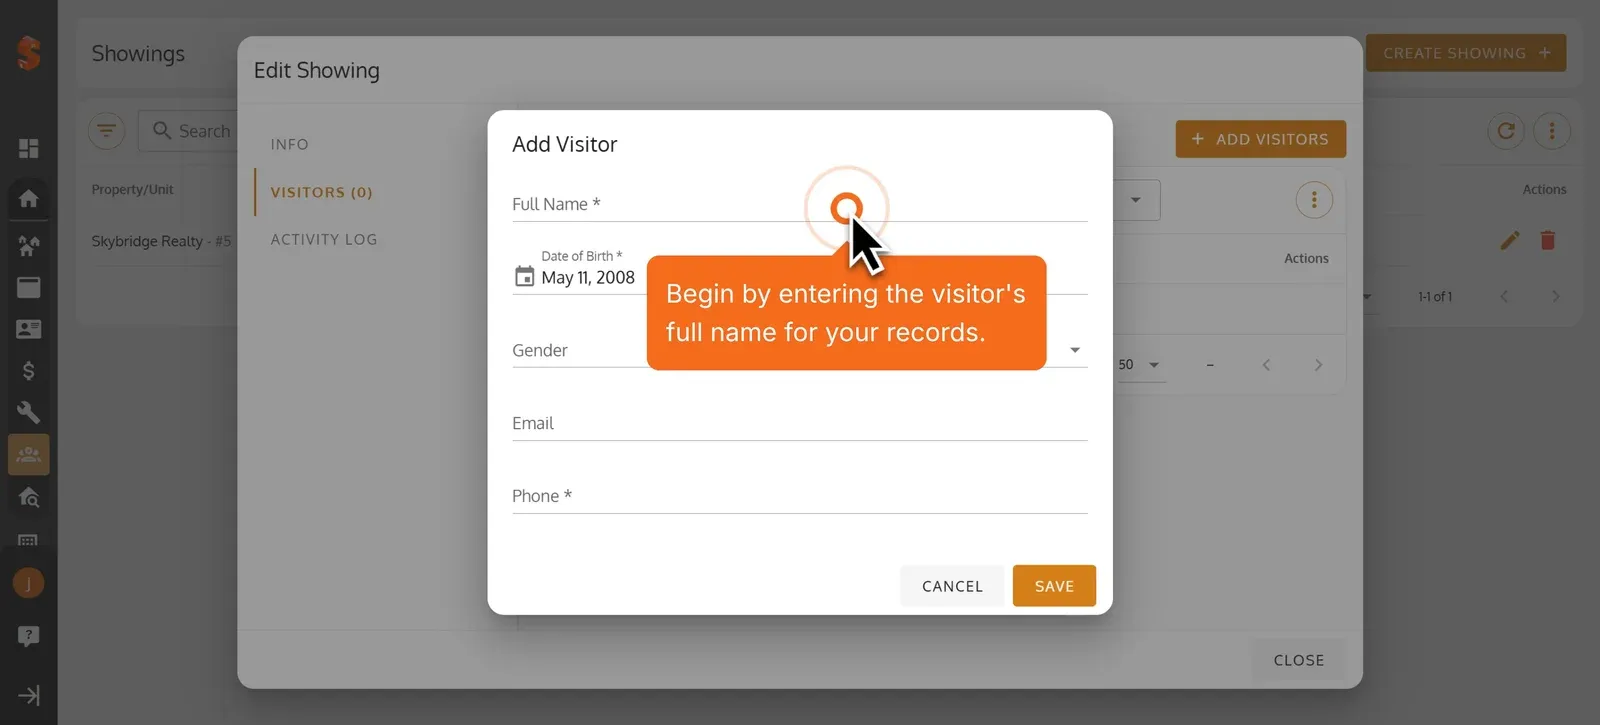
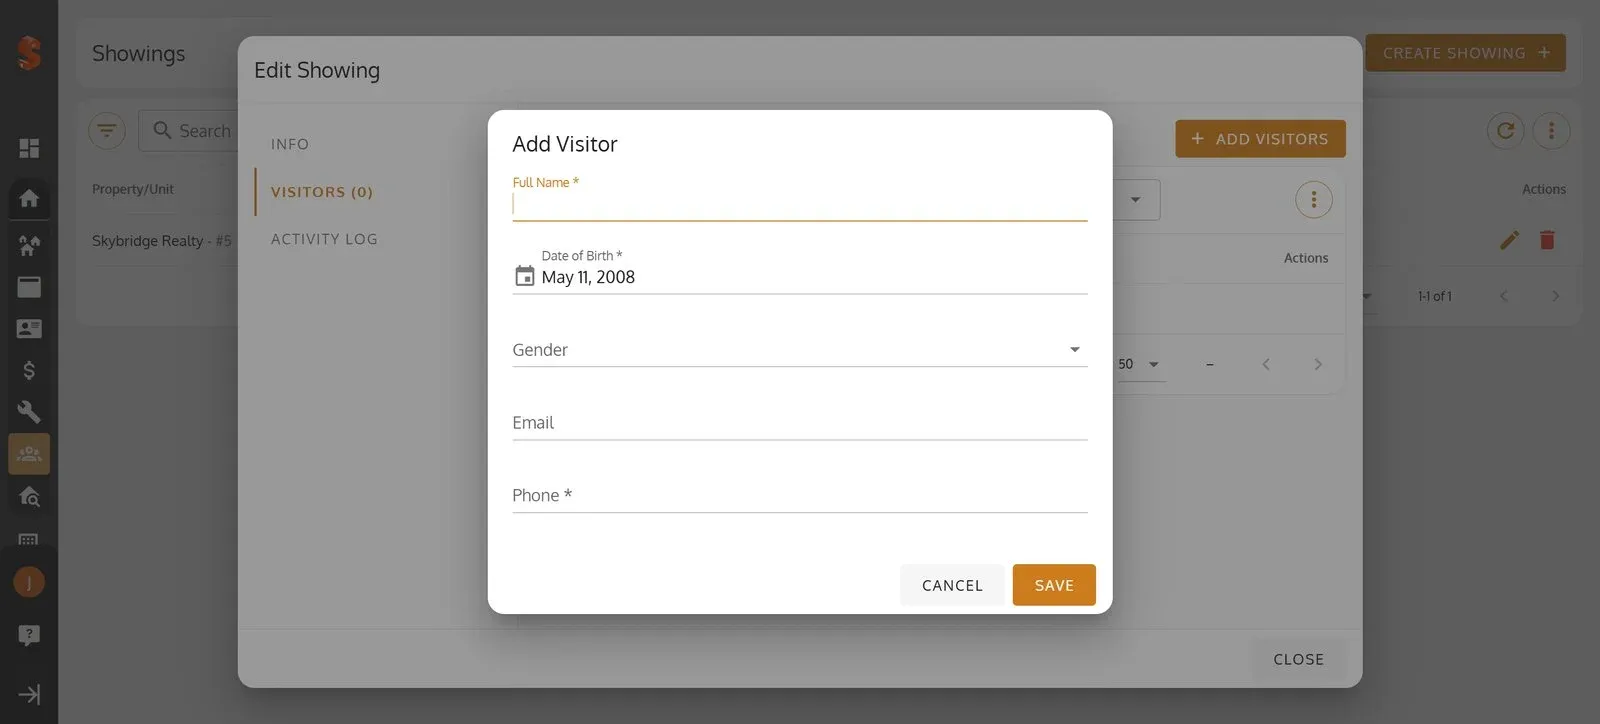
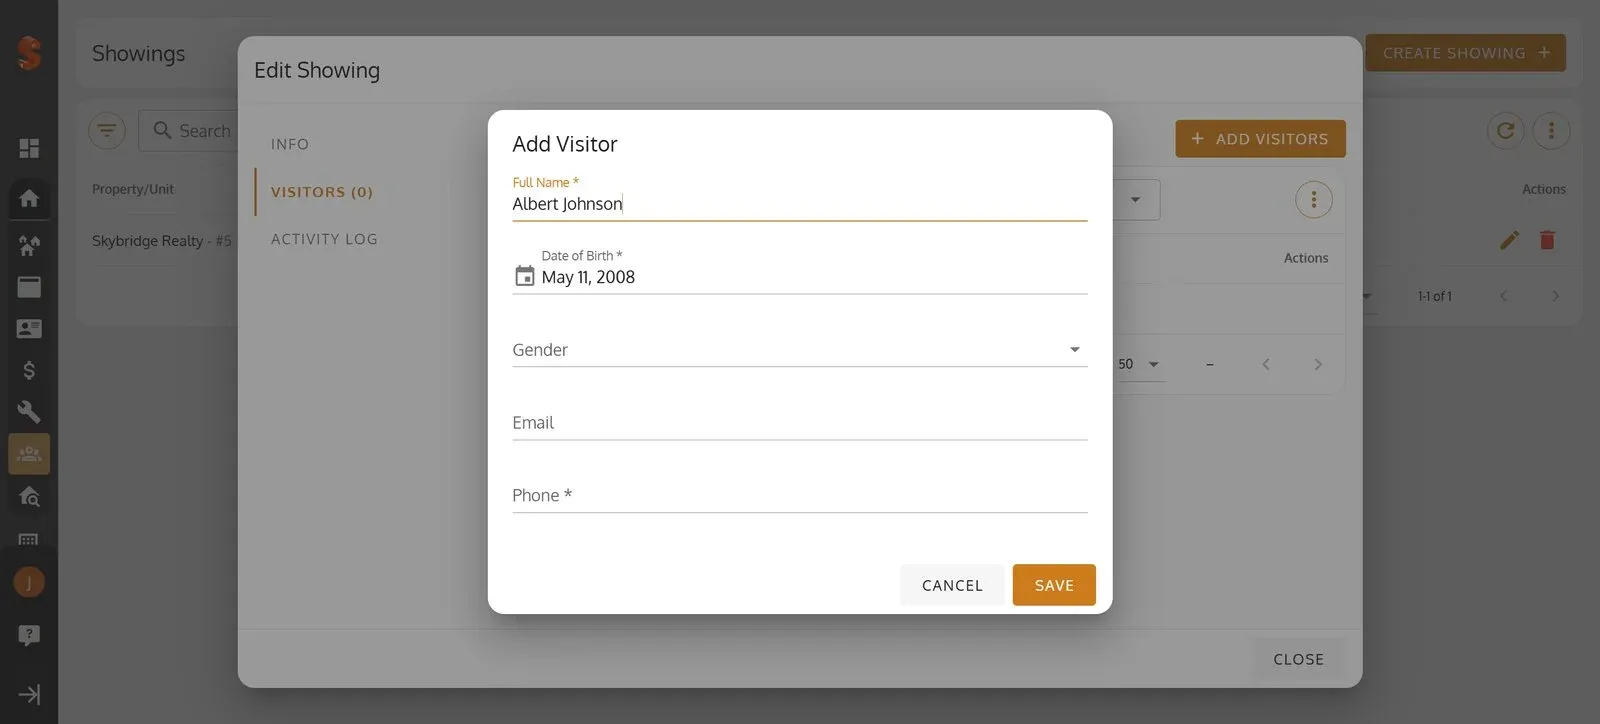
26. Type the name in the ‘Full Name’ field.
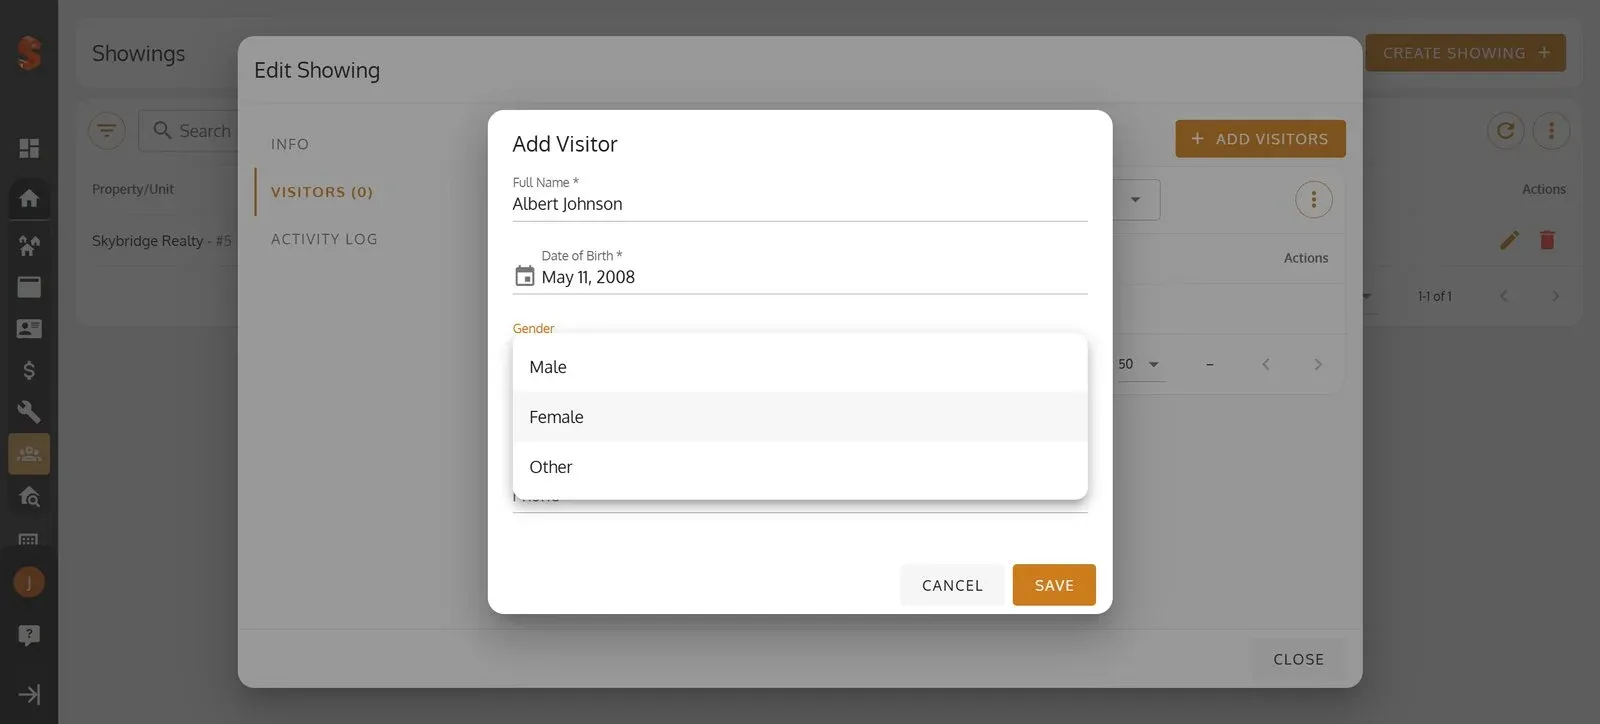
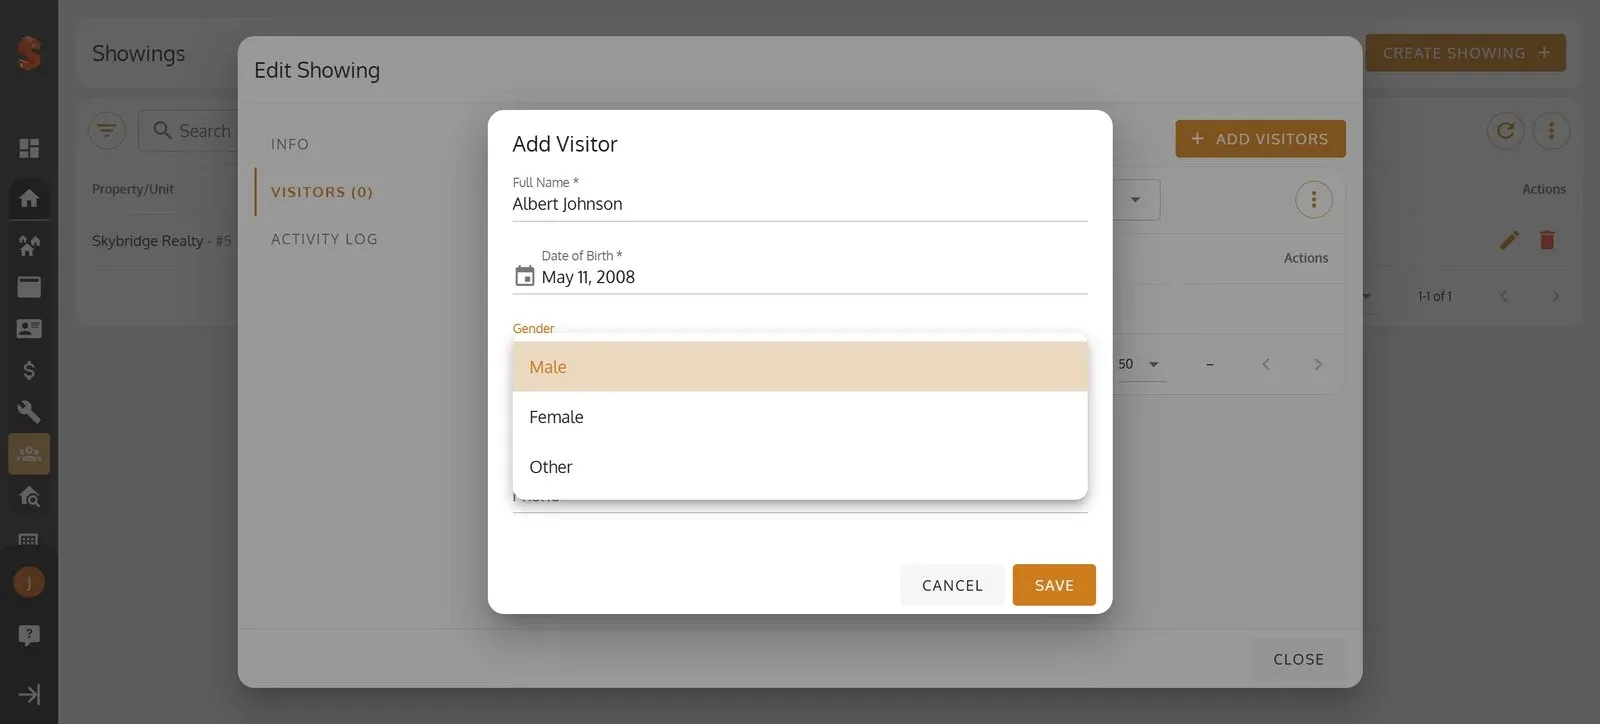
27. Open the ‘Gender’ dropdown.
28. Select the visitor’s gender.
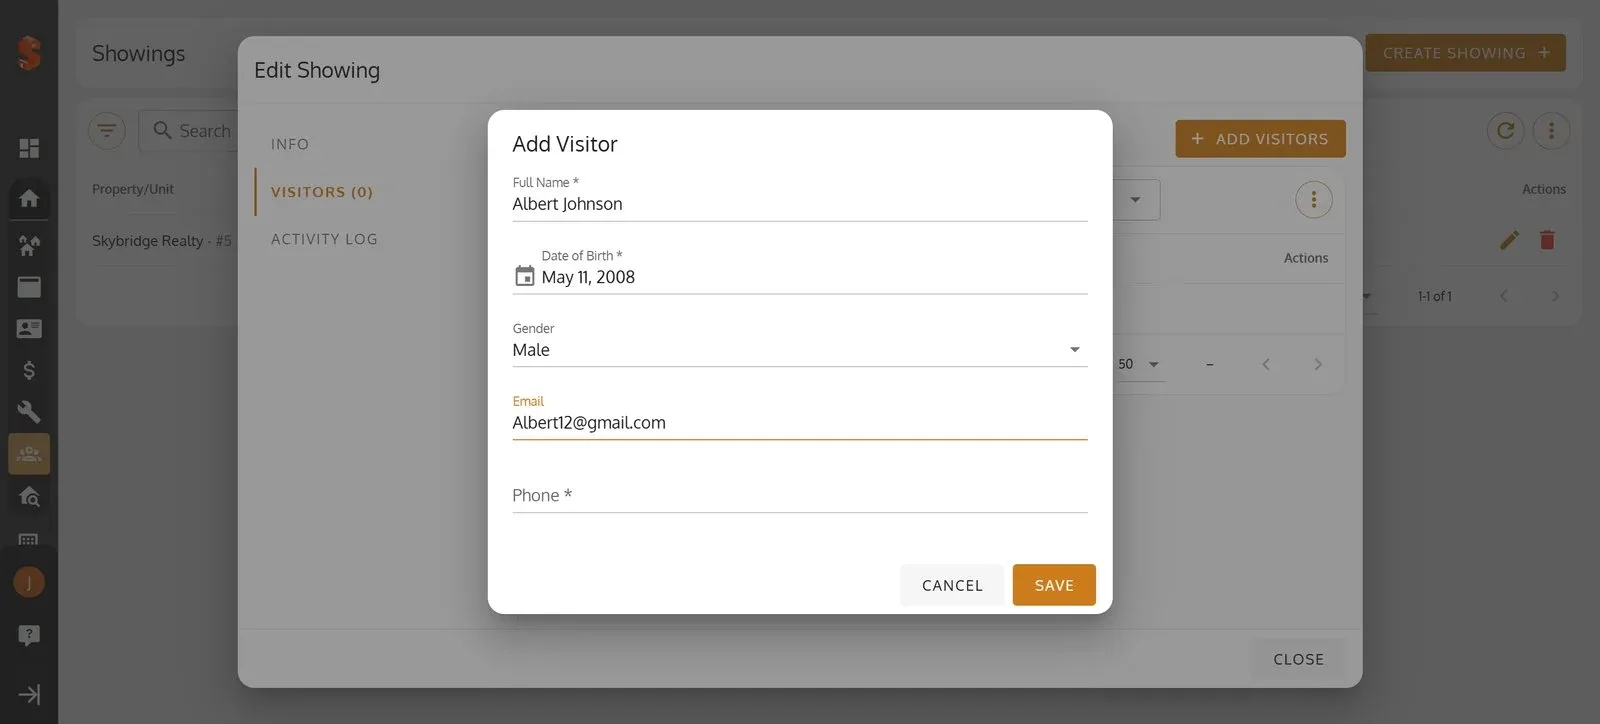
29. Enter the visitor’s email in the ‘Email’ field.
30. Enter the visitor’s phone number in the ‘Phone’ field.
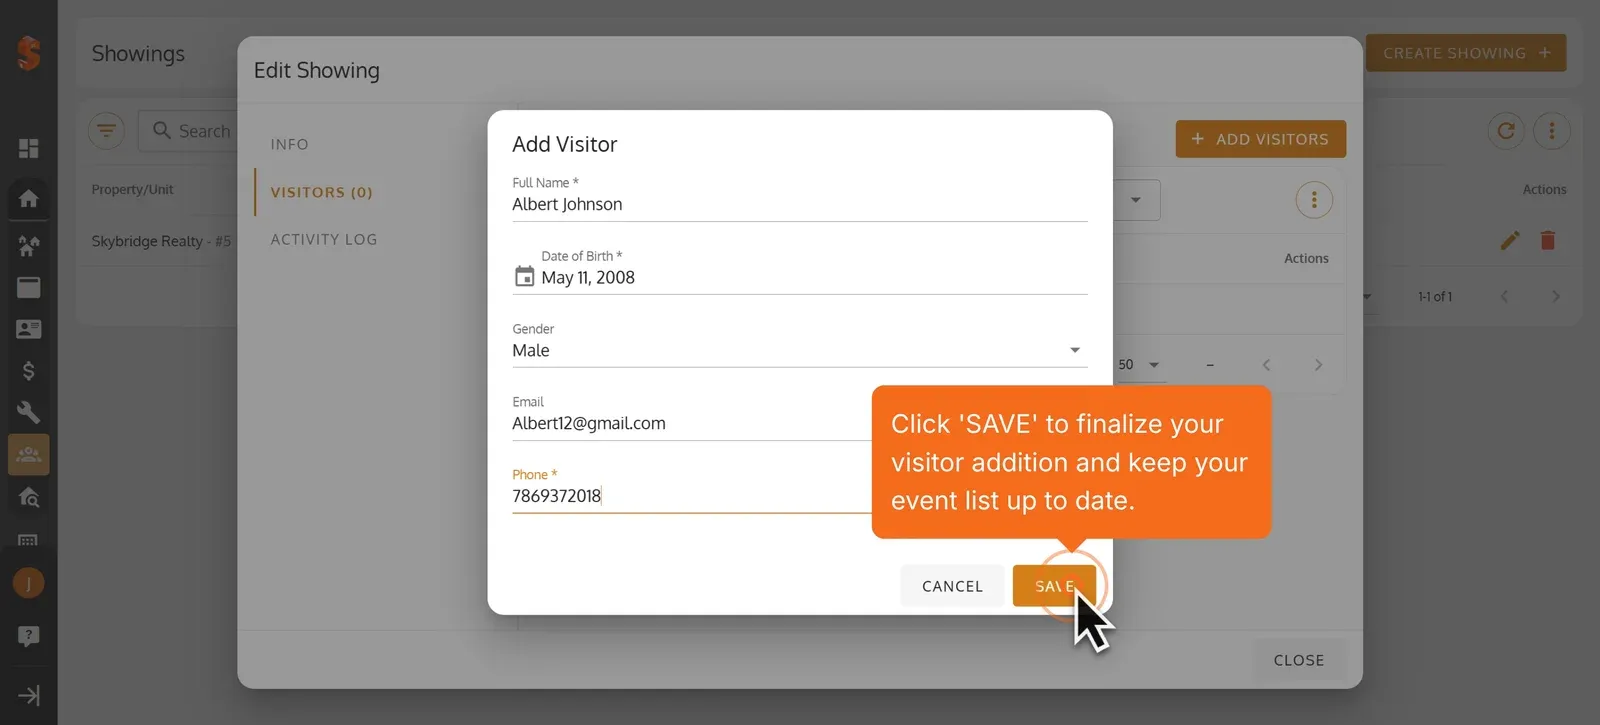
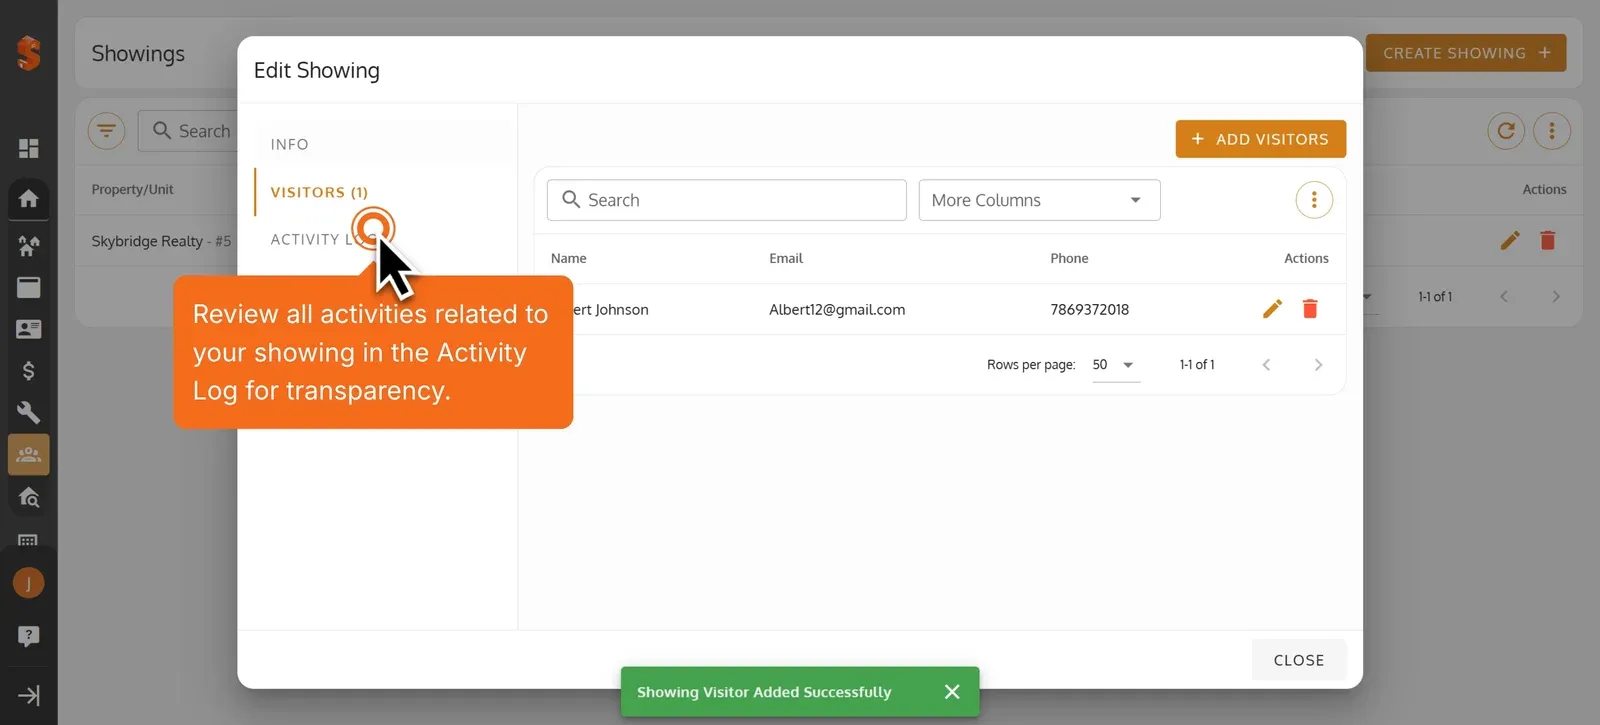
31. Click ‘SAVE’ to finalize your visitor addition and keep your event list up to date.
32. Review all activities related to your showing in the Activity Log for transparency.
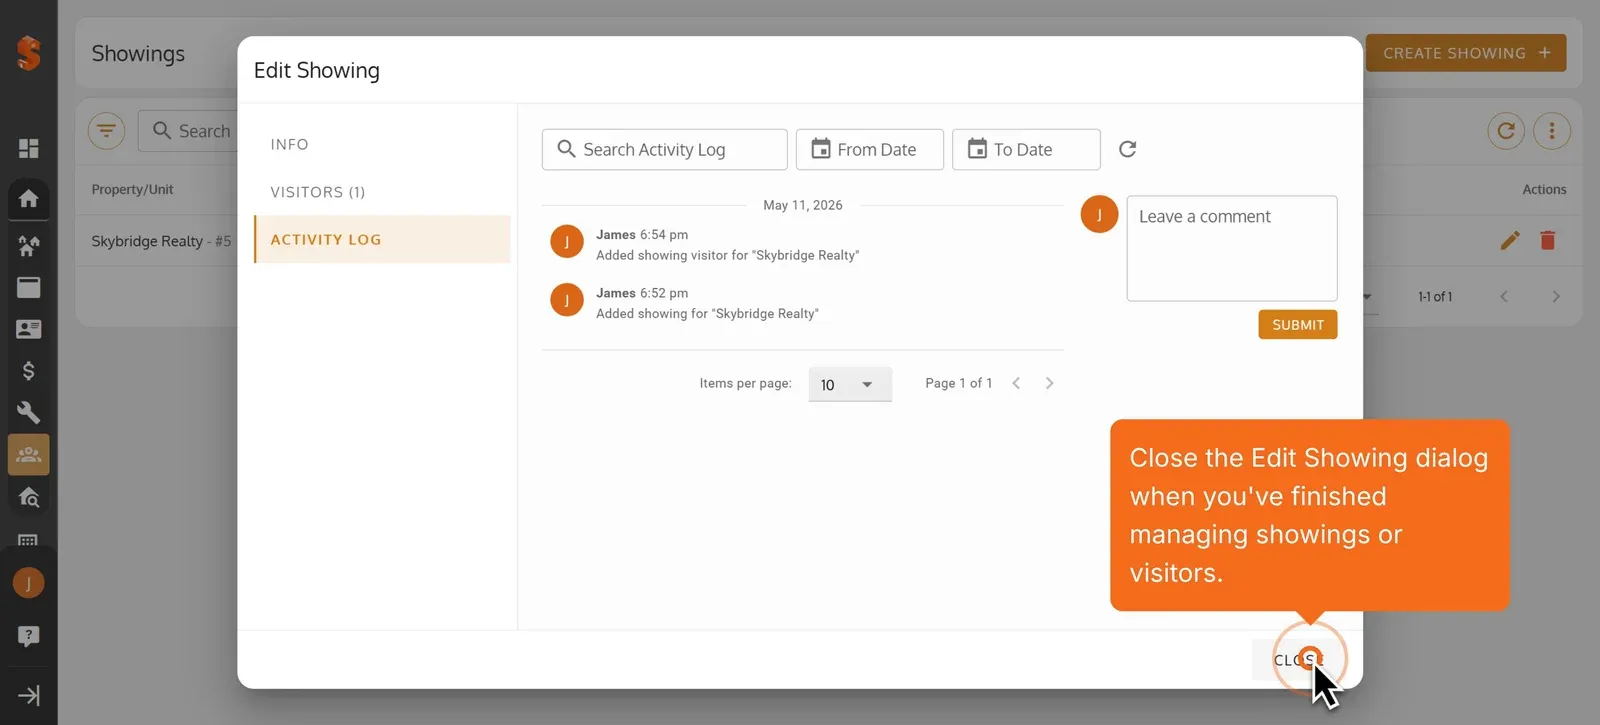
33. Close the Edit Showing dialog when you’ve finished managing showings or visitors.
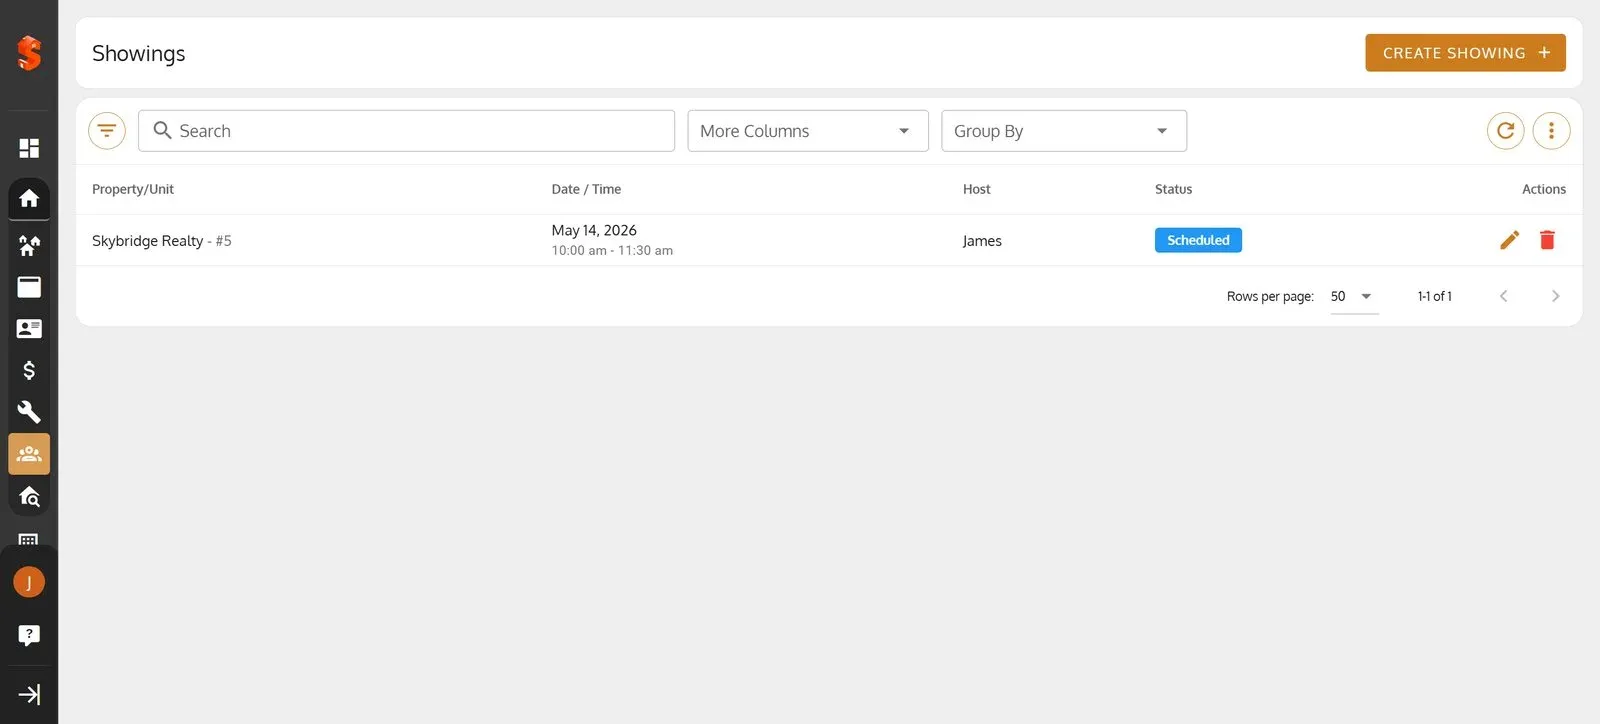
34. The new showing appears in the Showings list as ‘Scheduled’.