Add and Manage Property Accounting
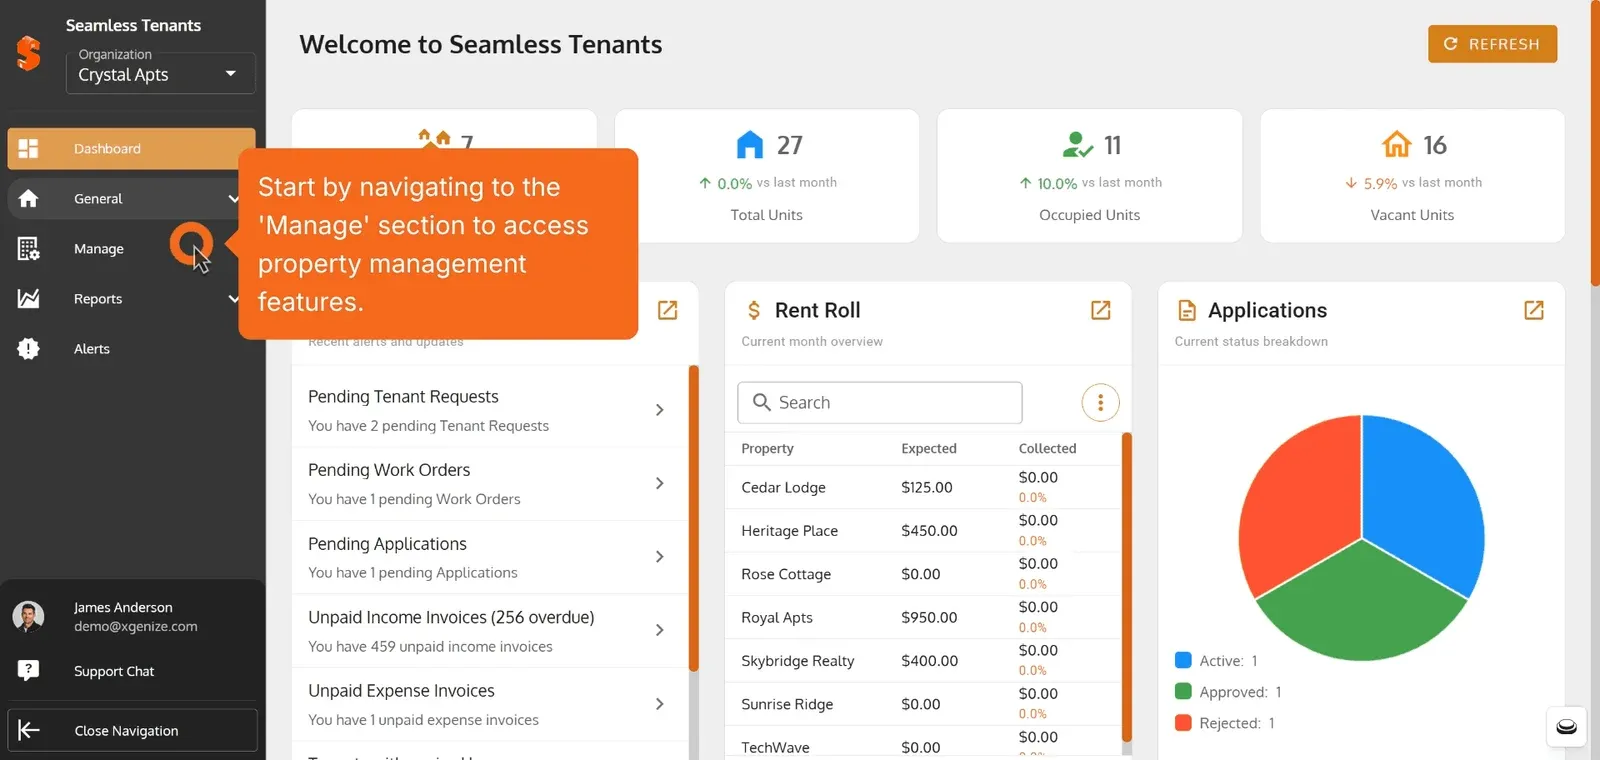
Start by navigating to the ‘Manage’ section to access property management features.
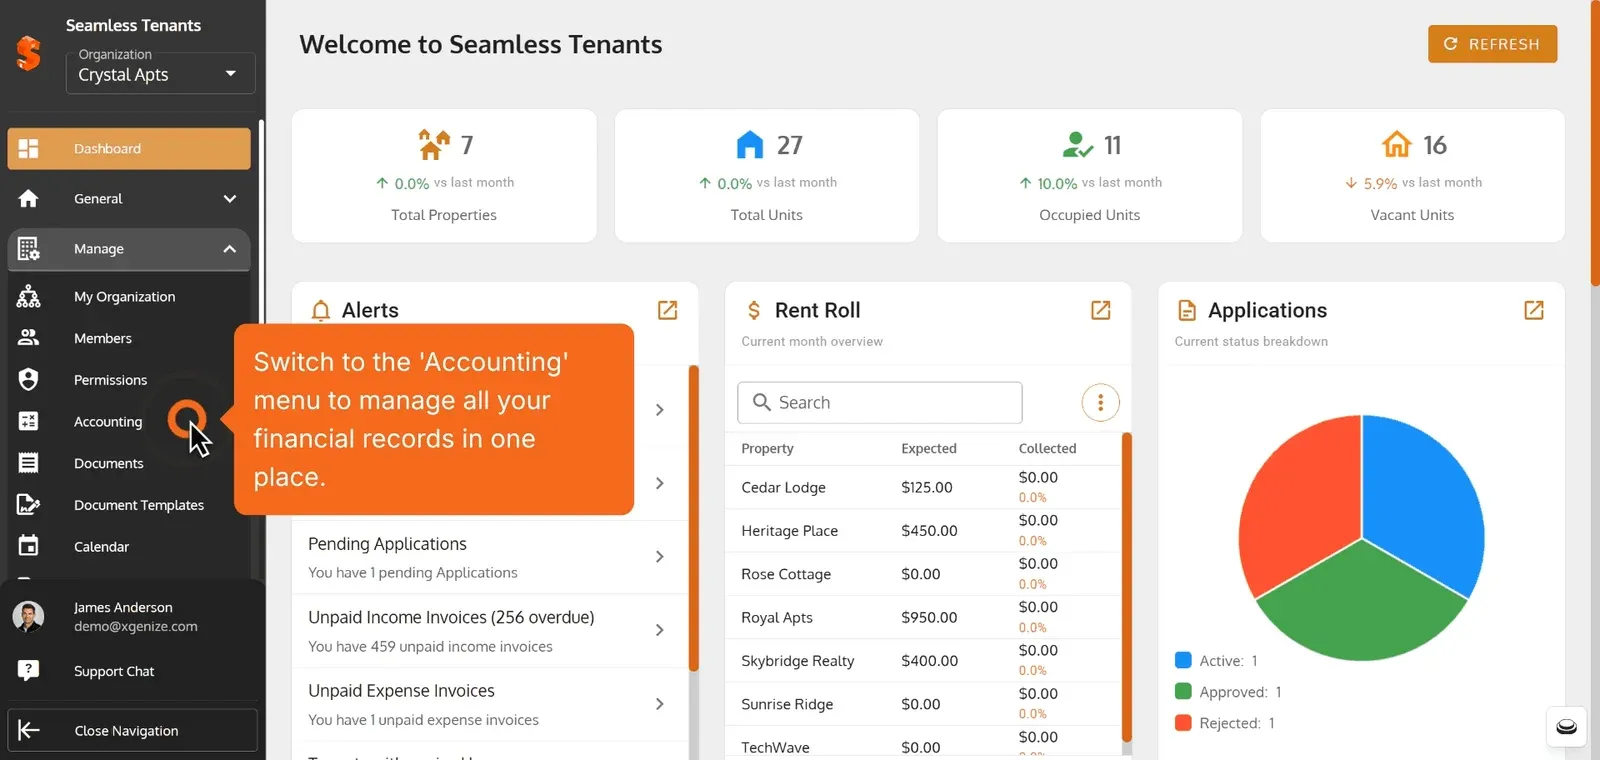
Switch to the ‘Accounting’ menu to manage all your financial records in one place.
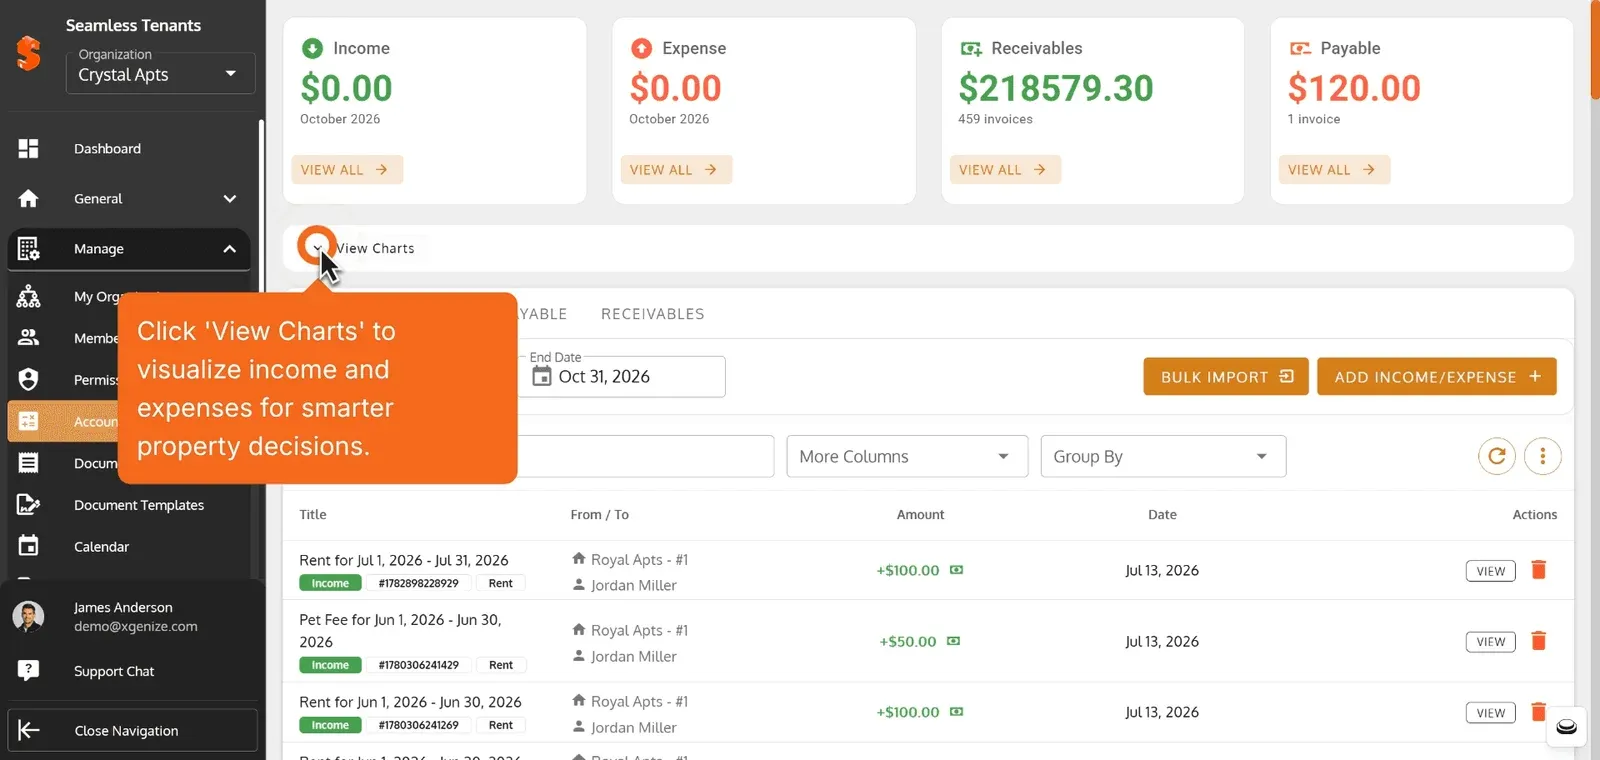
Click ‘View Charts’ to visualize income and expenses for smarter property decisions.
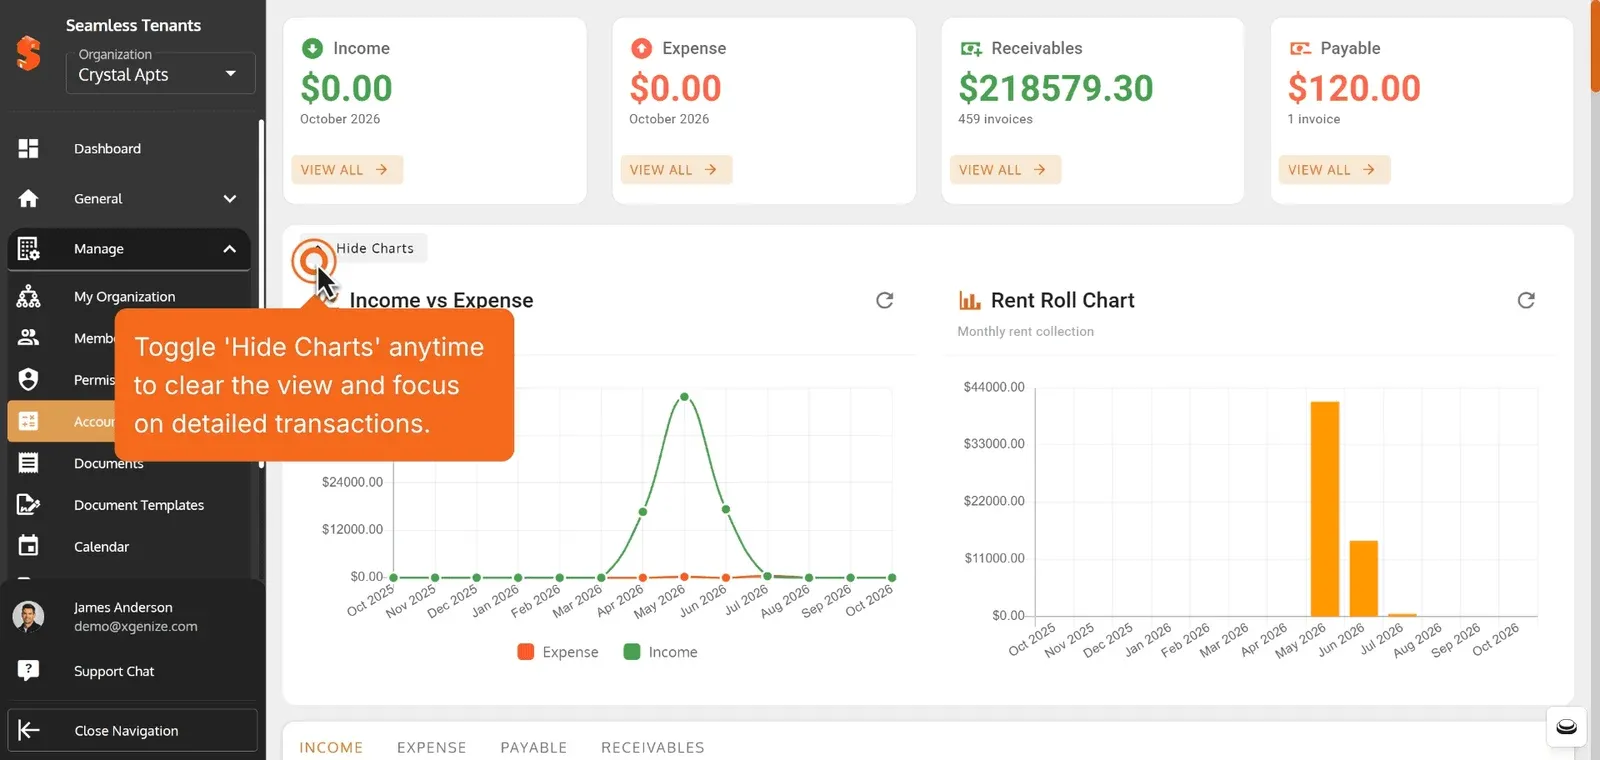
Toggle ‘Hide Charts’ anytime to clear the view and focus on detailed transactions.
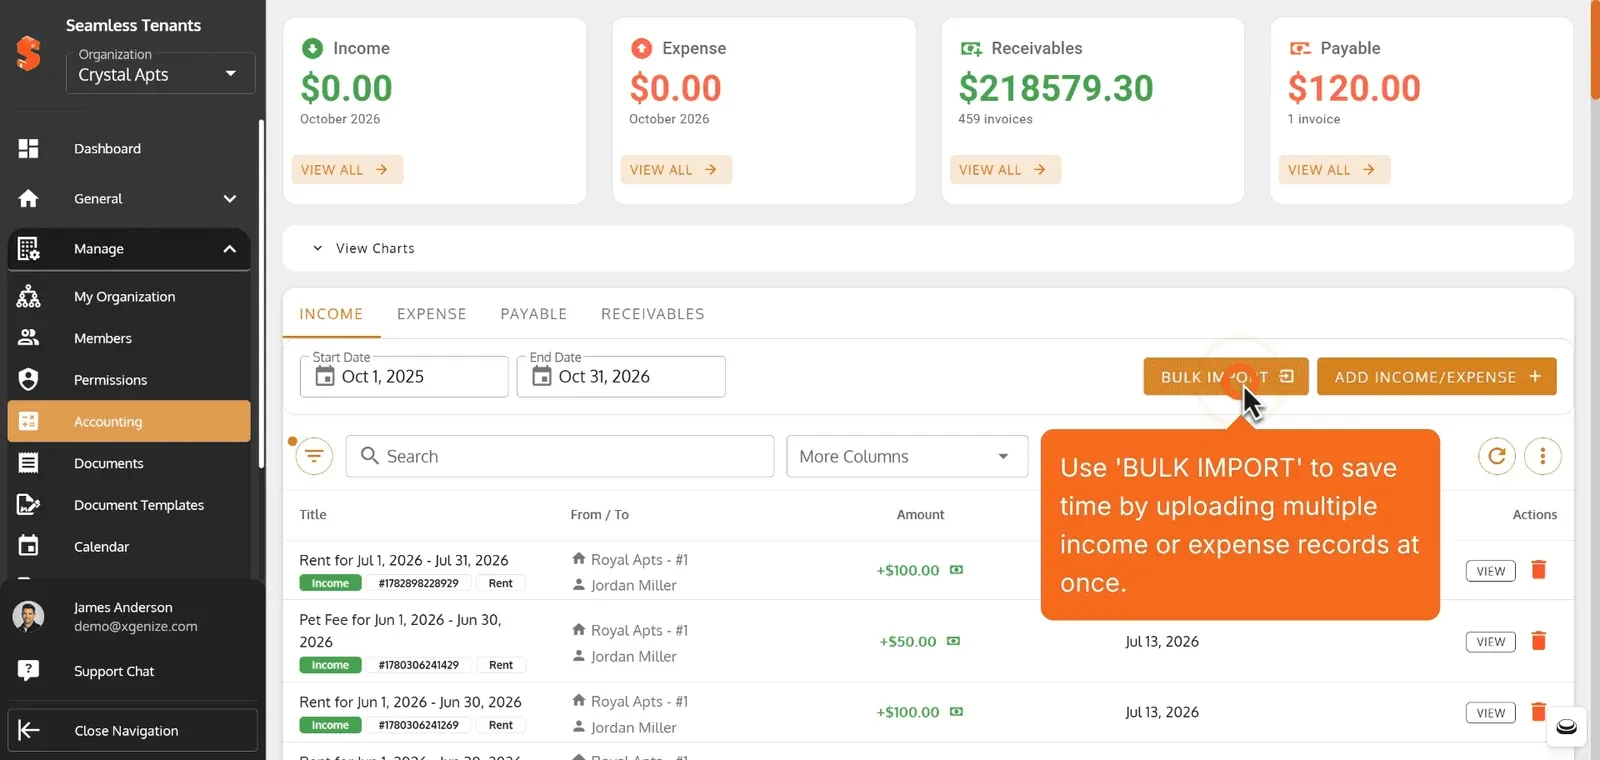
Use ‘BULK IMPORT’ to save time by uploading multiple income or expense records at once.
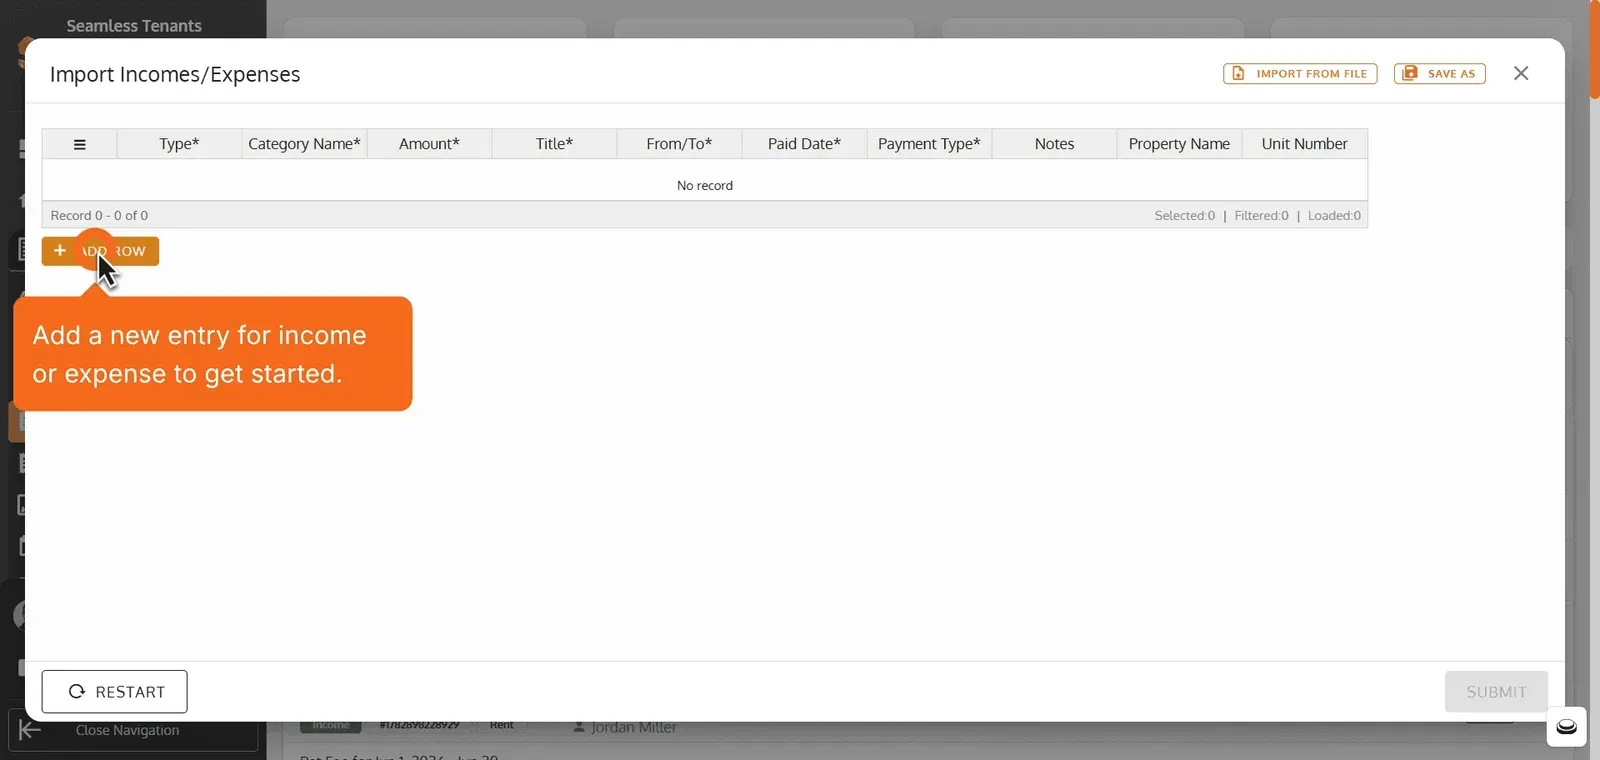
Click Add Row to add a new entry for income or expense to get started.
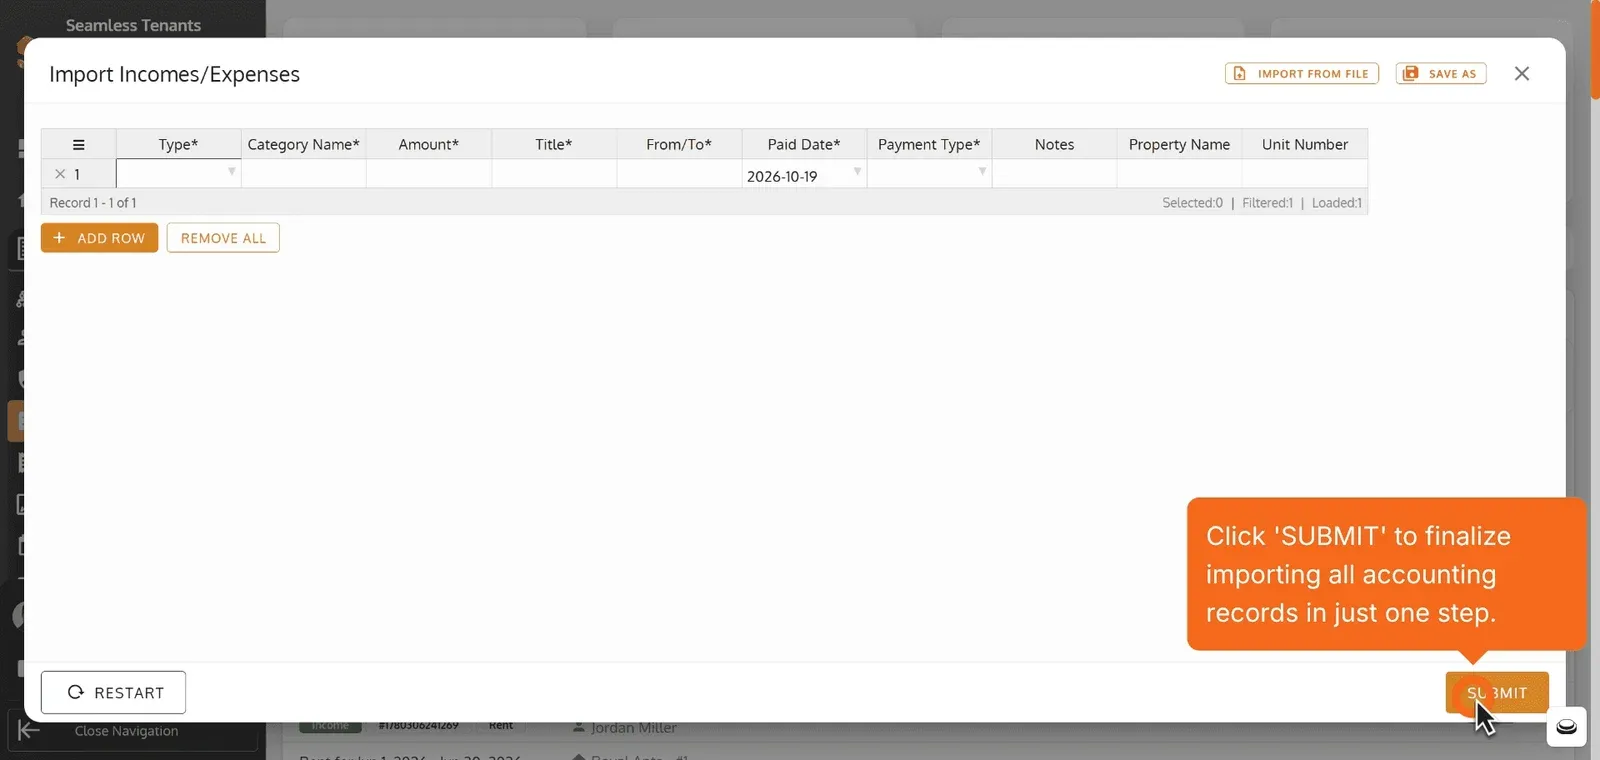
Click ‘SUBMIT’ to finalize importing all accounting records in just one step.
Confirm to instantly import your new income or expense record.
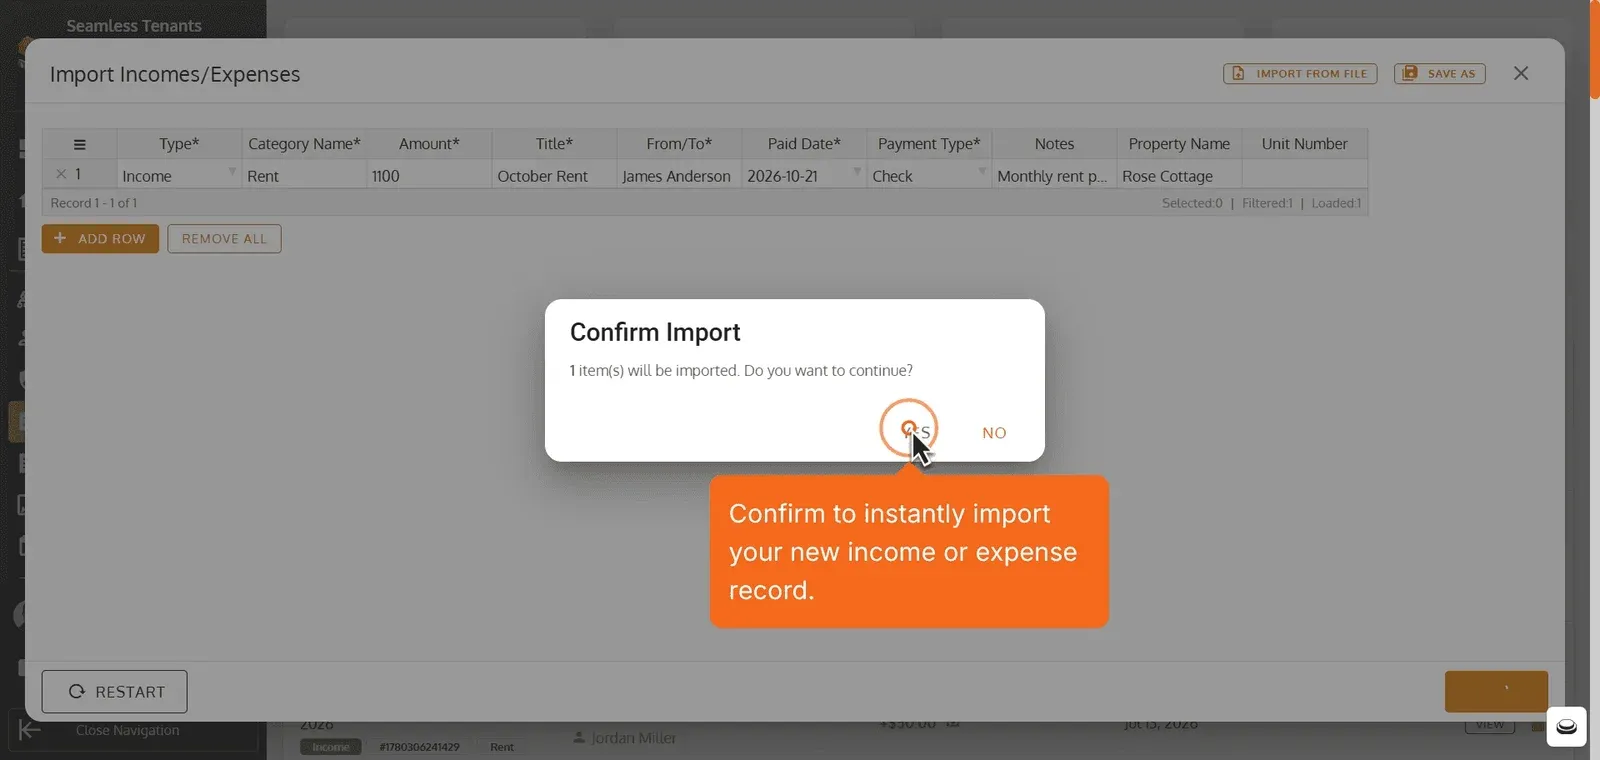
Success! Your records have been imported and are ready to review.
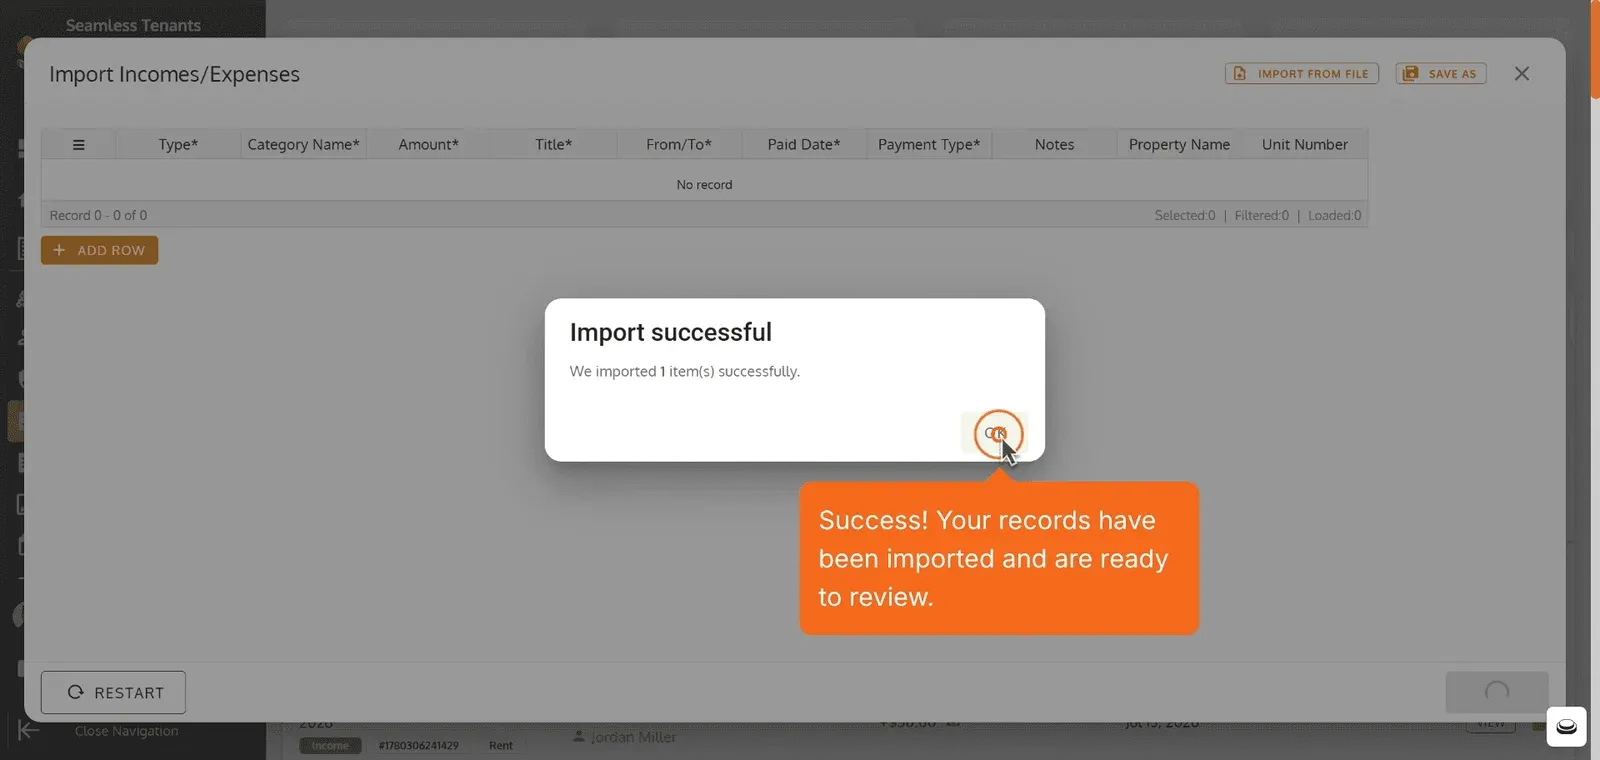
Click ‘Close’ to exit the import process and return to your dashboard.
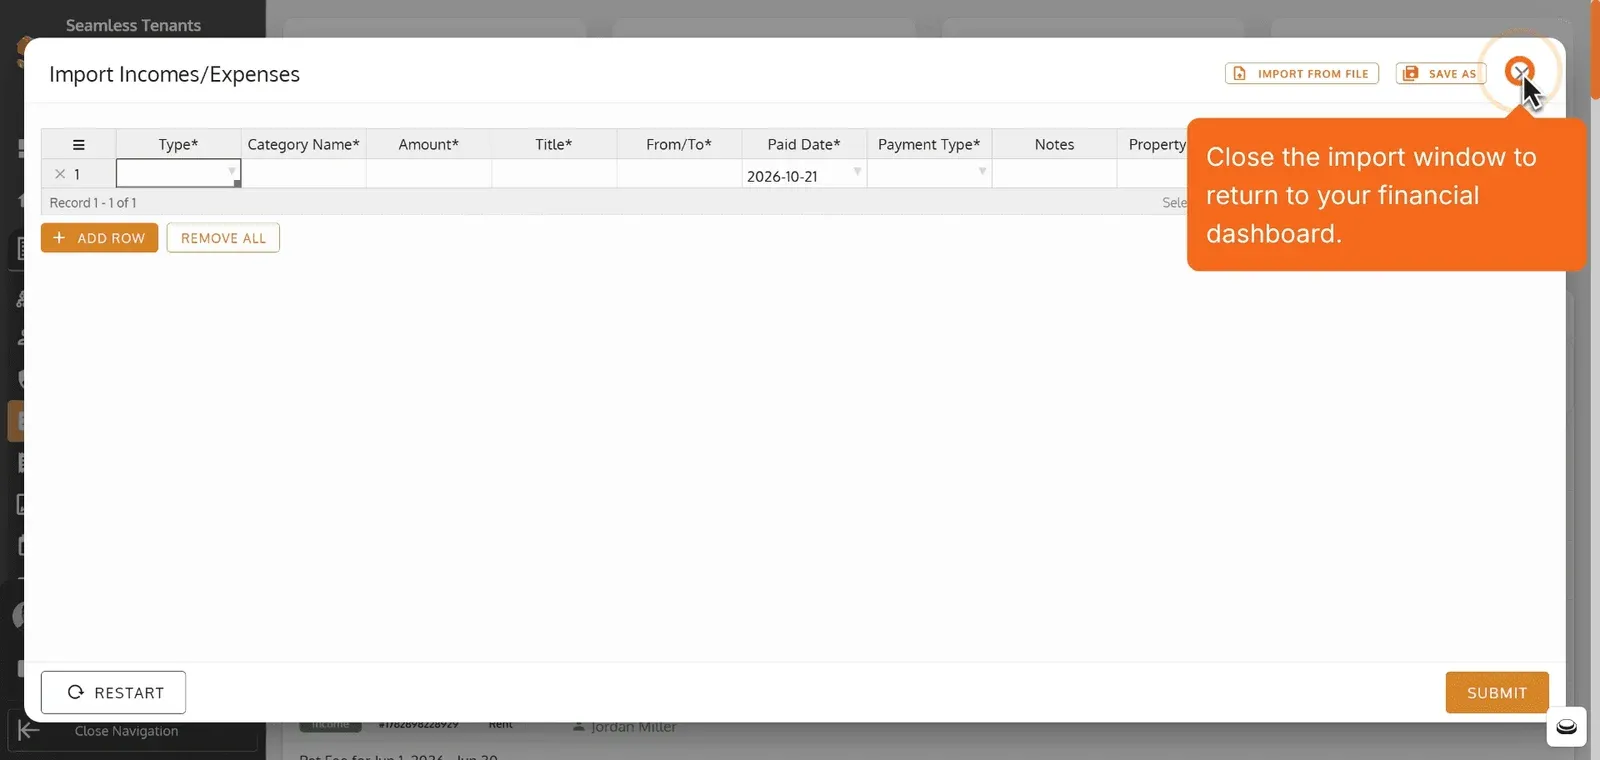
Add a new property income or expense by selecting ‘Add Income/Expense’.
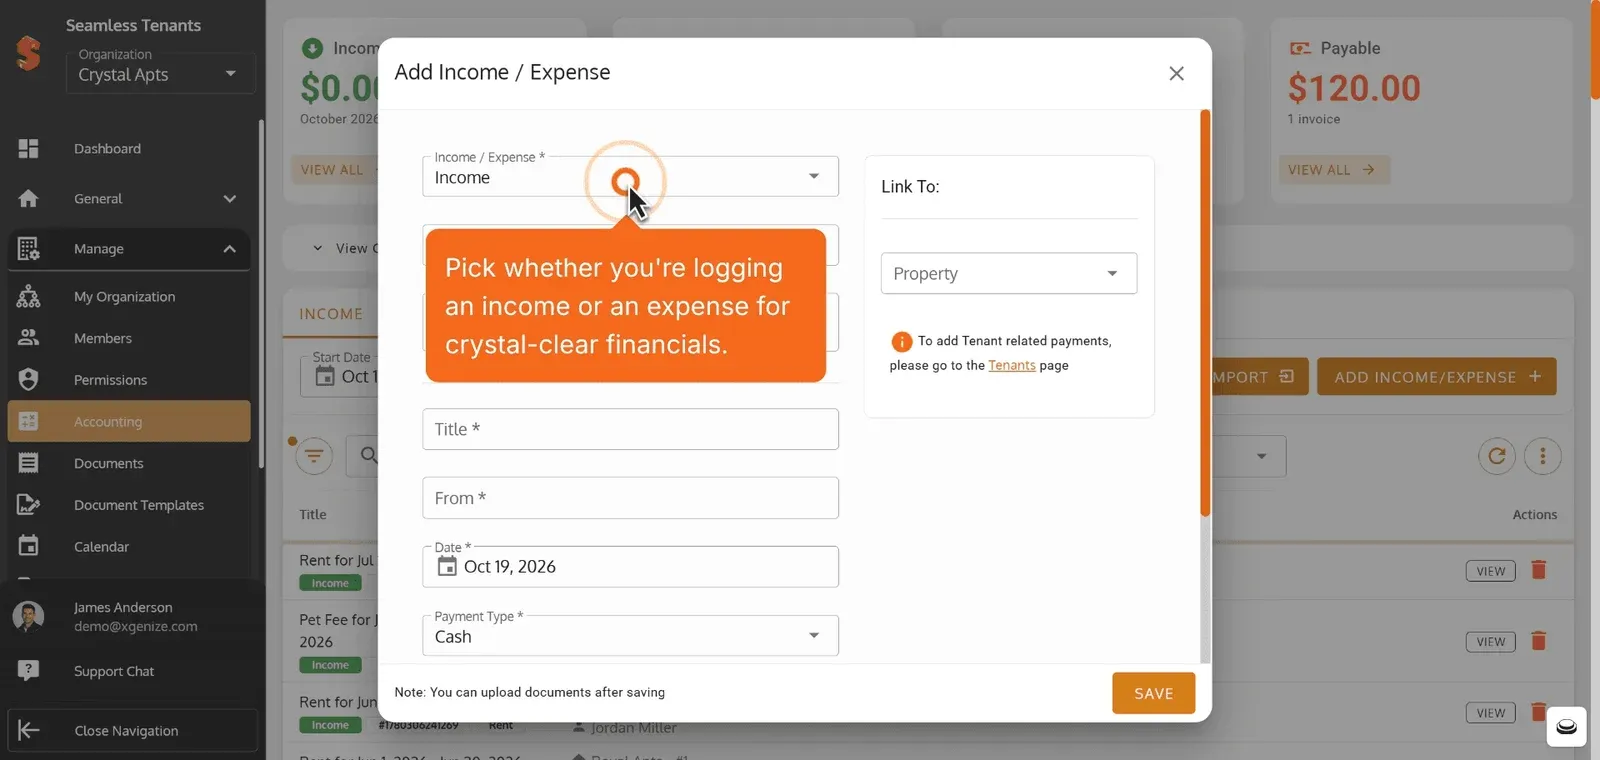
Pick whether you’re logging an income or an expense for crystal-clear financials.
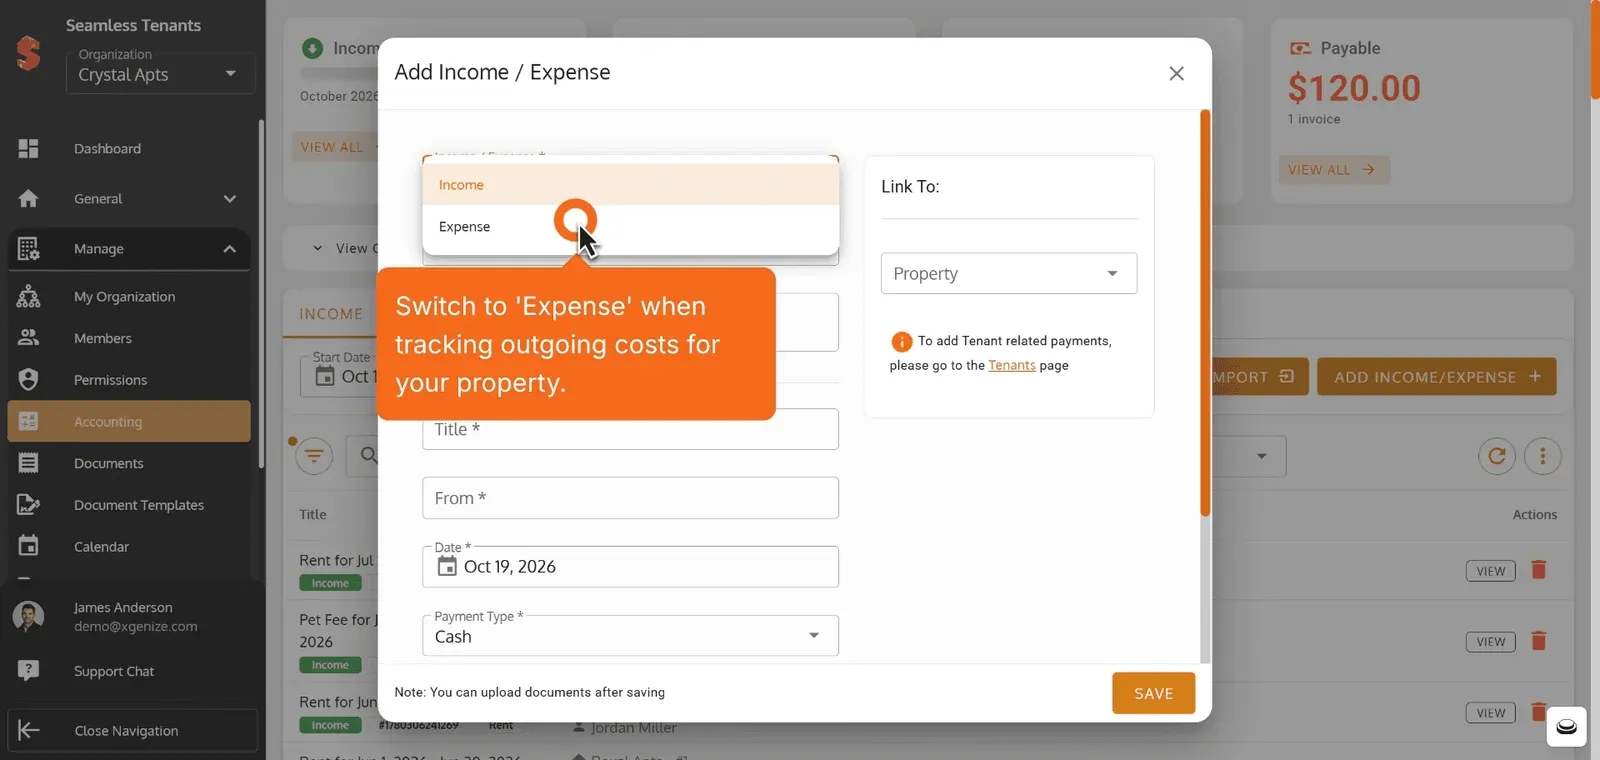
Switch to ‘Expense’ when tracking outgoing costs for your property.
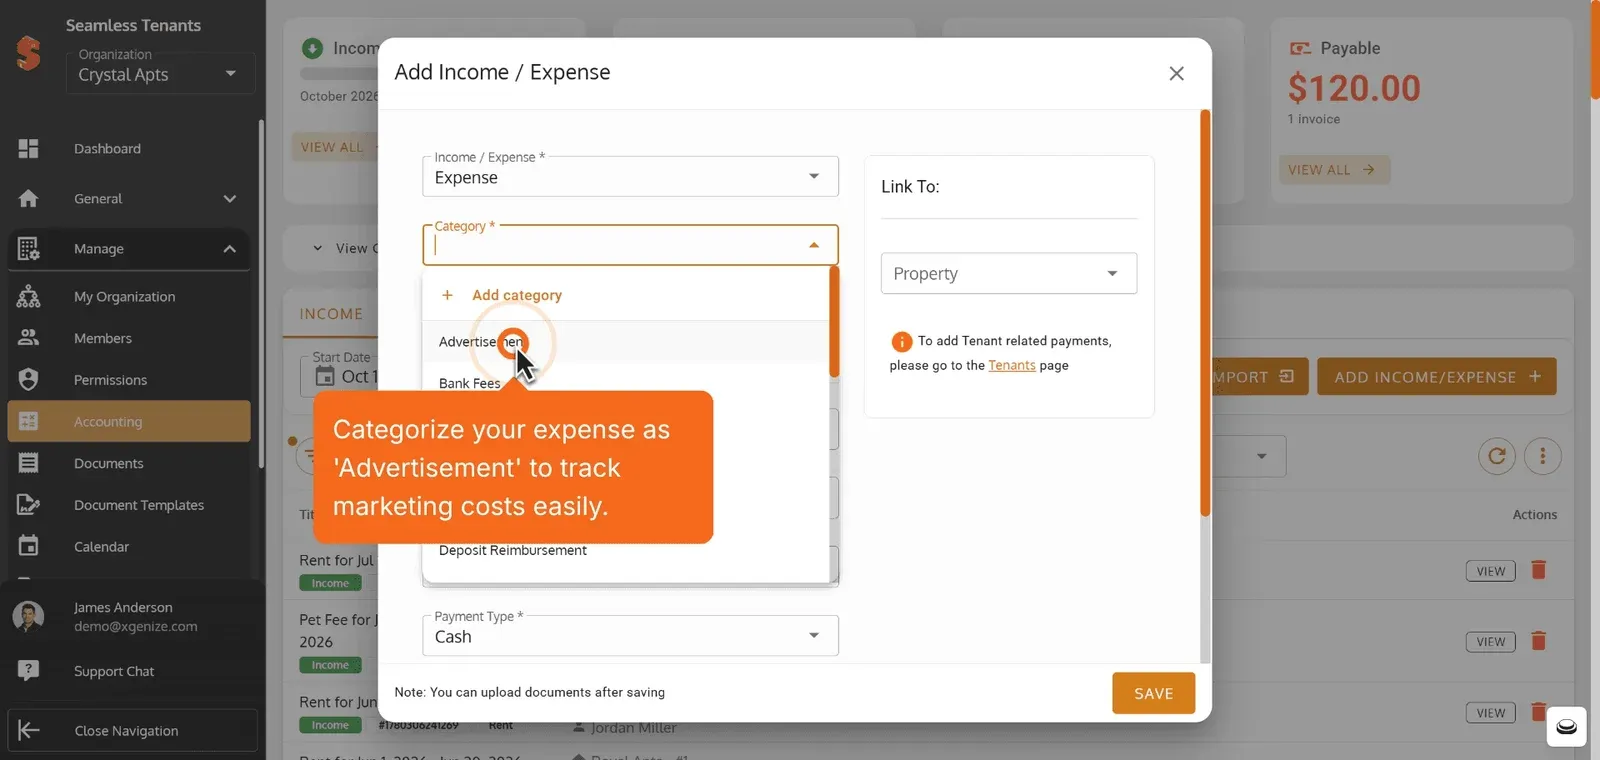
Categorize your expense as ‘Advertisement’ to track marketing costs easily.
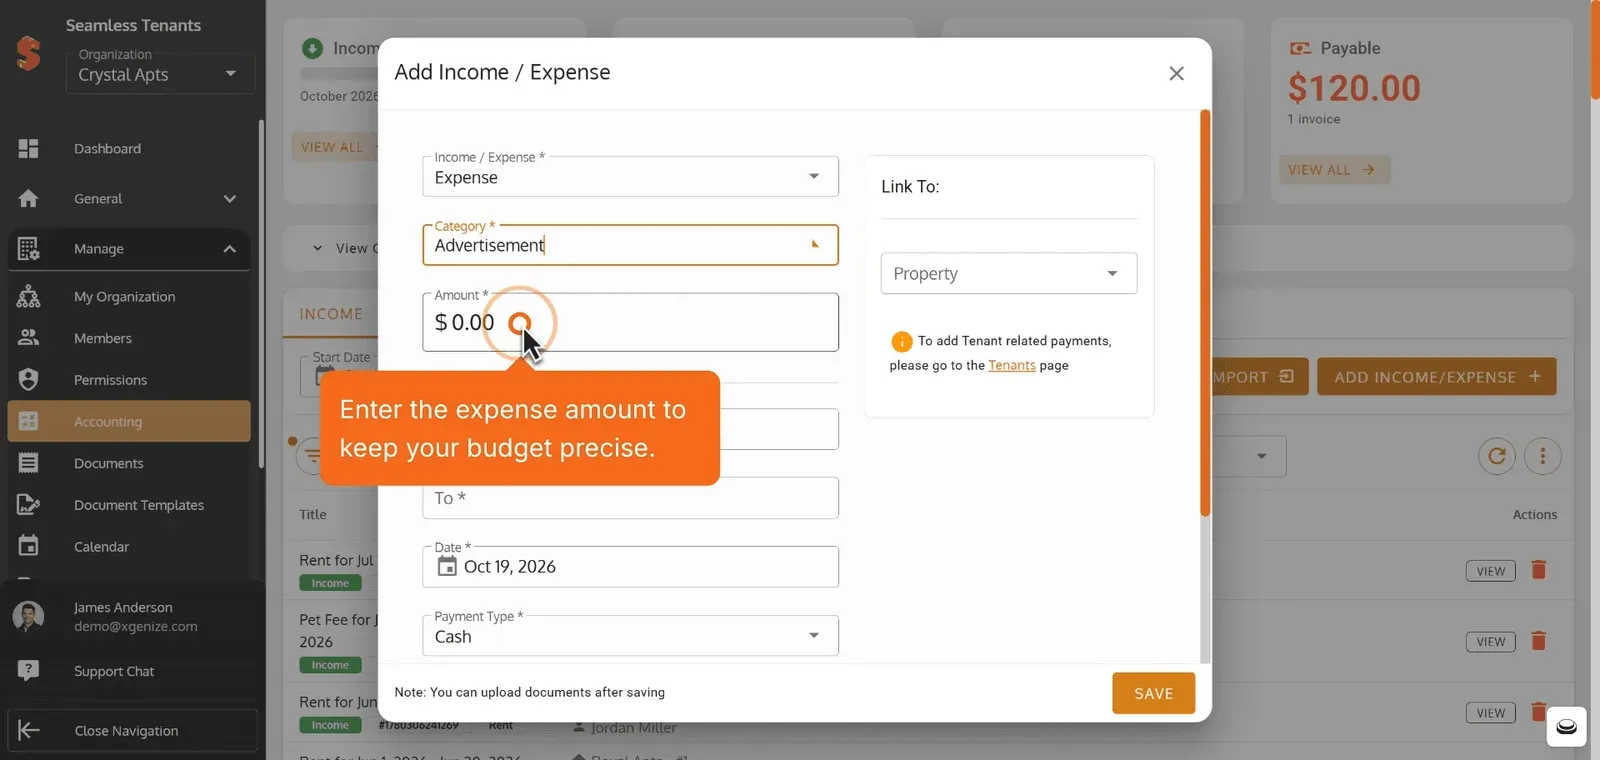
Enter the expense amount to keep your budget precise.
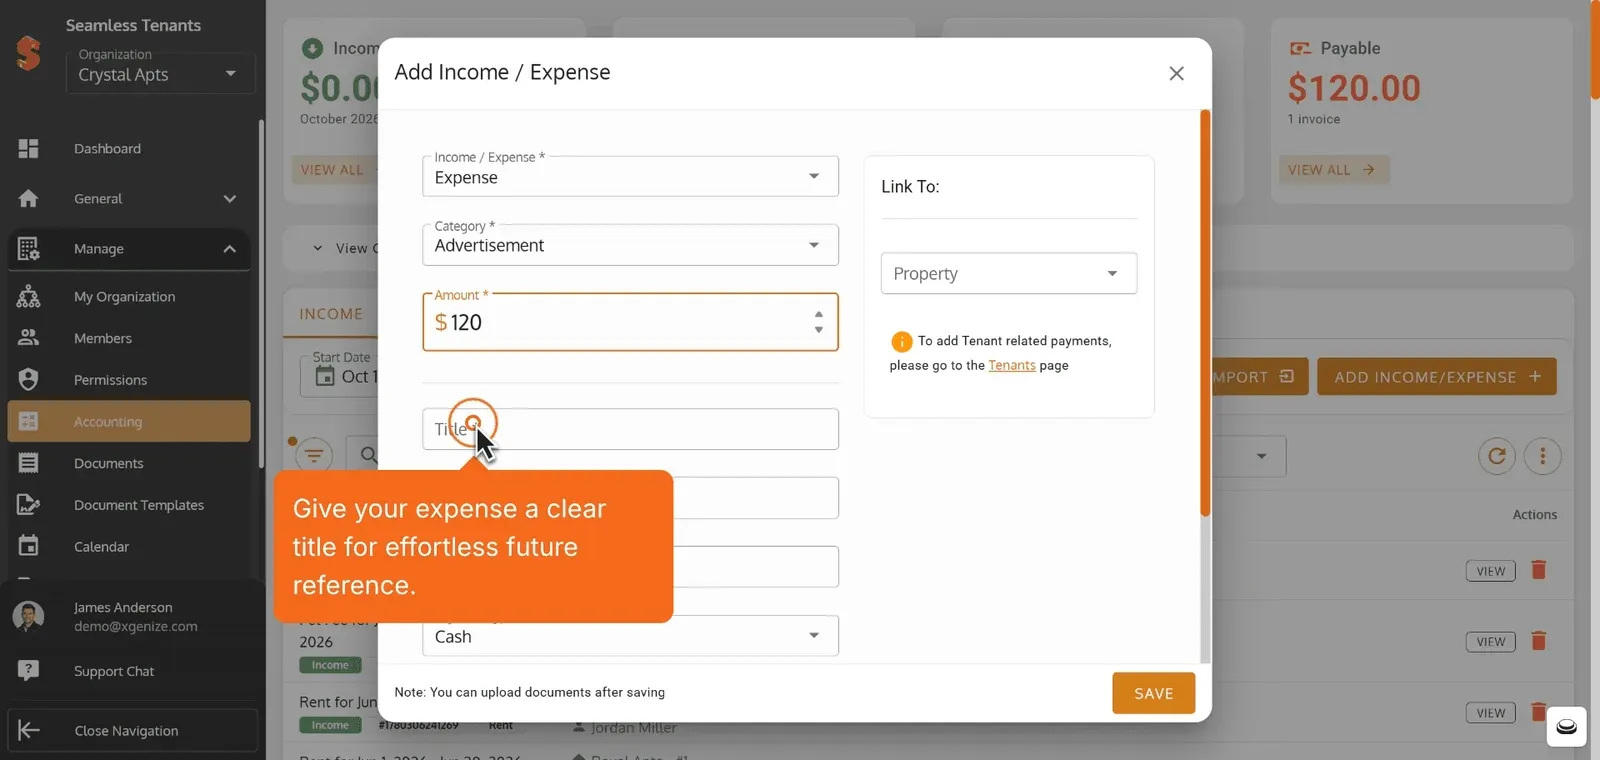
Give your expense a clear title for effortless future reference.
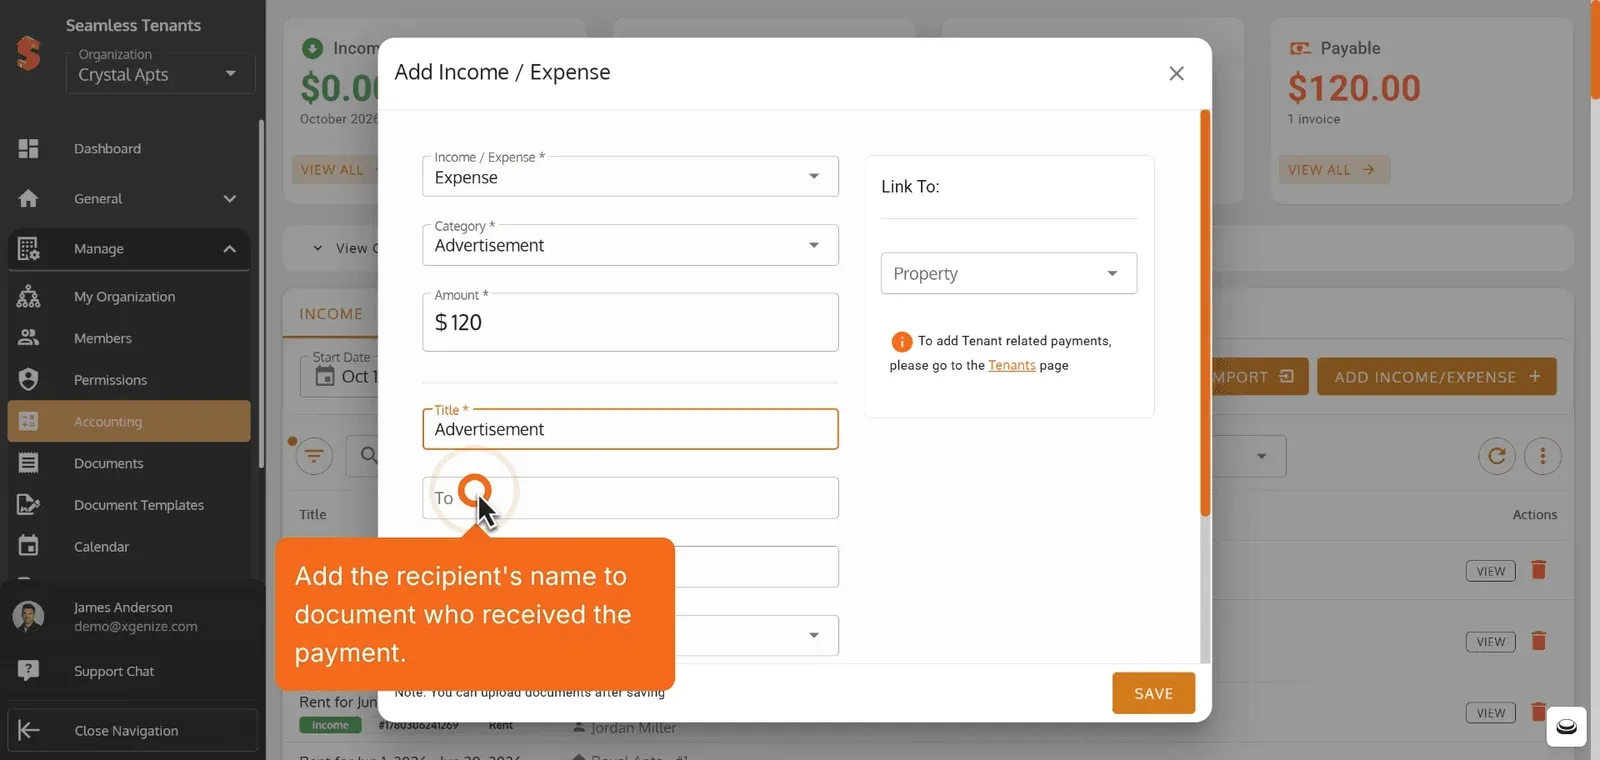
Add the recipient’s name to document who received the payment.
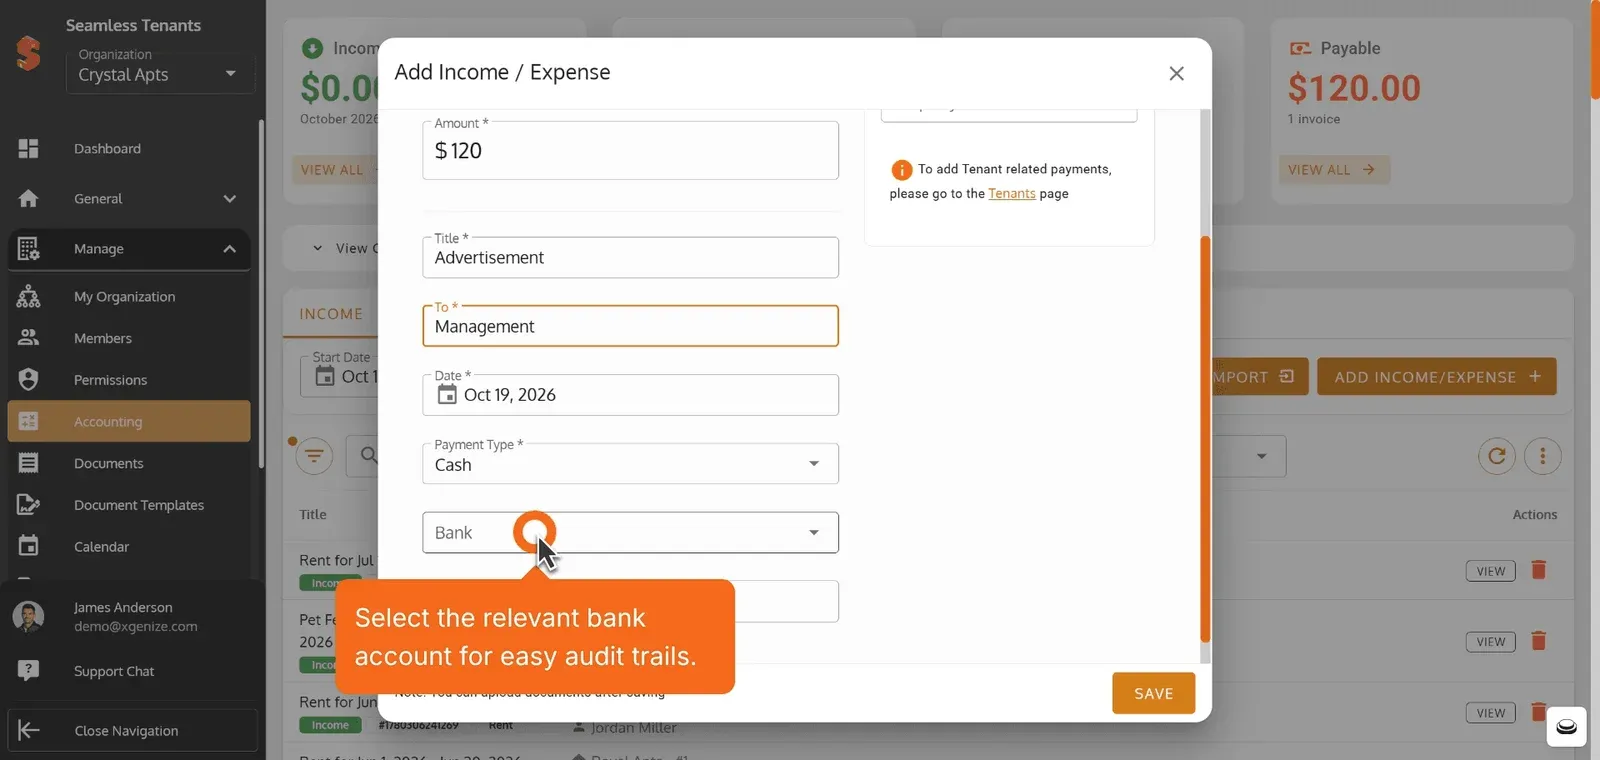
Select the relevant bank account for easy audit trails.
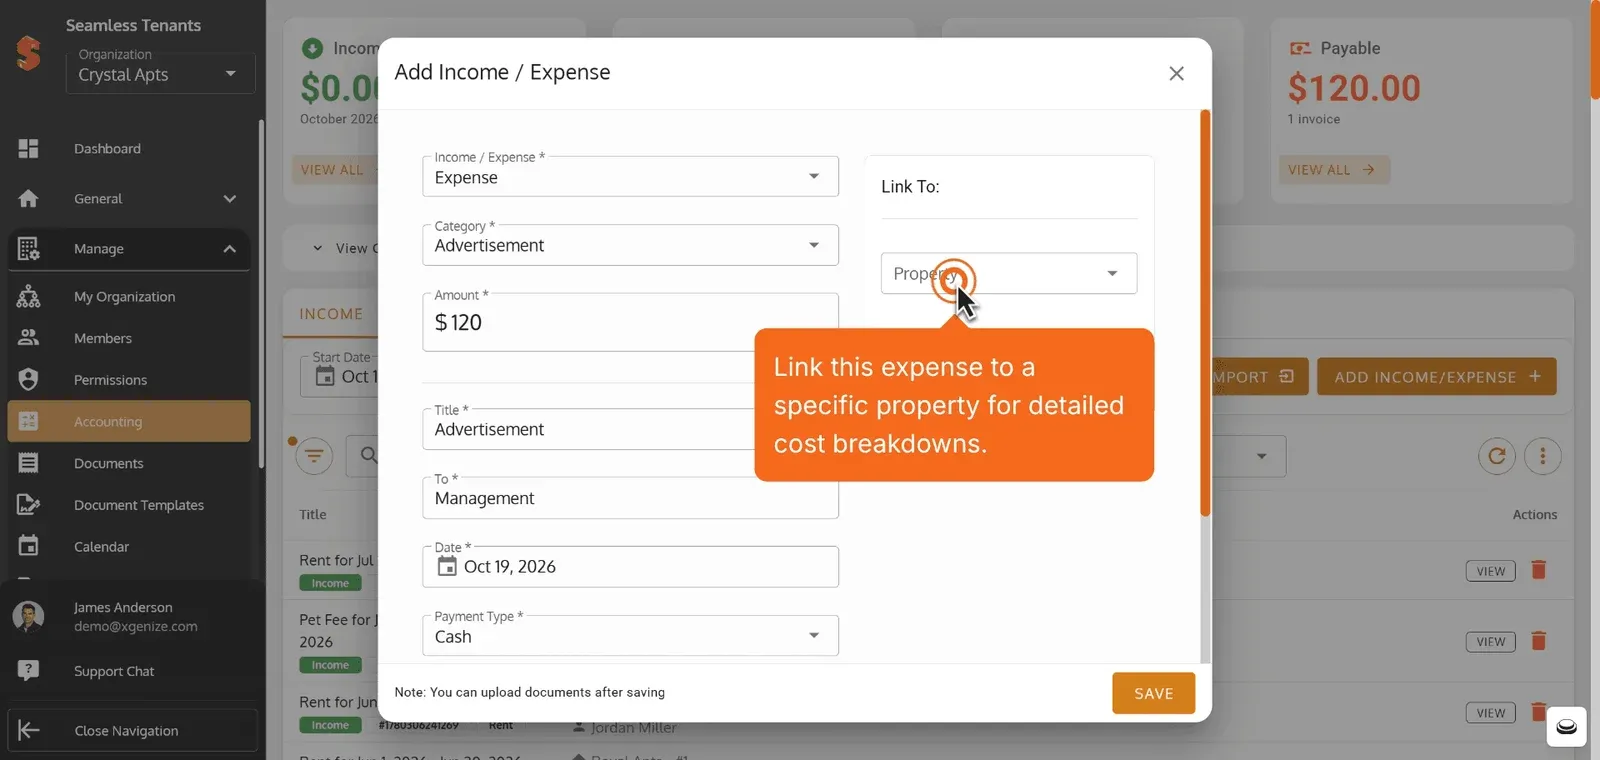
Link this expense to a specific property for detailed cost breakdowns.
Drill down to a specific unit for ultra-precise expense tracking.
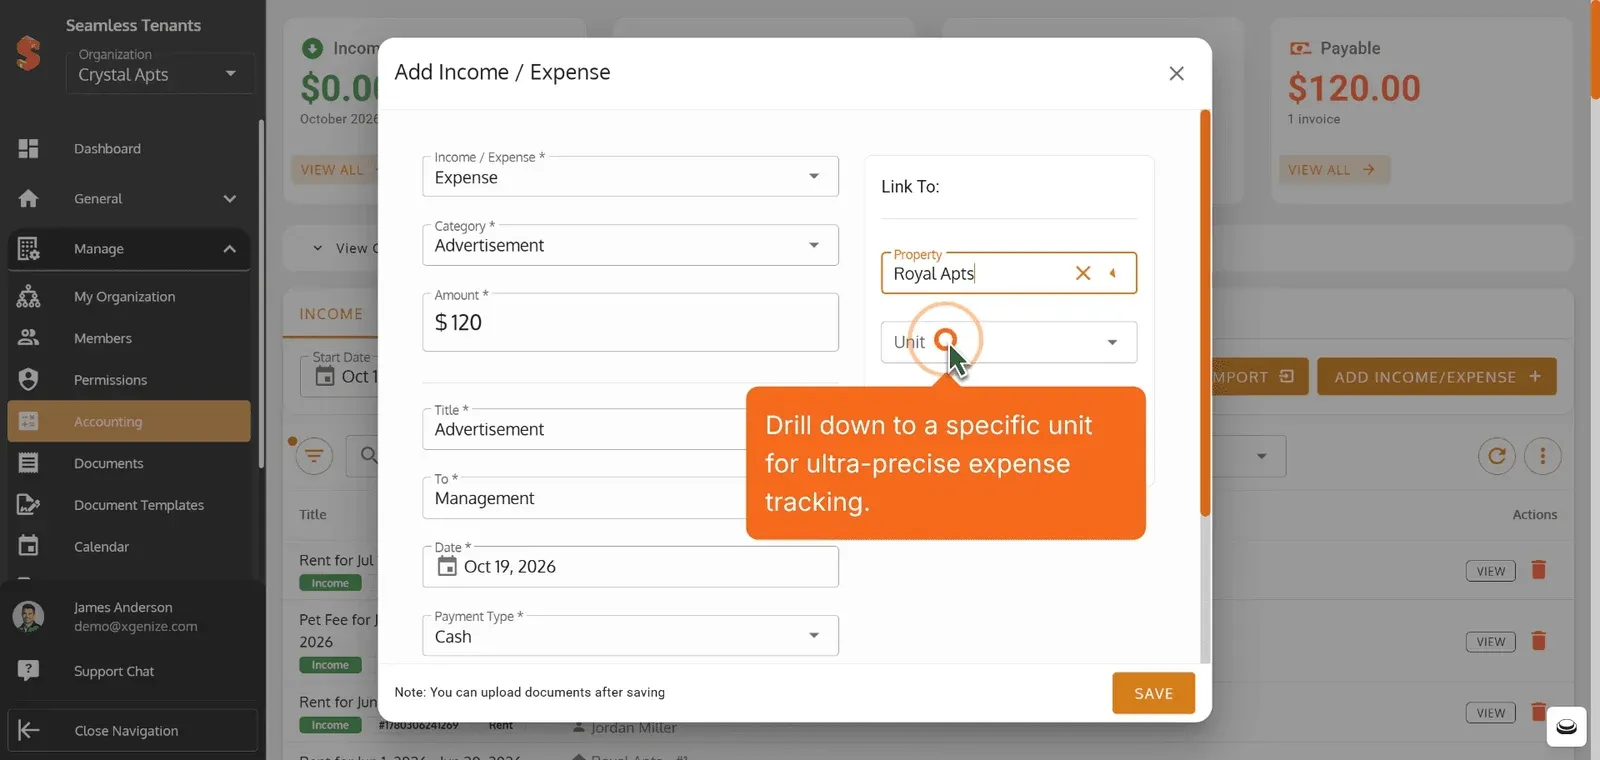
Click ‘SAVE’ to securely record your new expense entry.
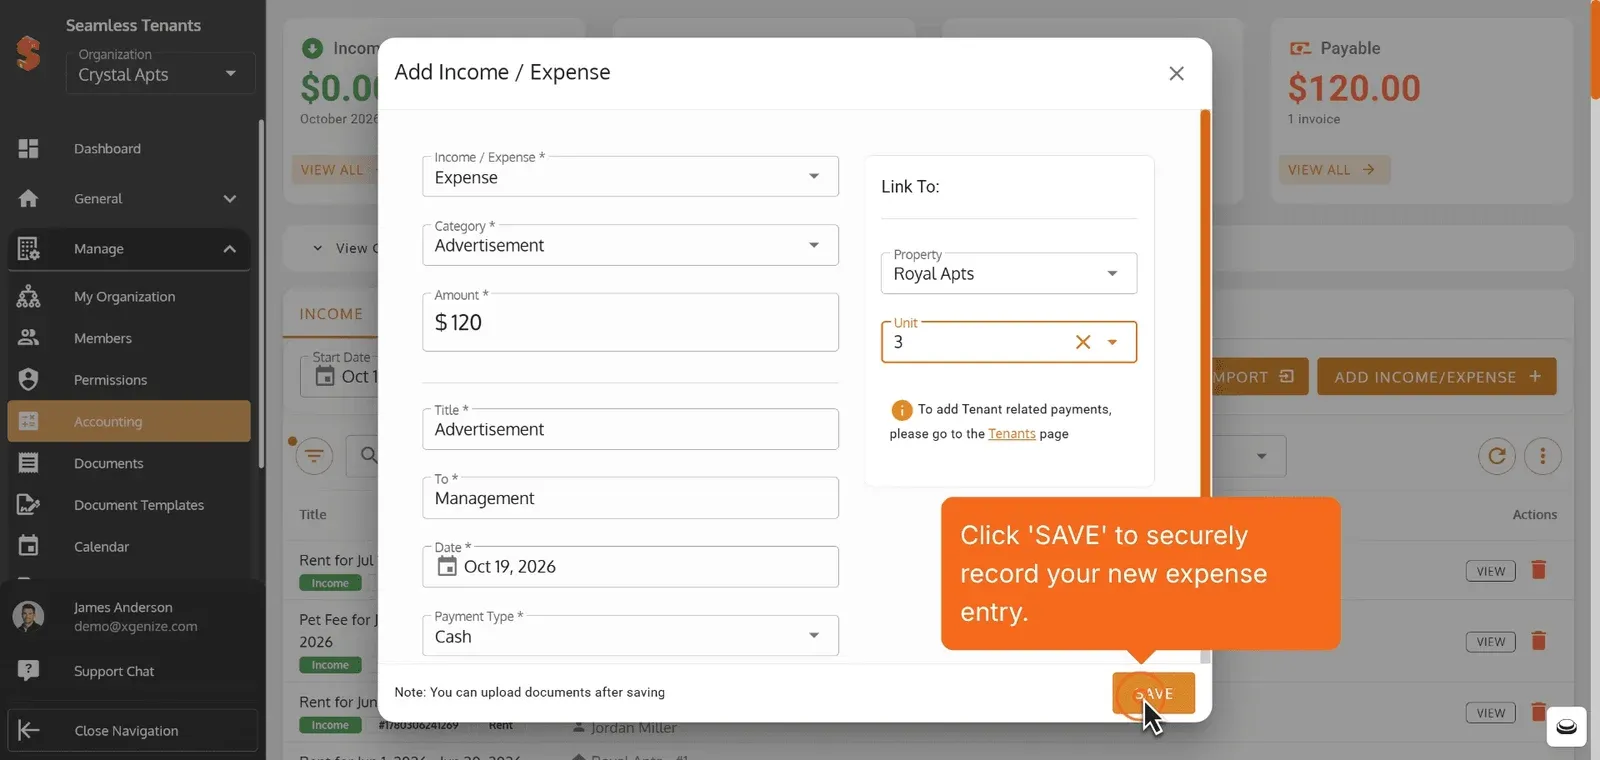
Switch to the ‘EXPENSE’ tab to review all your outflows at a glance.
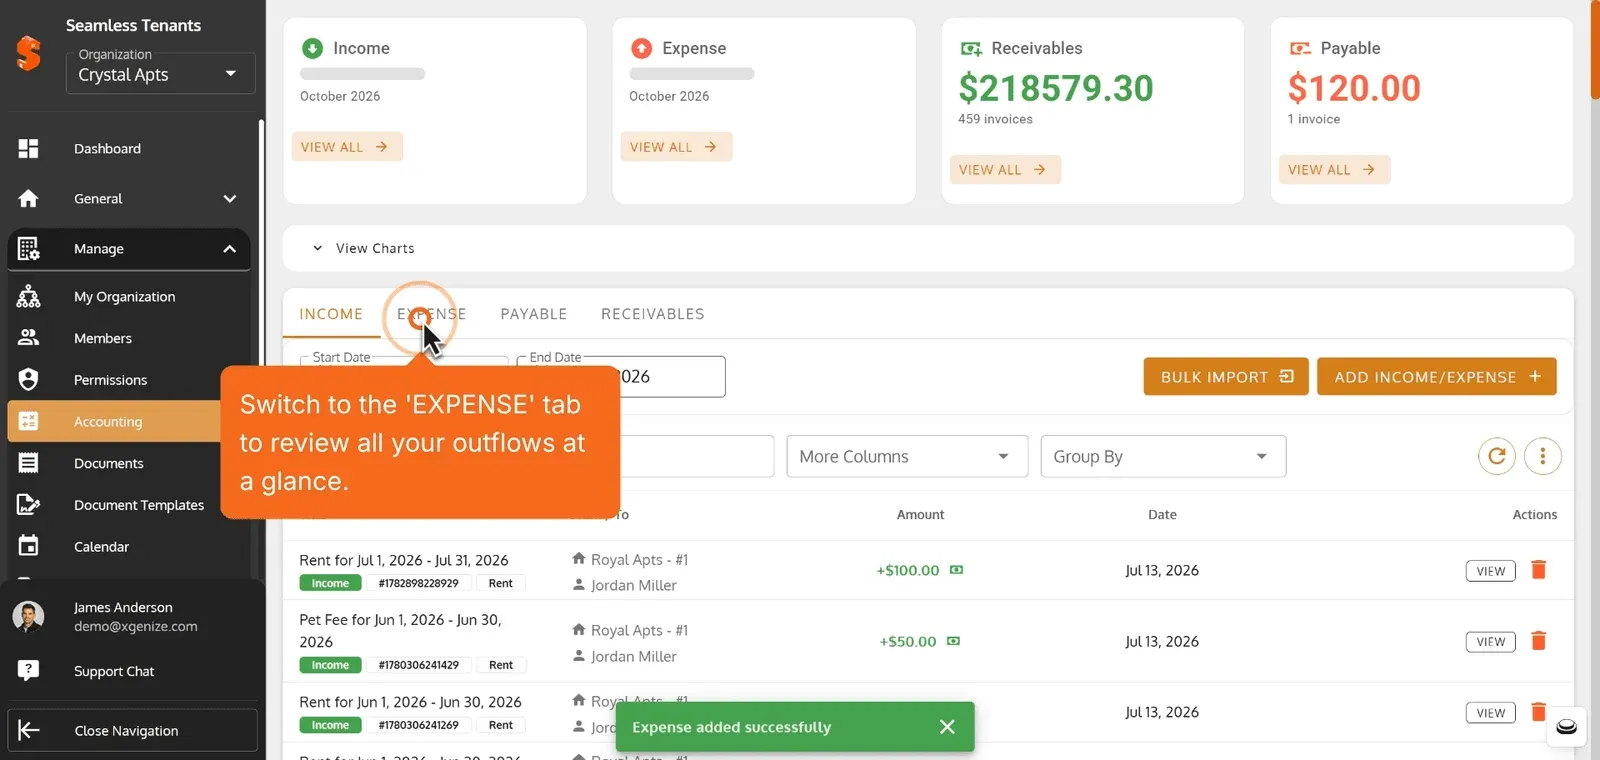
Click PAYABLE to start adding and managing property expenses.
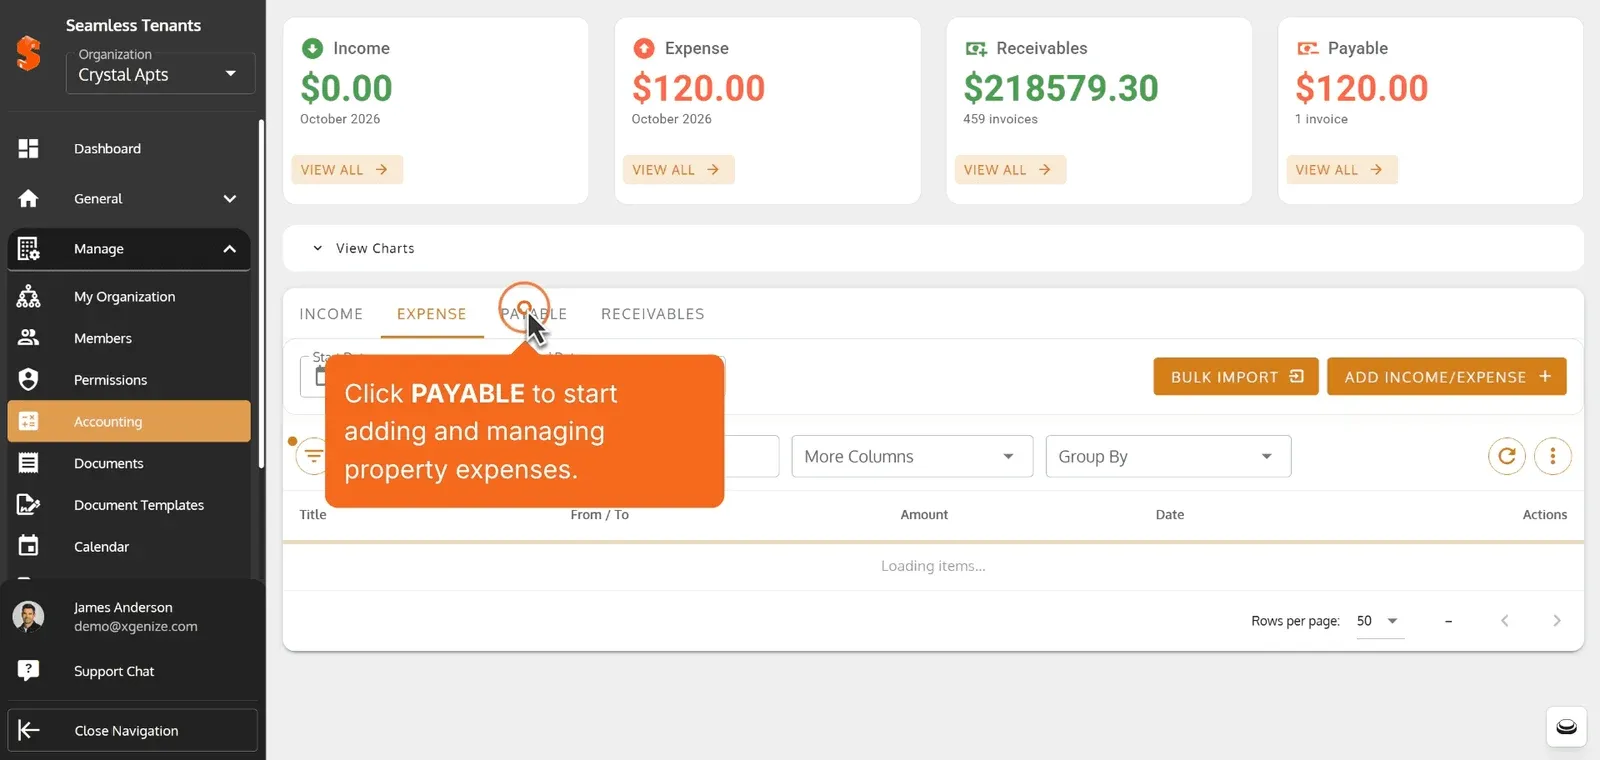
Click Receivables to open and manage tenant charges and payments.
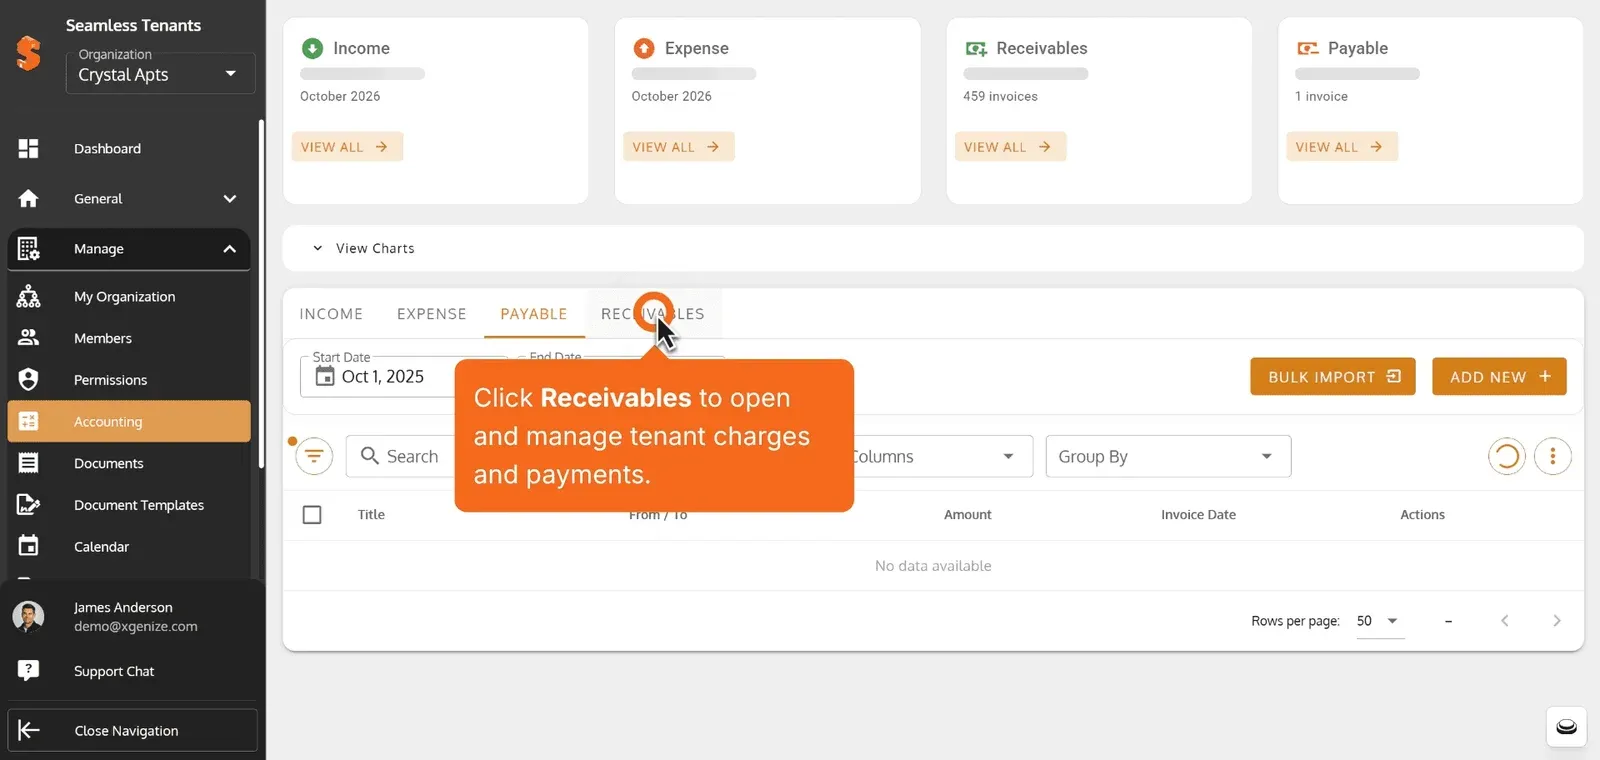
Click PAY to complete the payment for this tenant.
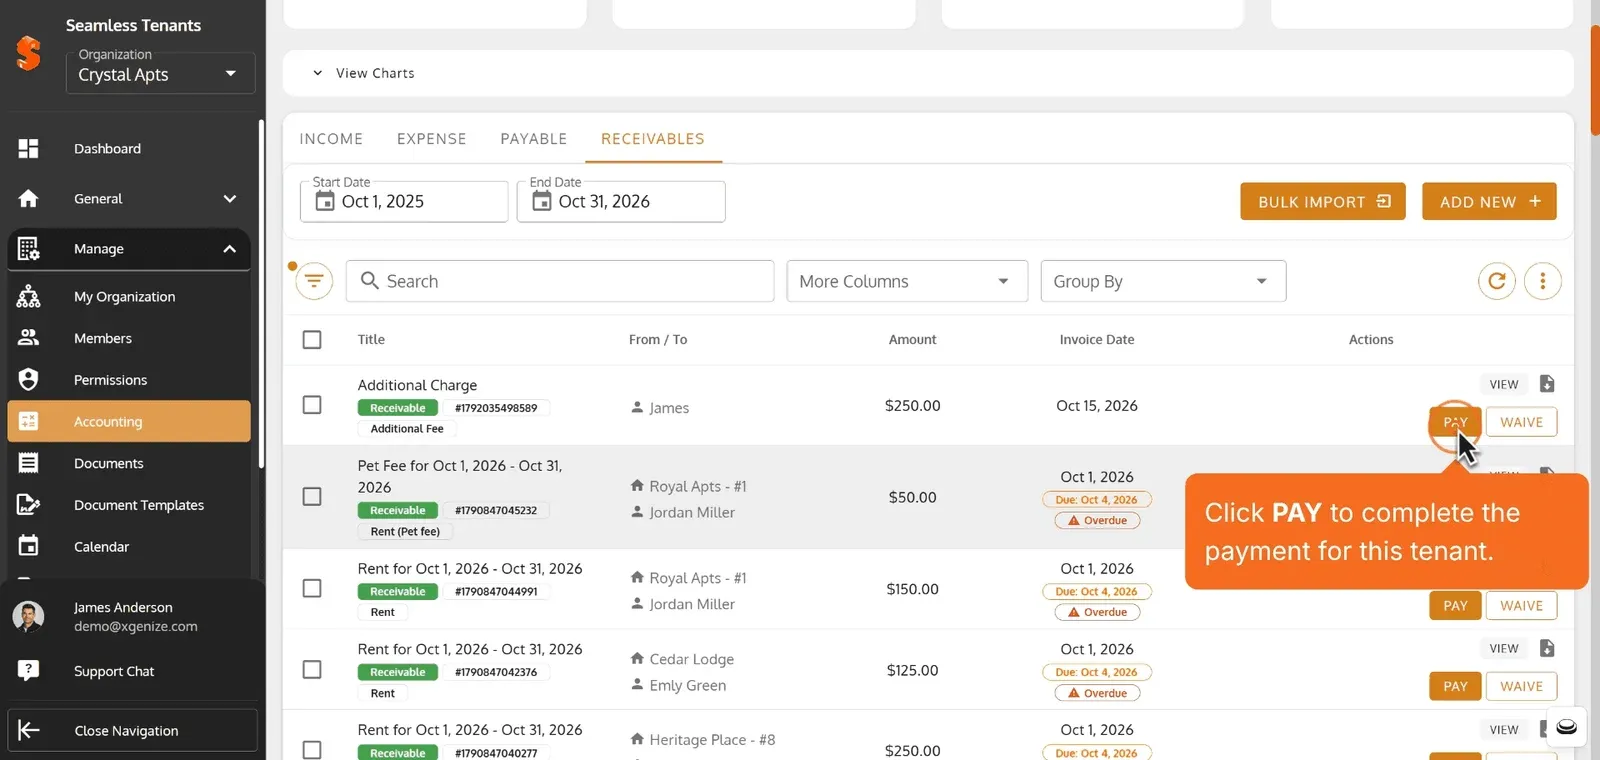
Select CHEQUE as your payment method.
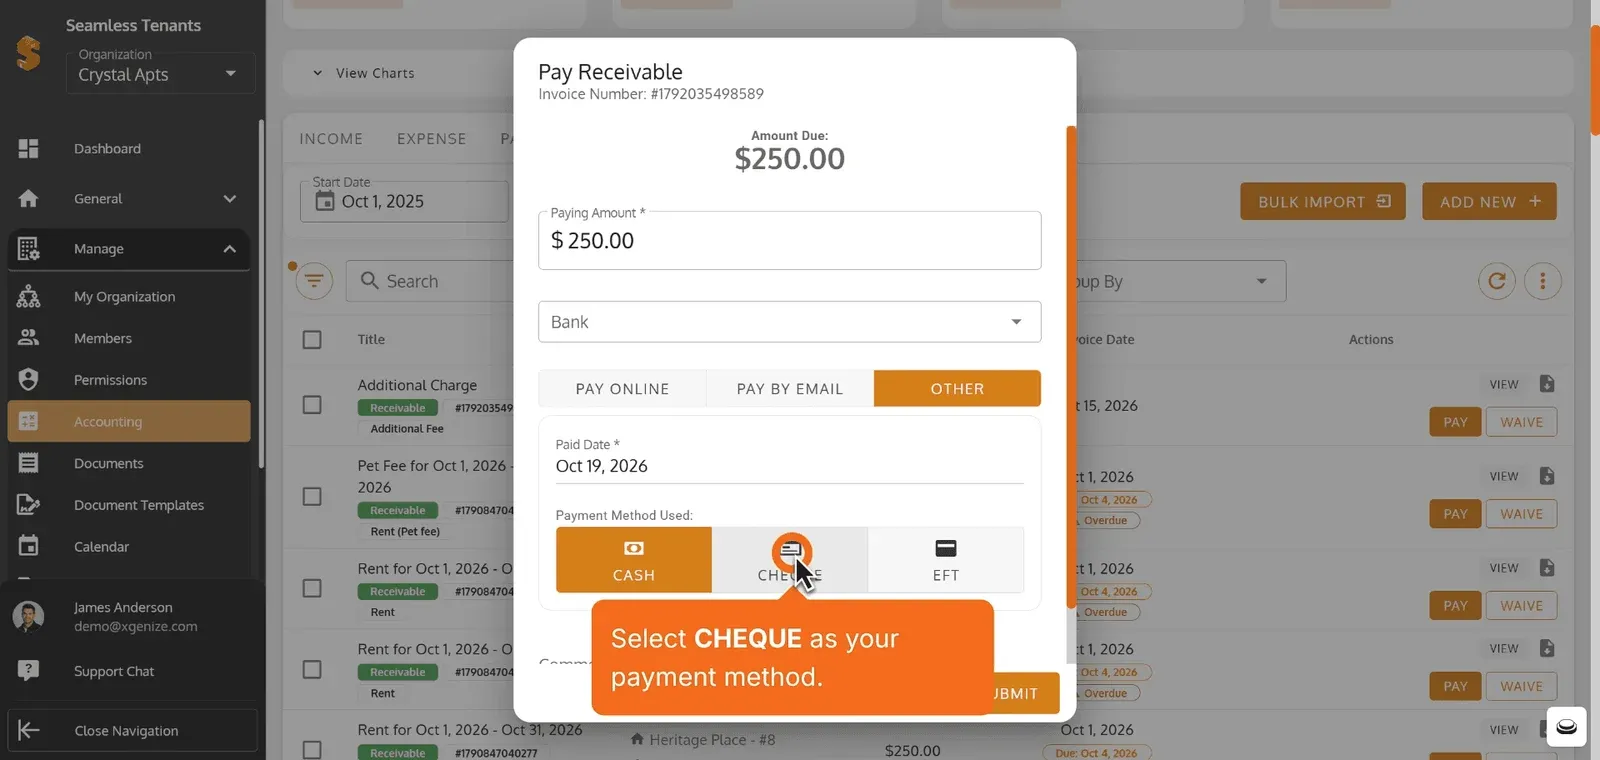
Click SUBMIT to finalize and save the property expense.
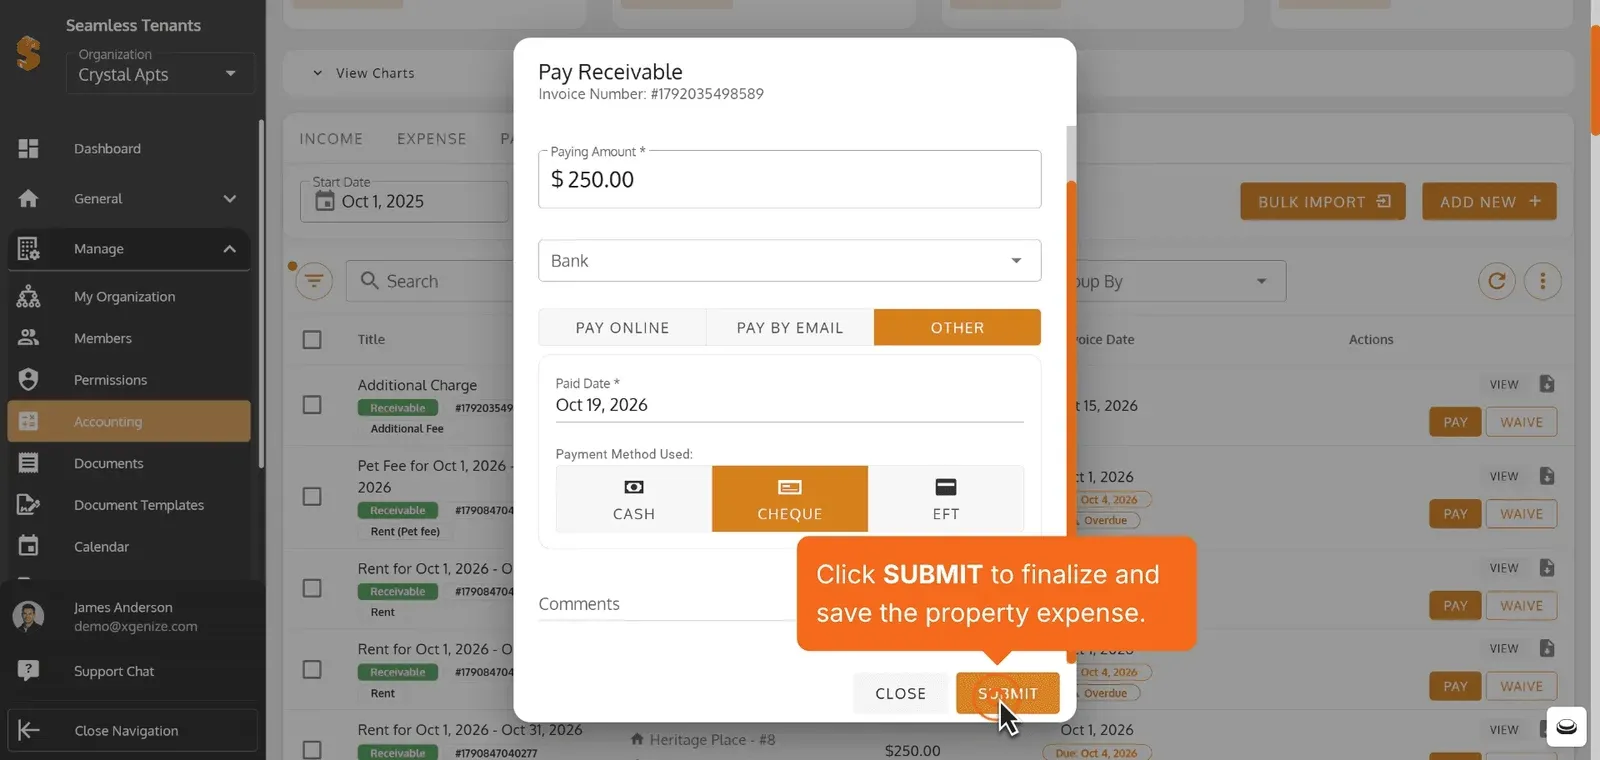
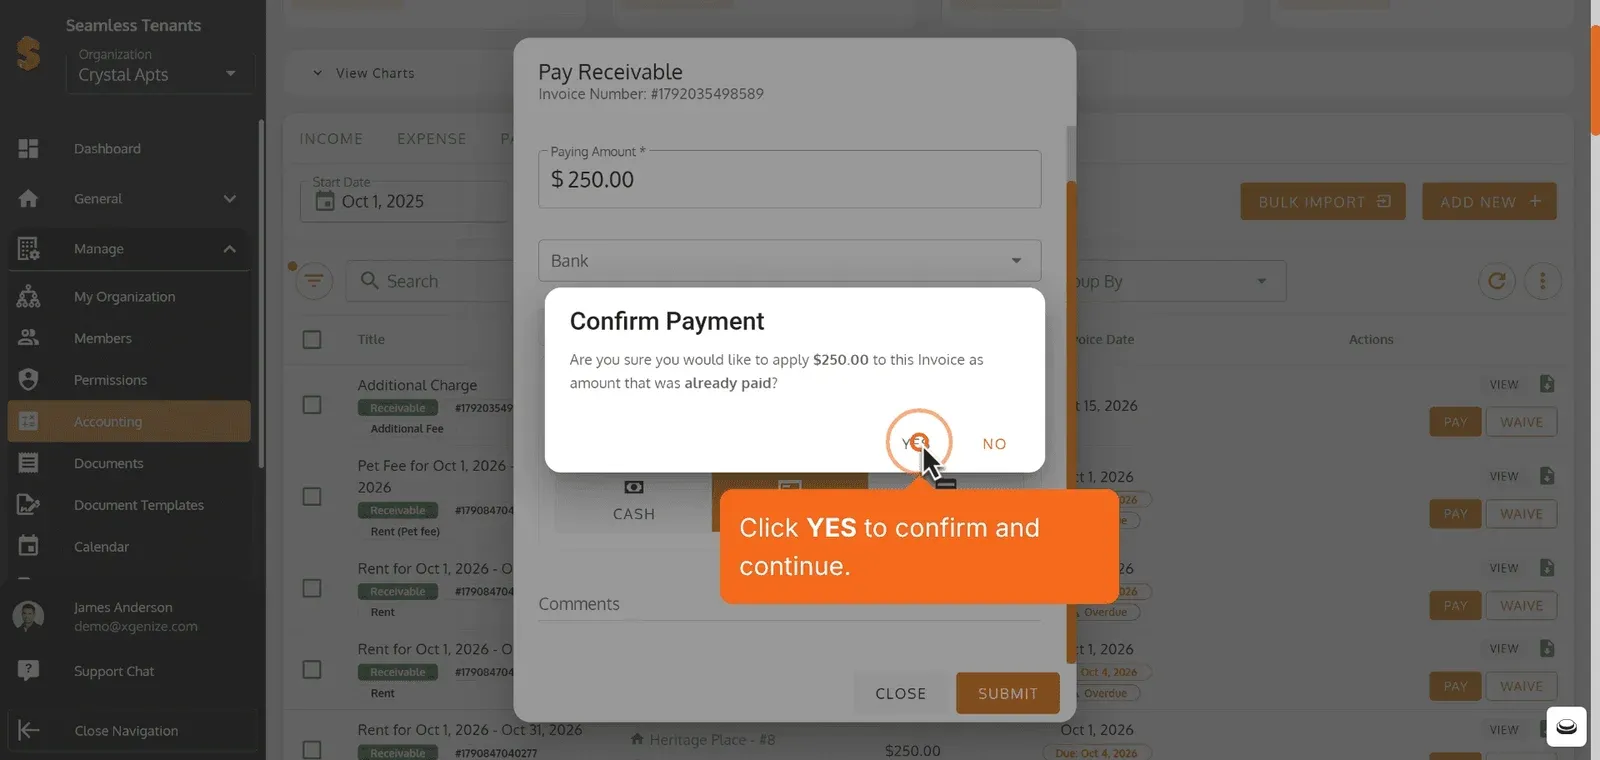
Click YES to confirm and continue.
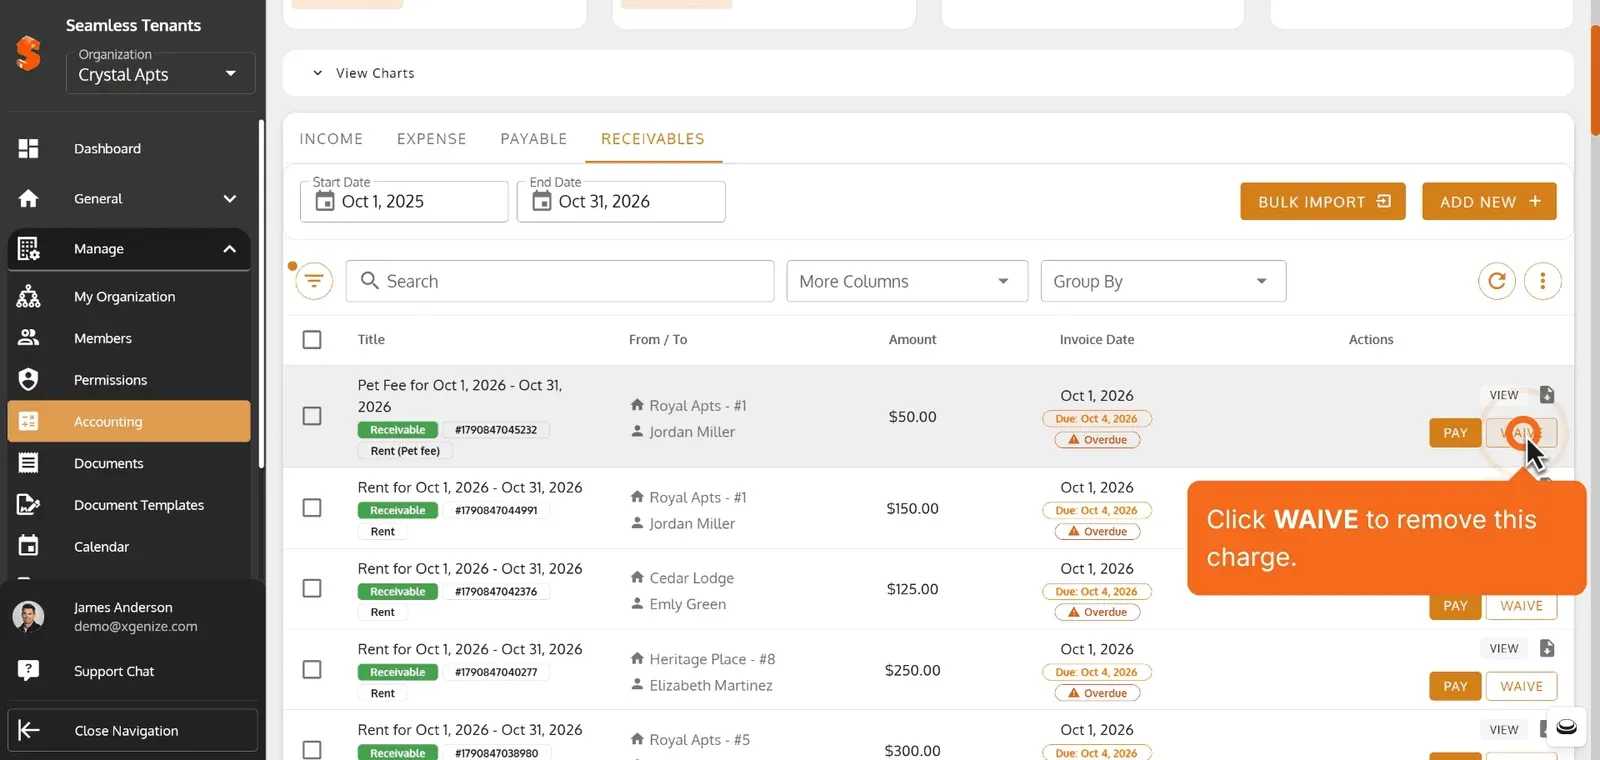
Click WAIVE to remove this charge.
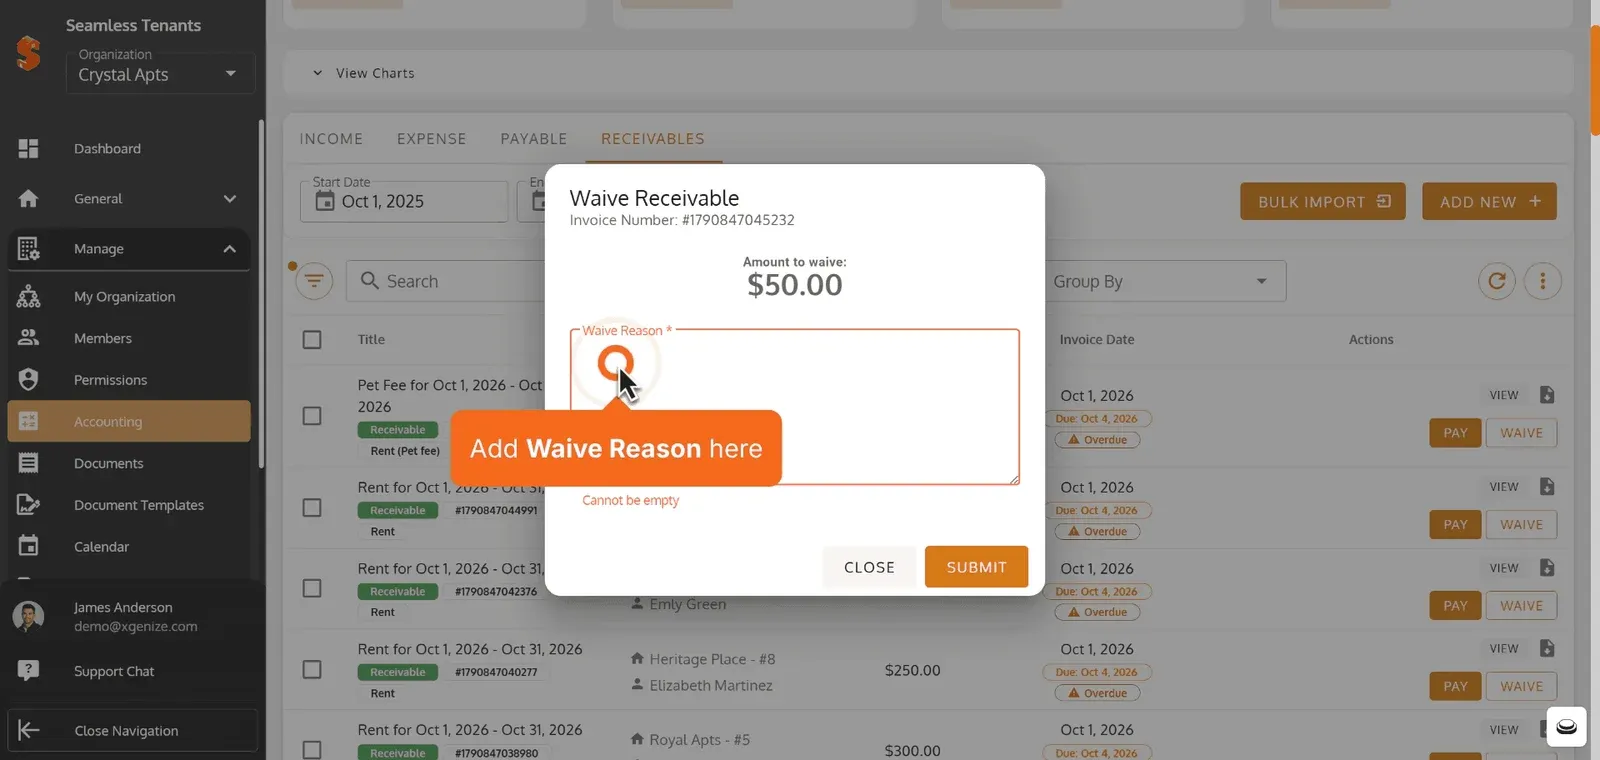
Add Waive Reason here
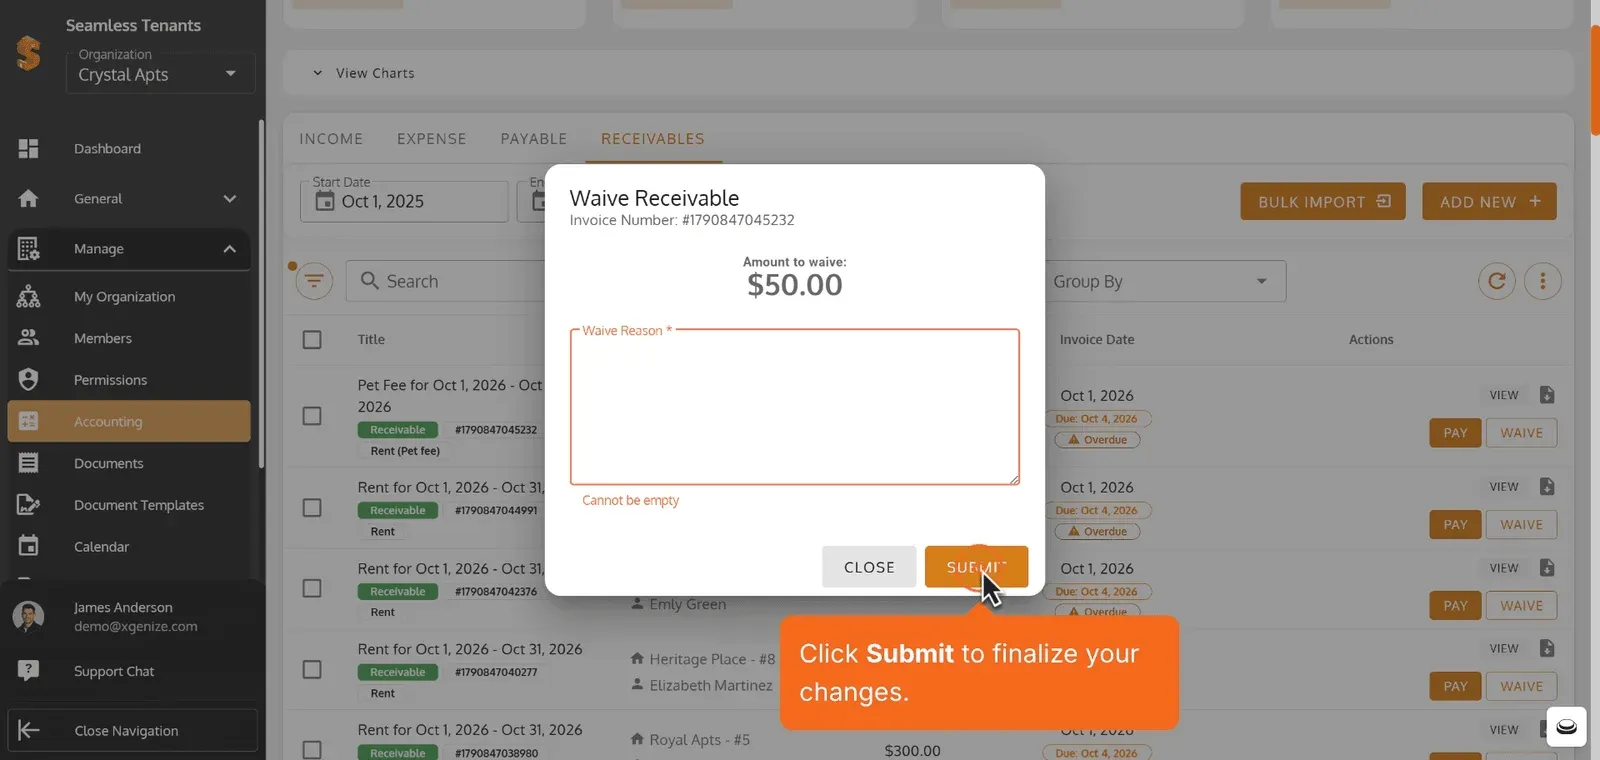
Click Submit to finalize your changes.
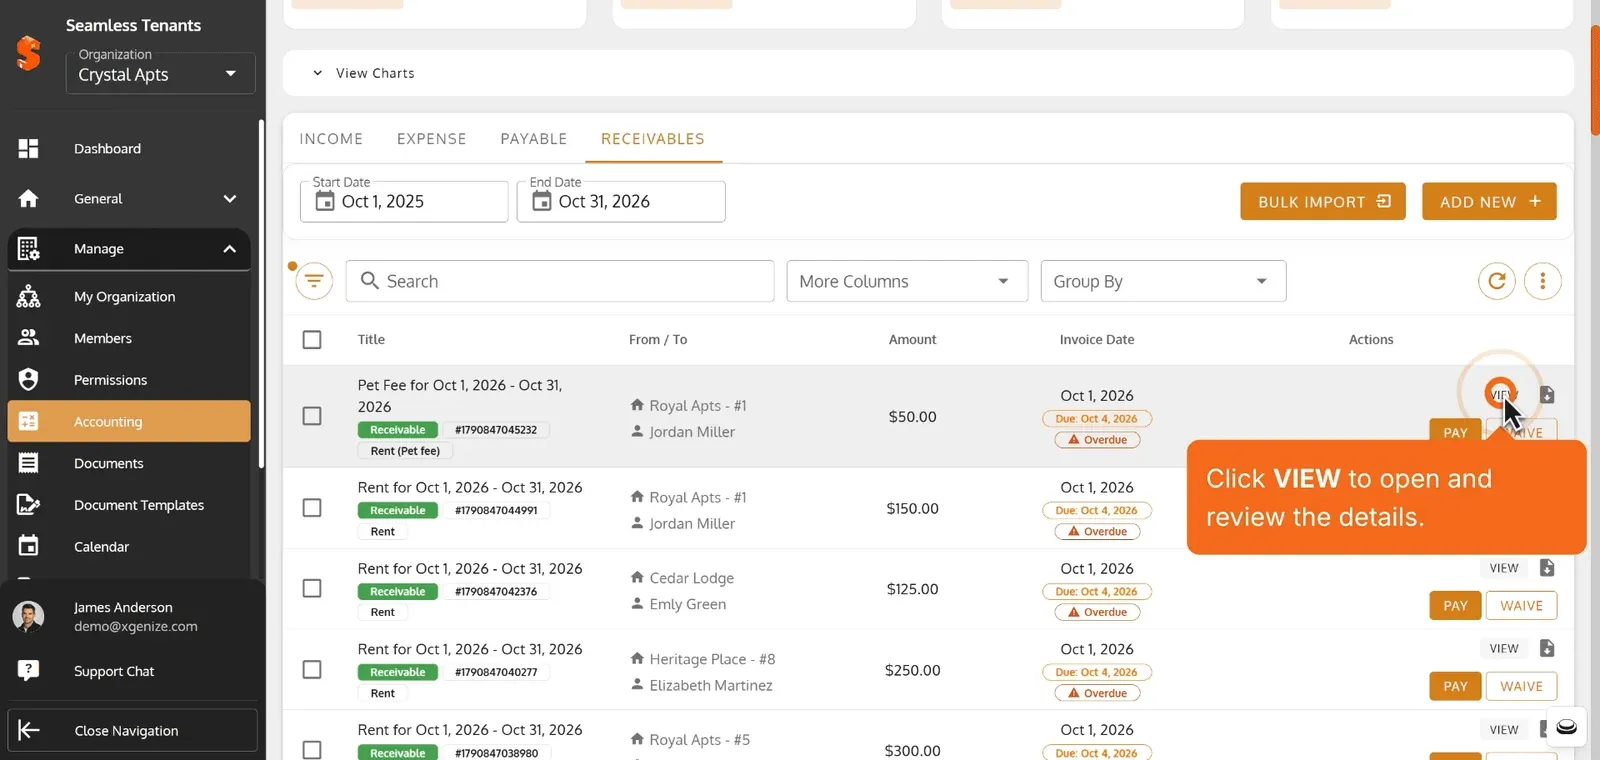
Click VIEW to open and review the details.
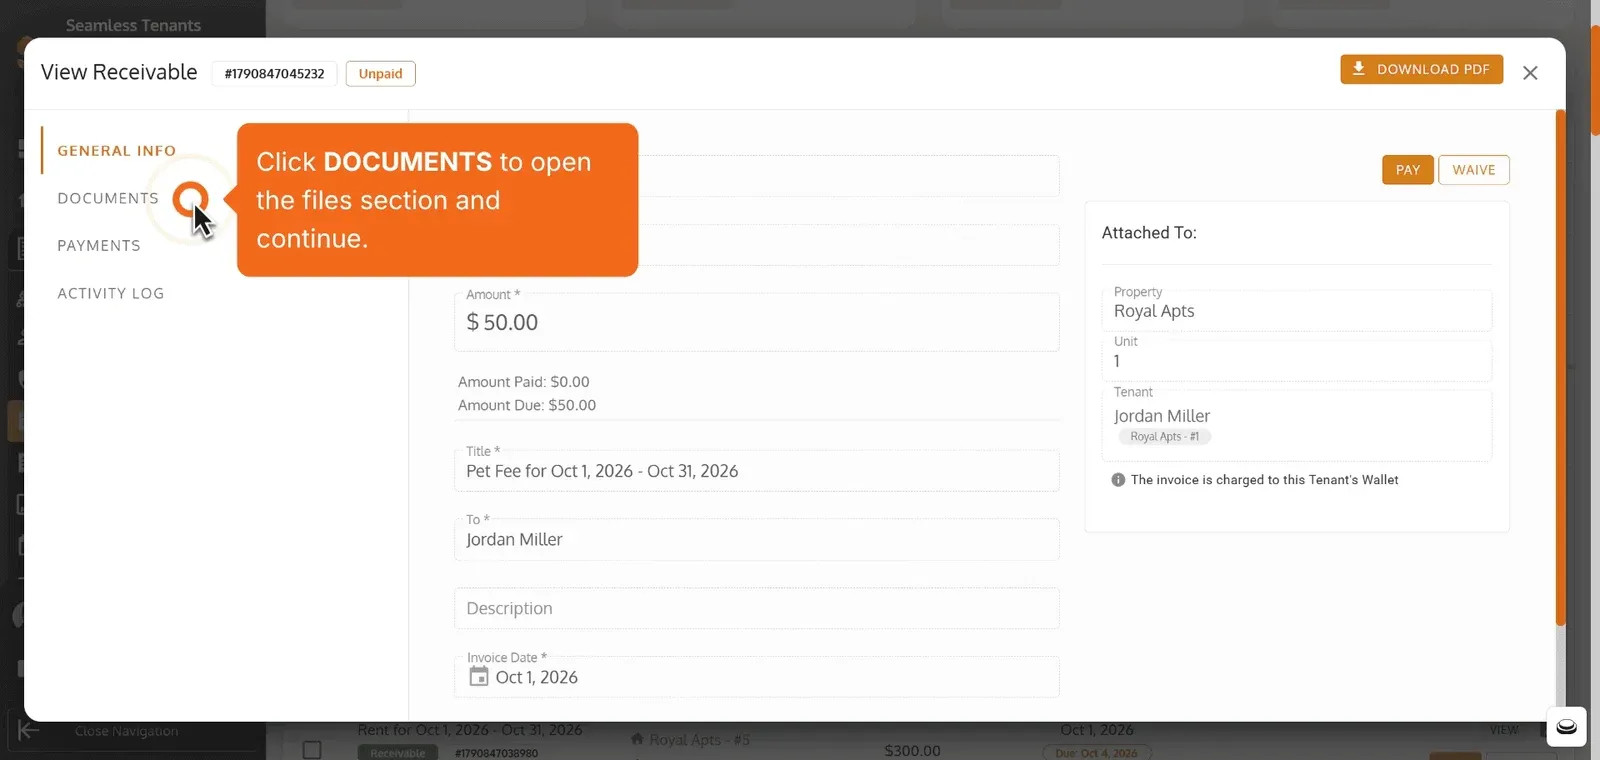
Click DOCUMENTS to open the files section and continue.
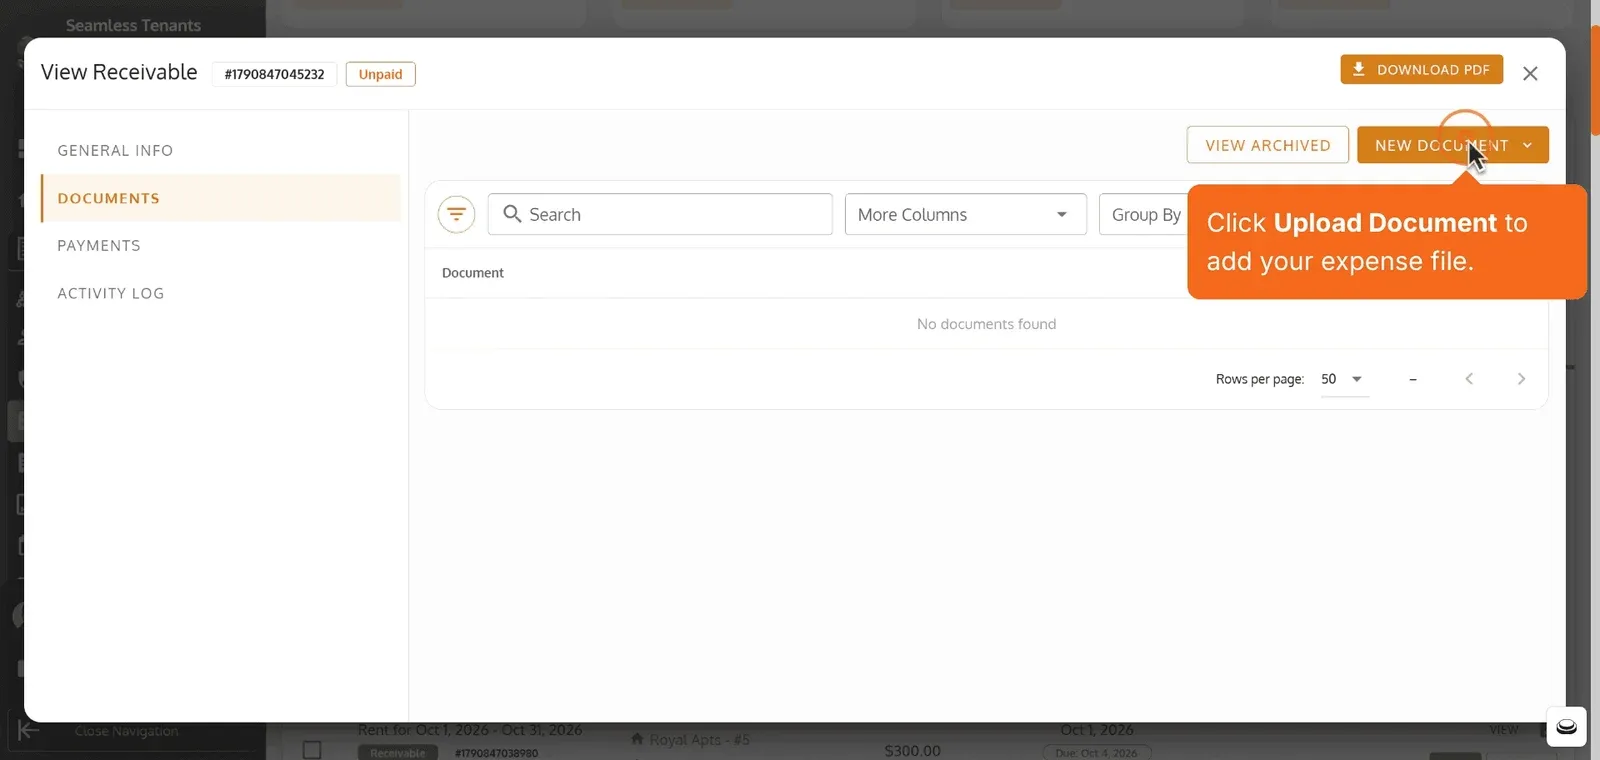
Click Upload Document to add your expense file.
Click ‘Upload Document’
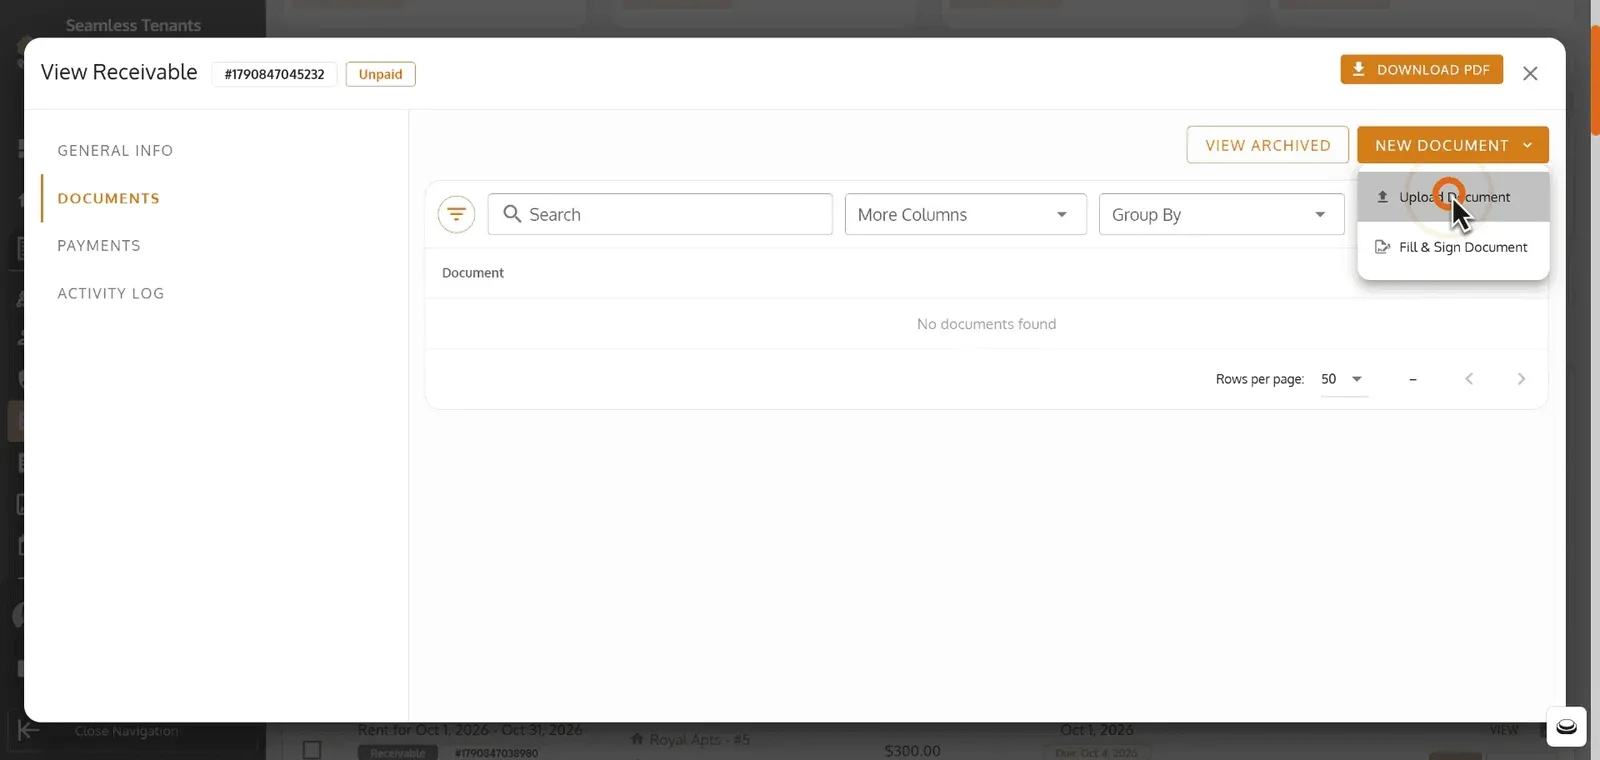
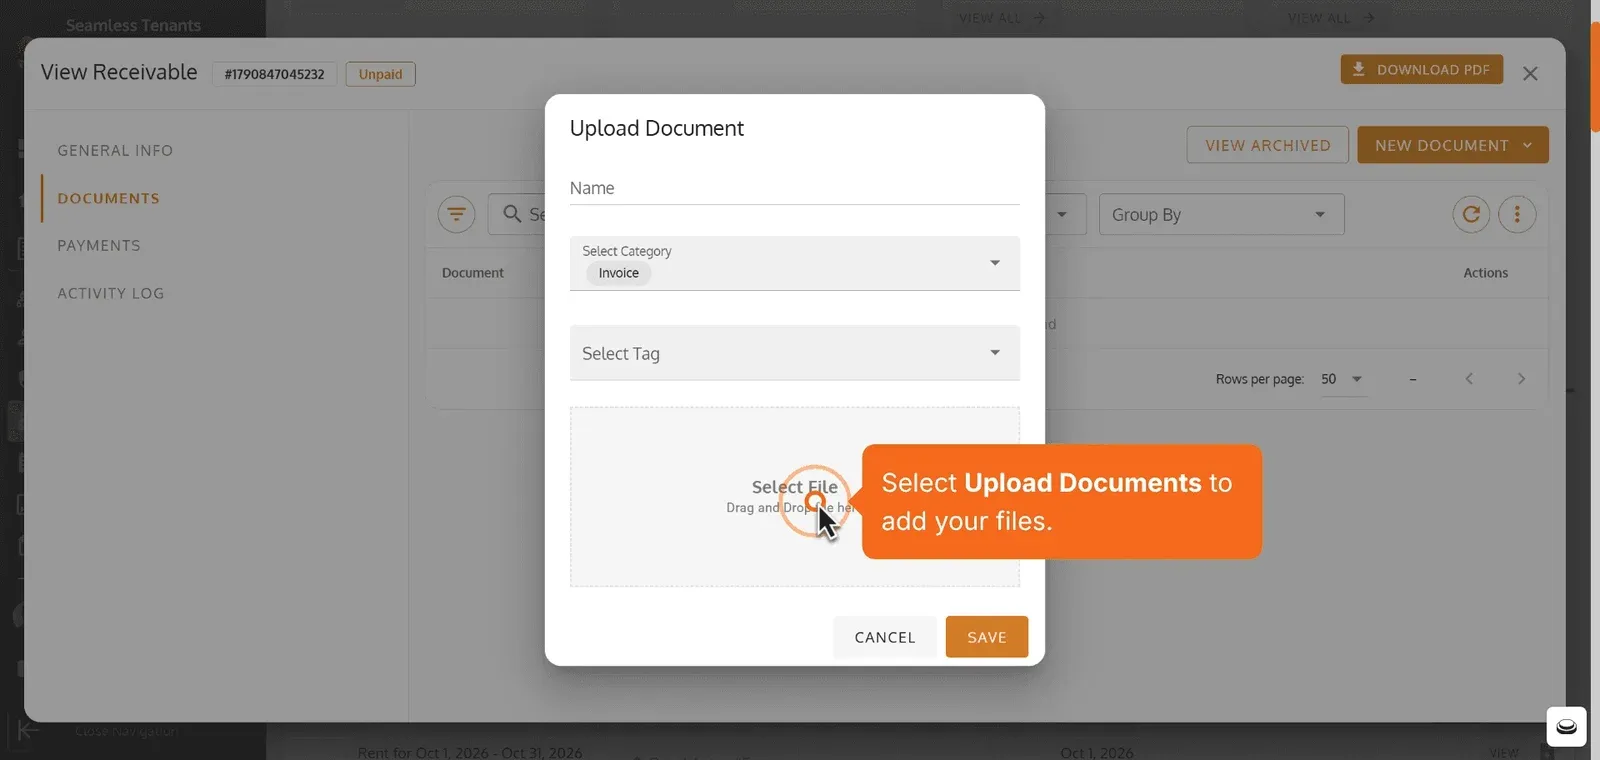
Select Upload Documents to add your files.
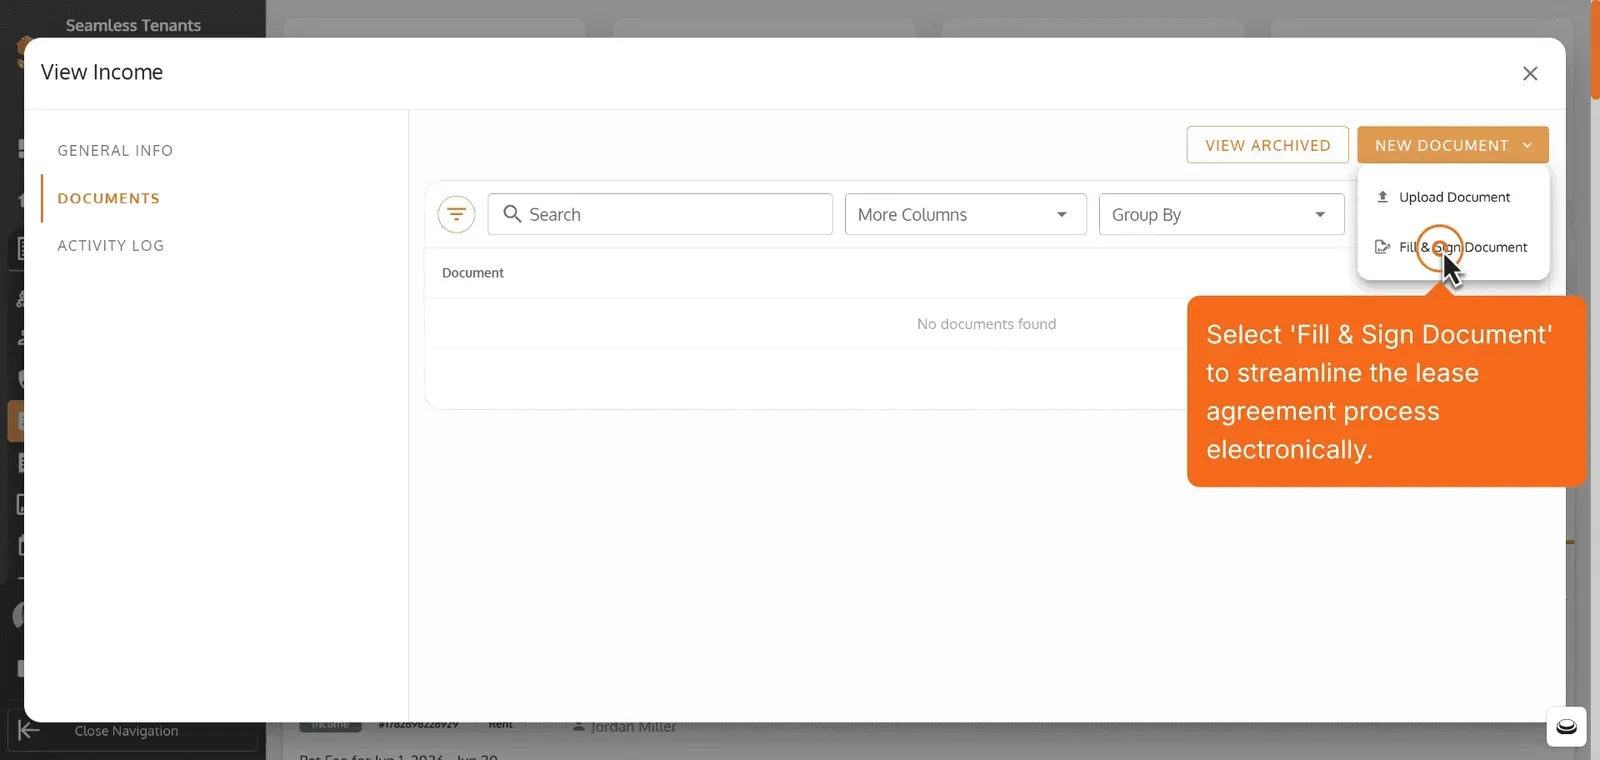
Select ‘Fill & Sign Document’ to streamline the lease agreement process electronically.
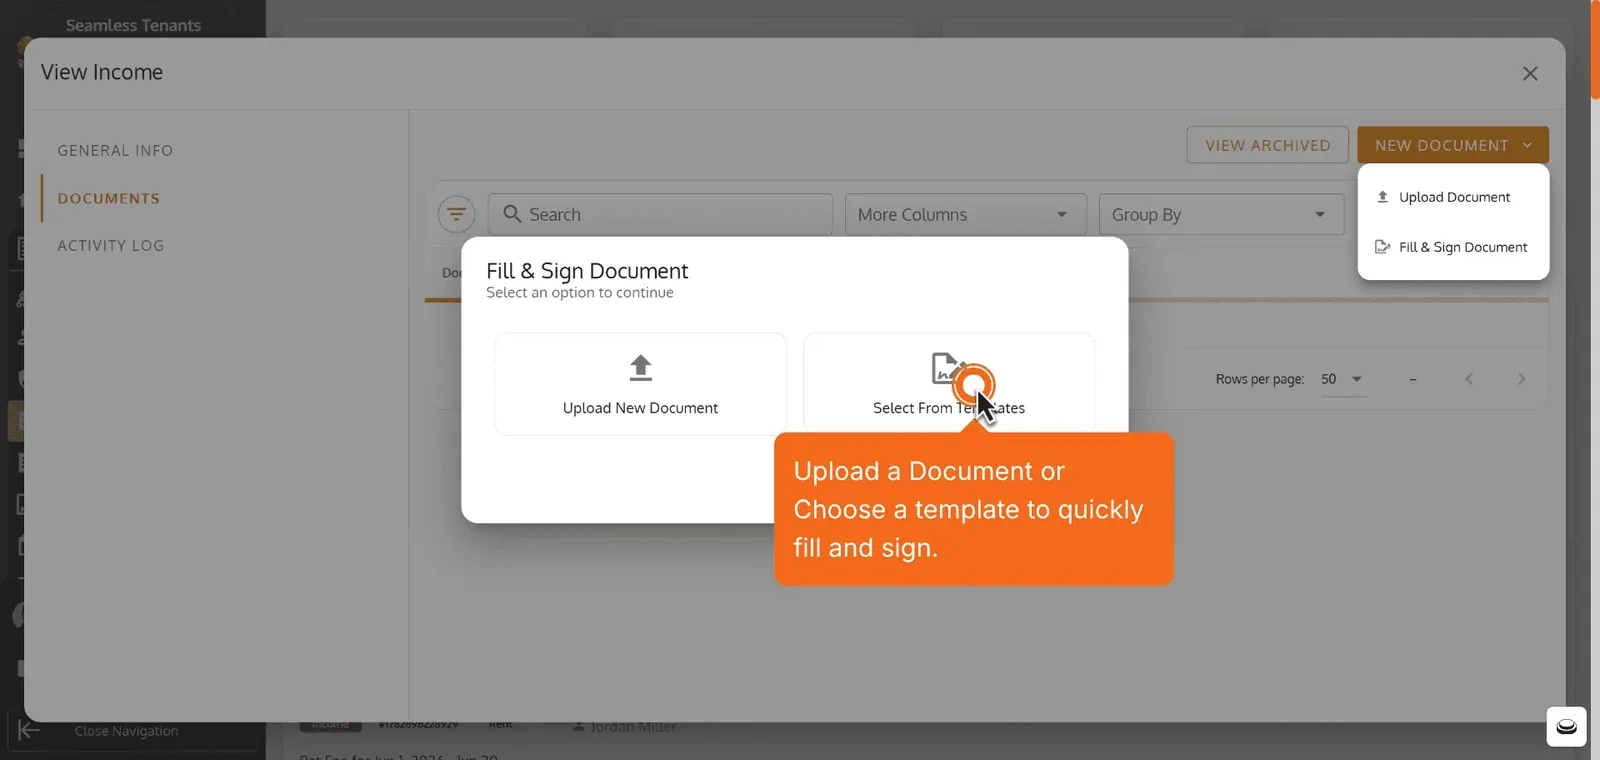
Upload a Document or Choose a template to quickly fill and sign.
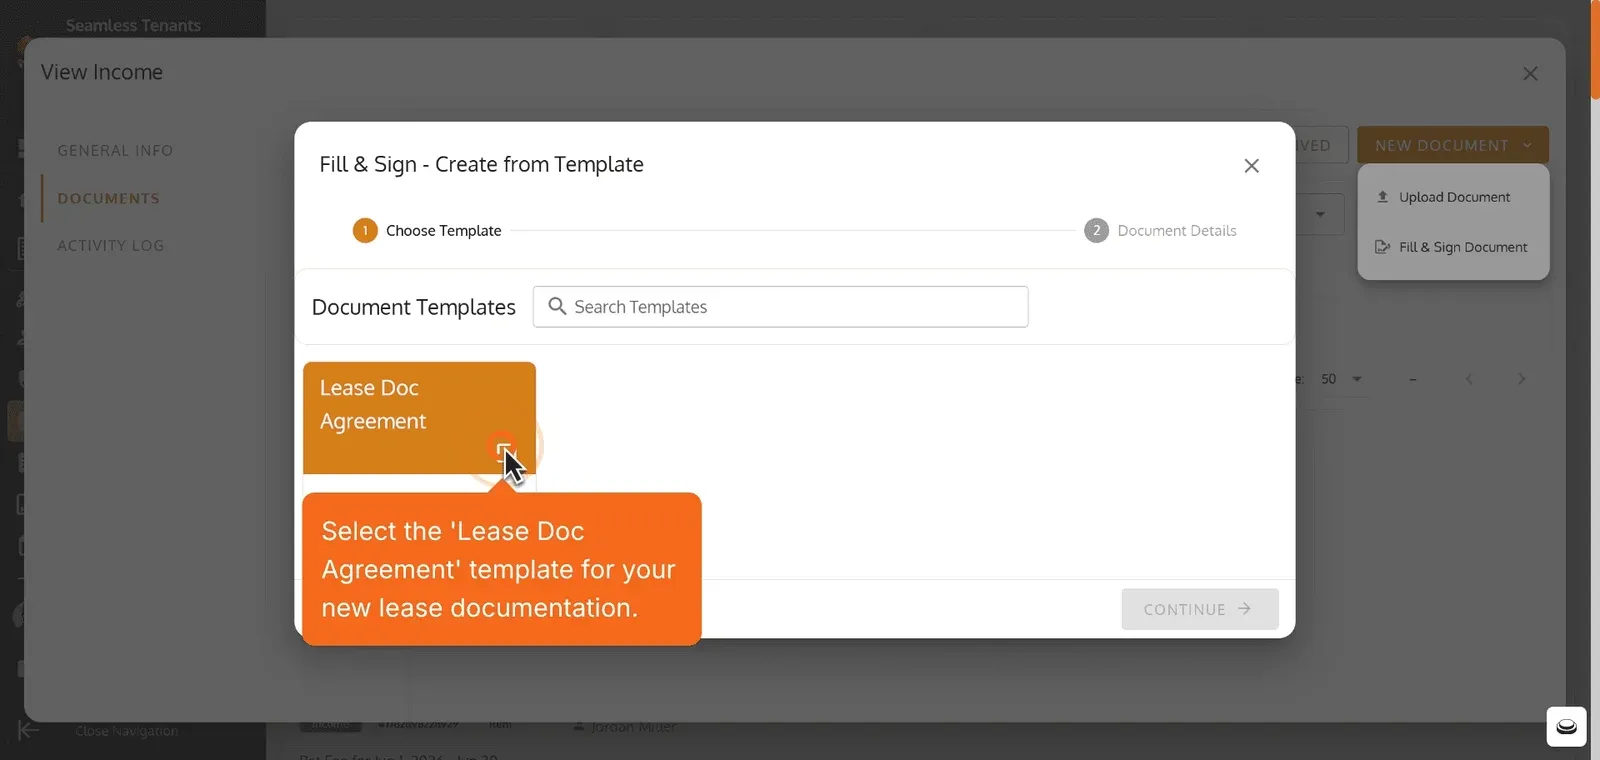
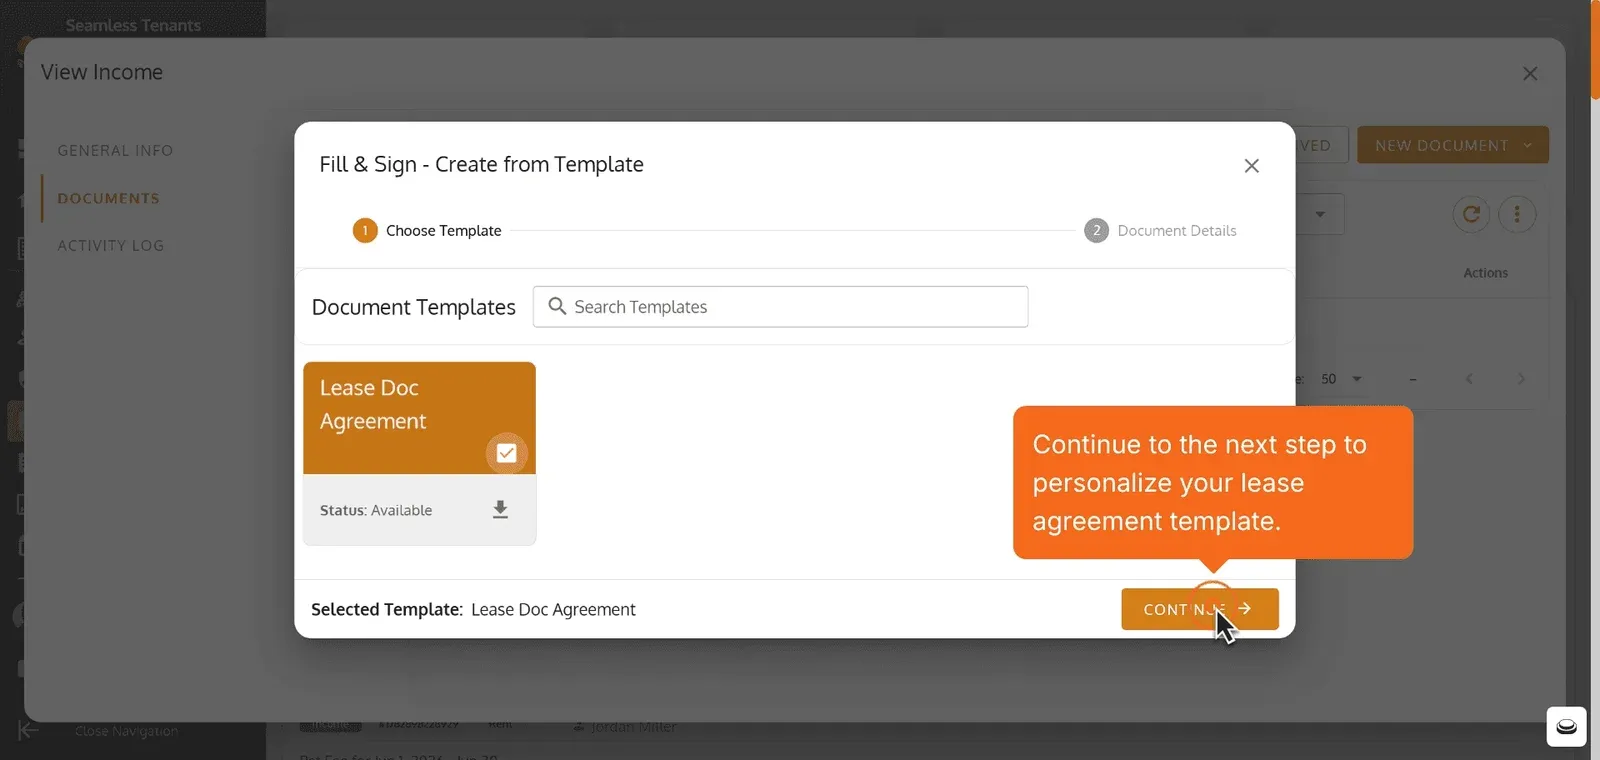
Select the ‘Lease Doc Agreement’ template for your new lease documentation.
Continue to the next step to personalize your lease agreement template.
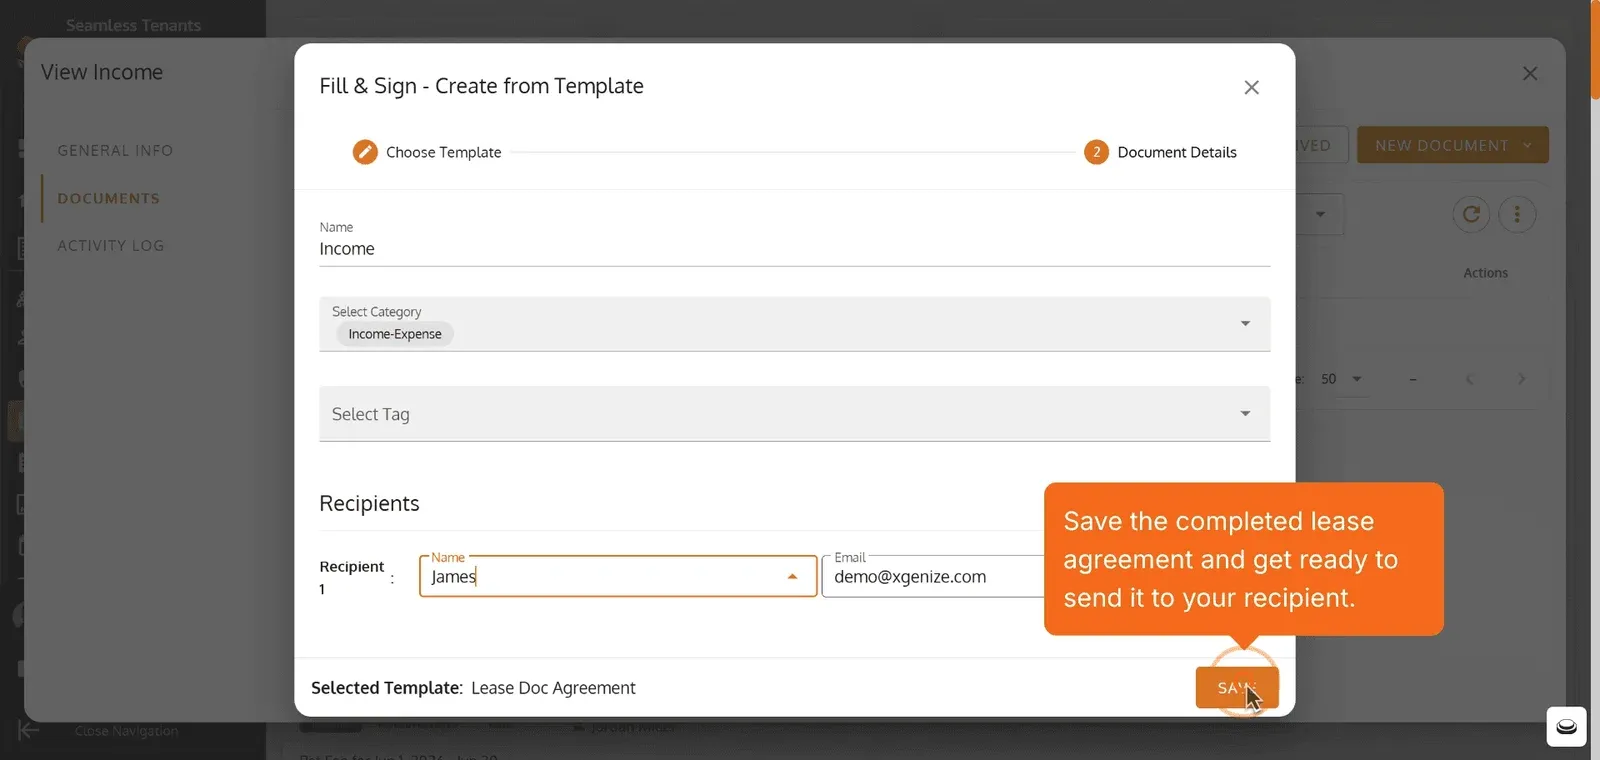
Save the completed lease agreement and get ready to send it to your recipient.
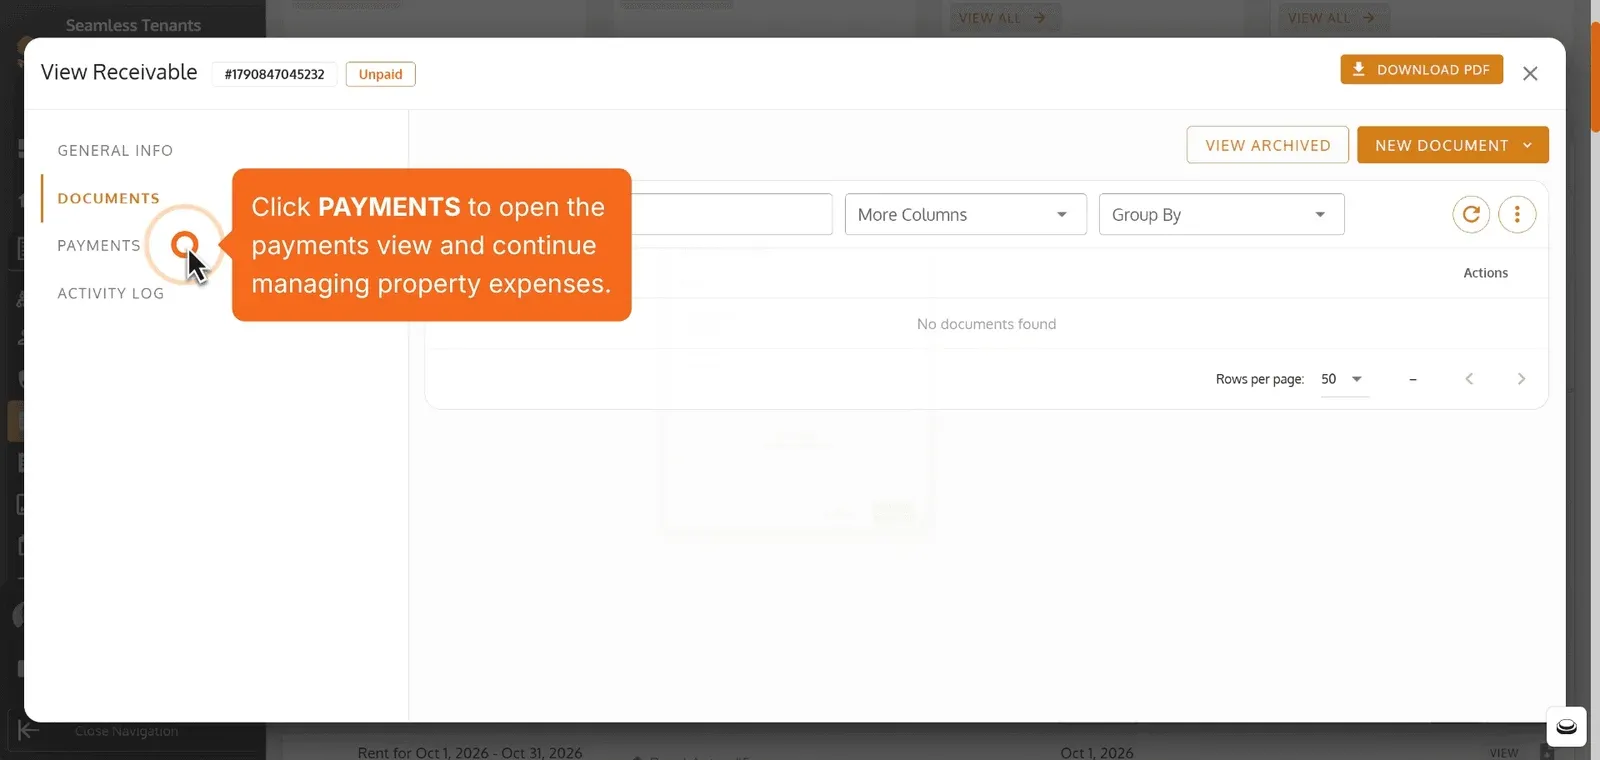
Click PAYMENTS to open the payments view and continue managing property expenses.
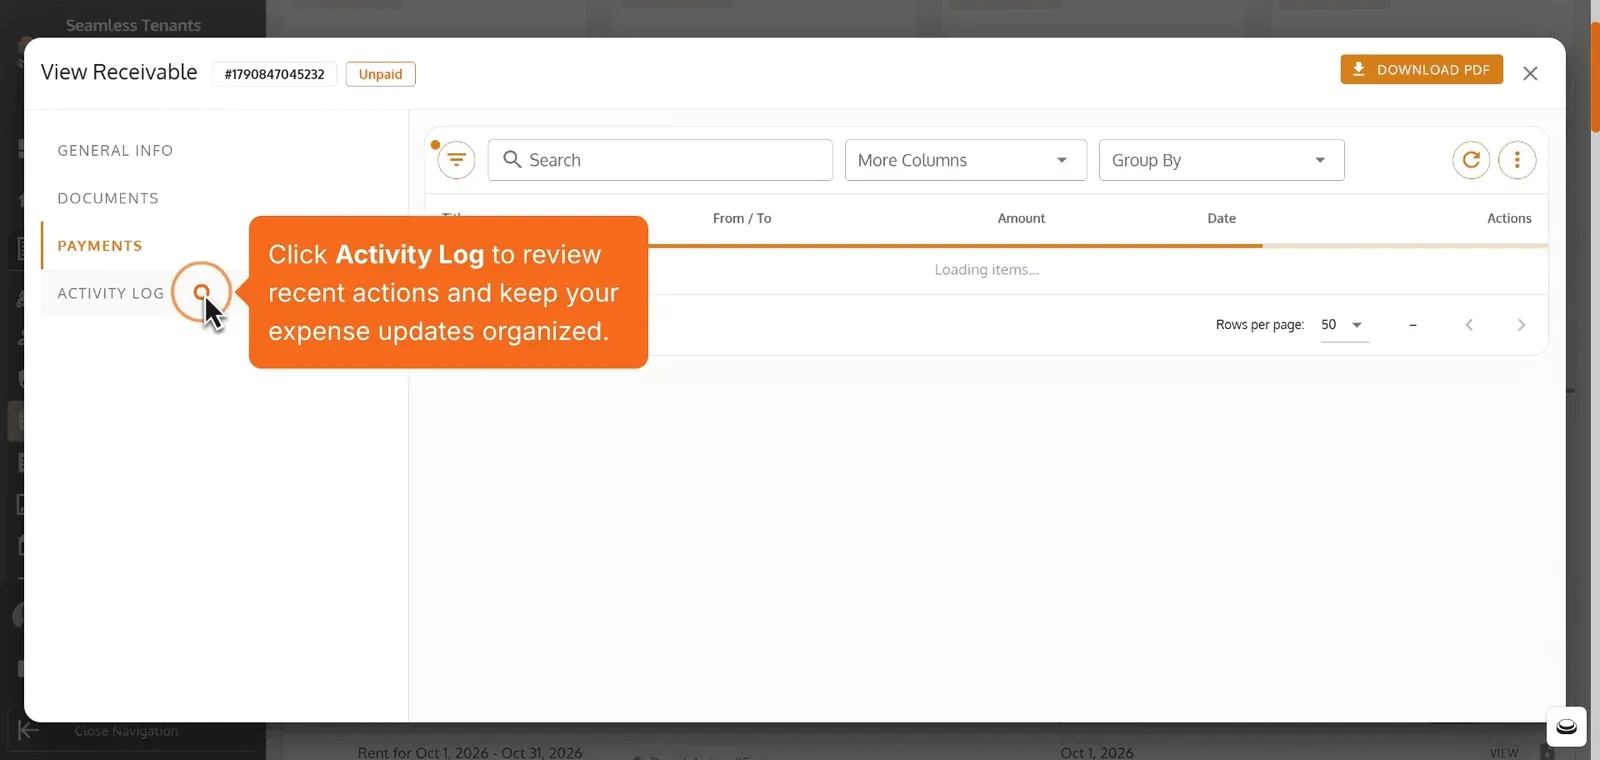
Click Activity Log to review recent actions and keep your expense updates organized.
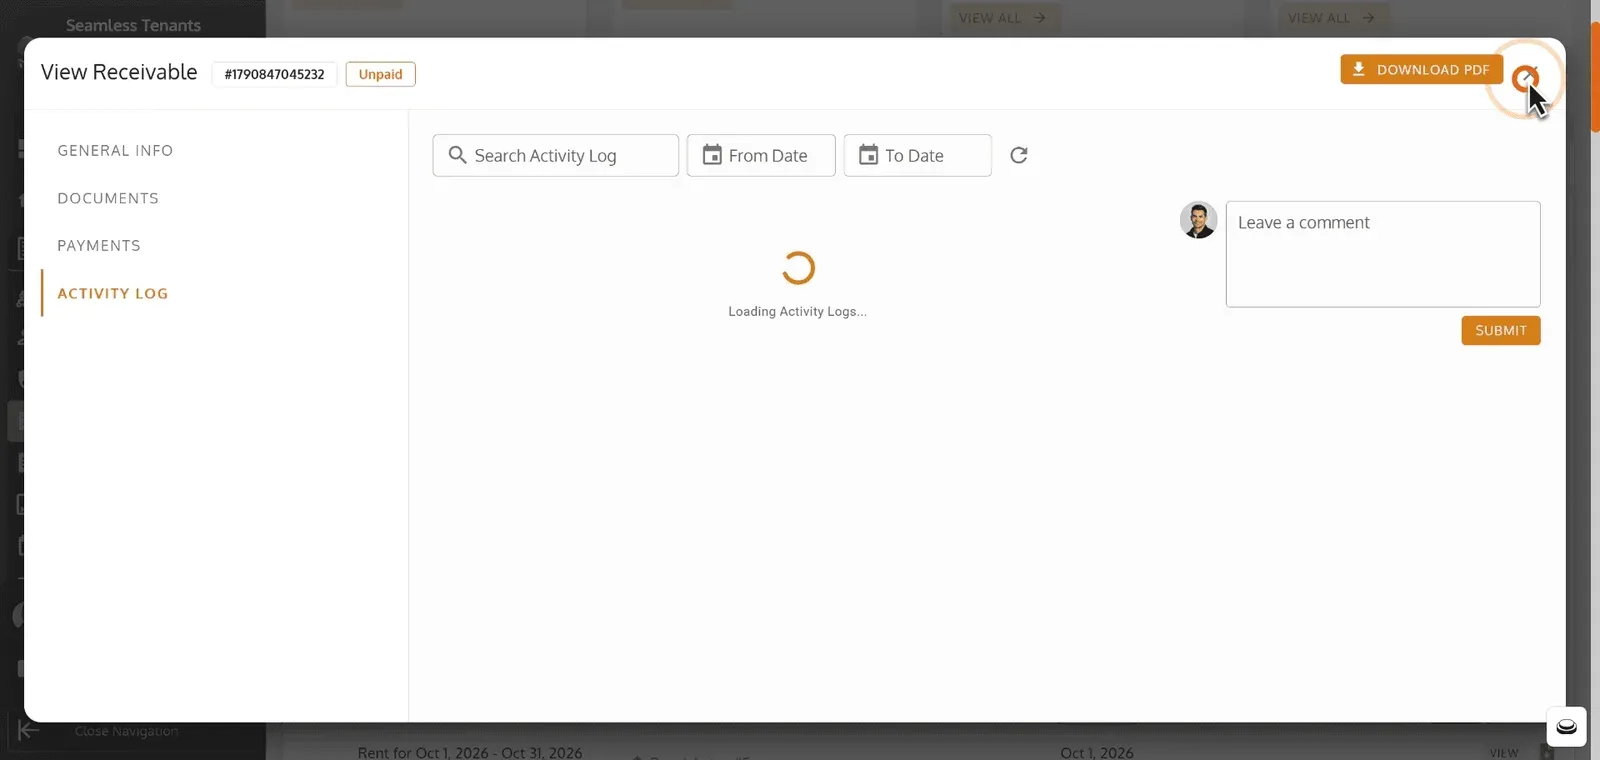
Click Close Icon to exit the dialog box.
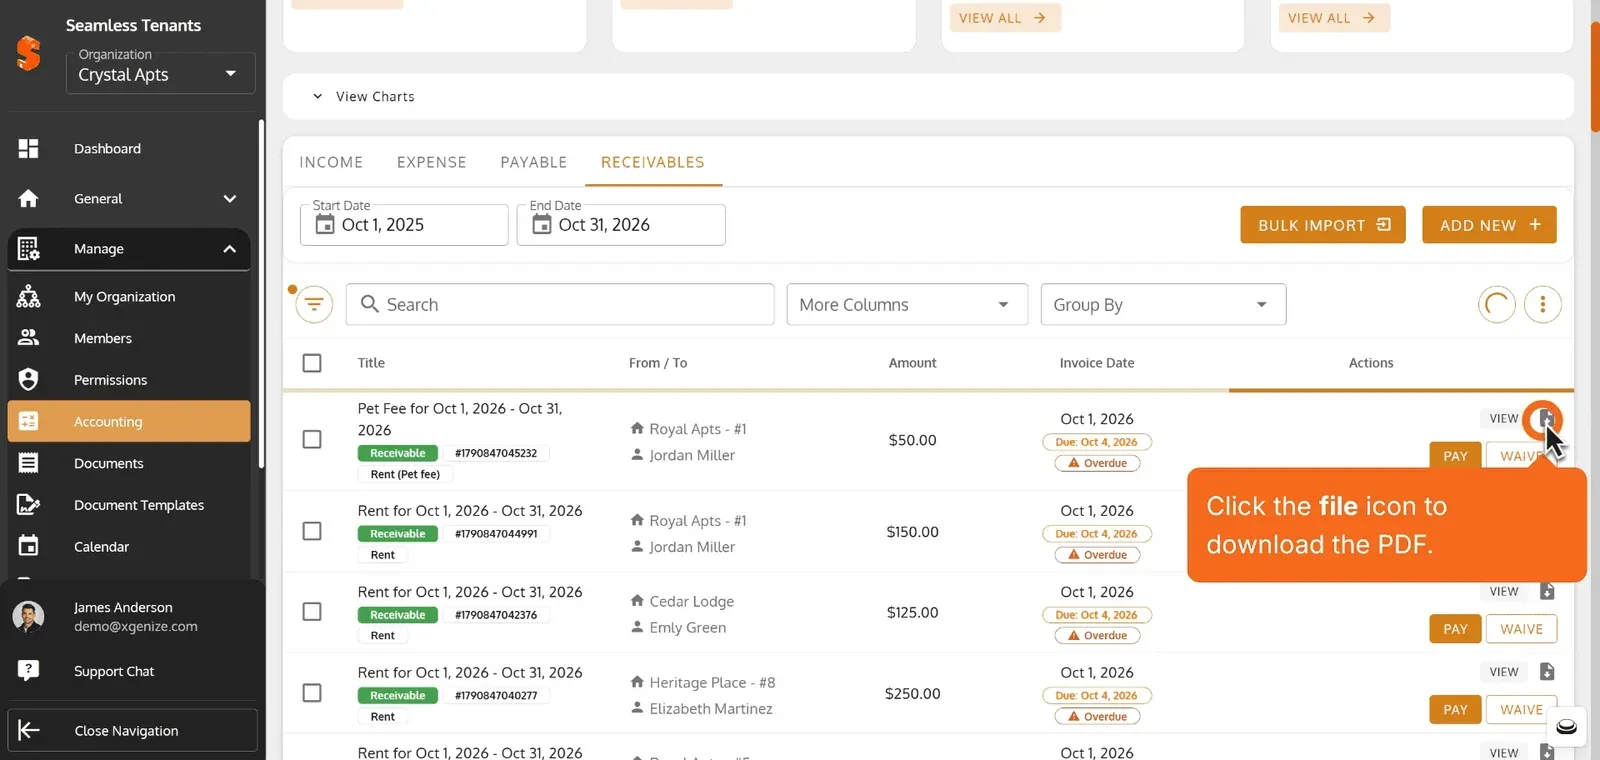
Click the file icon to download the PDF.
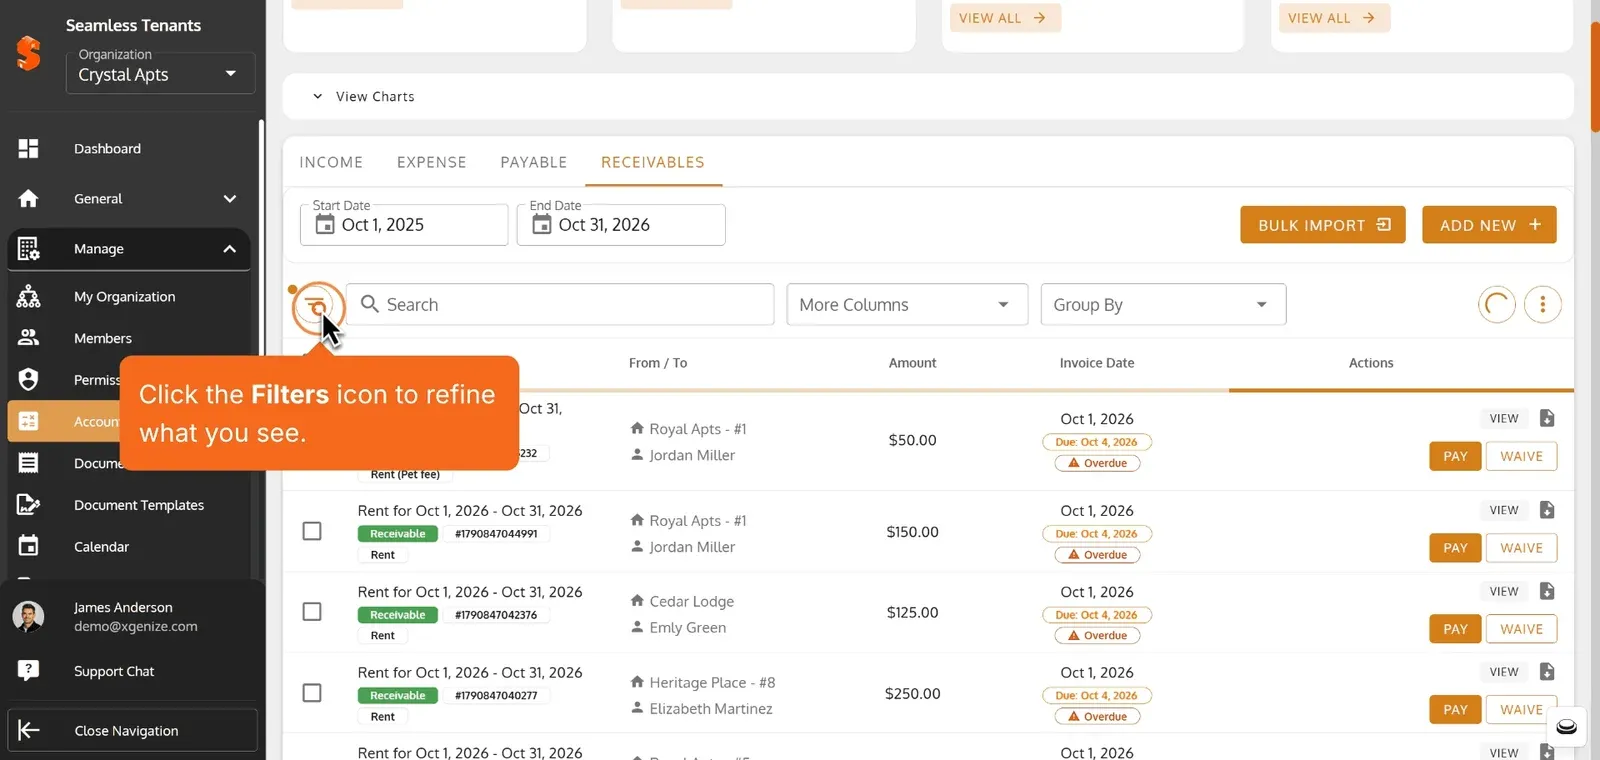
Click the Filters icon to refine what you see.
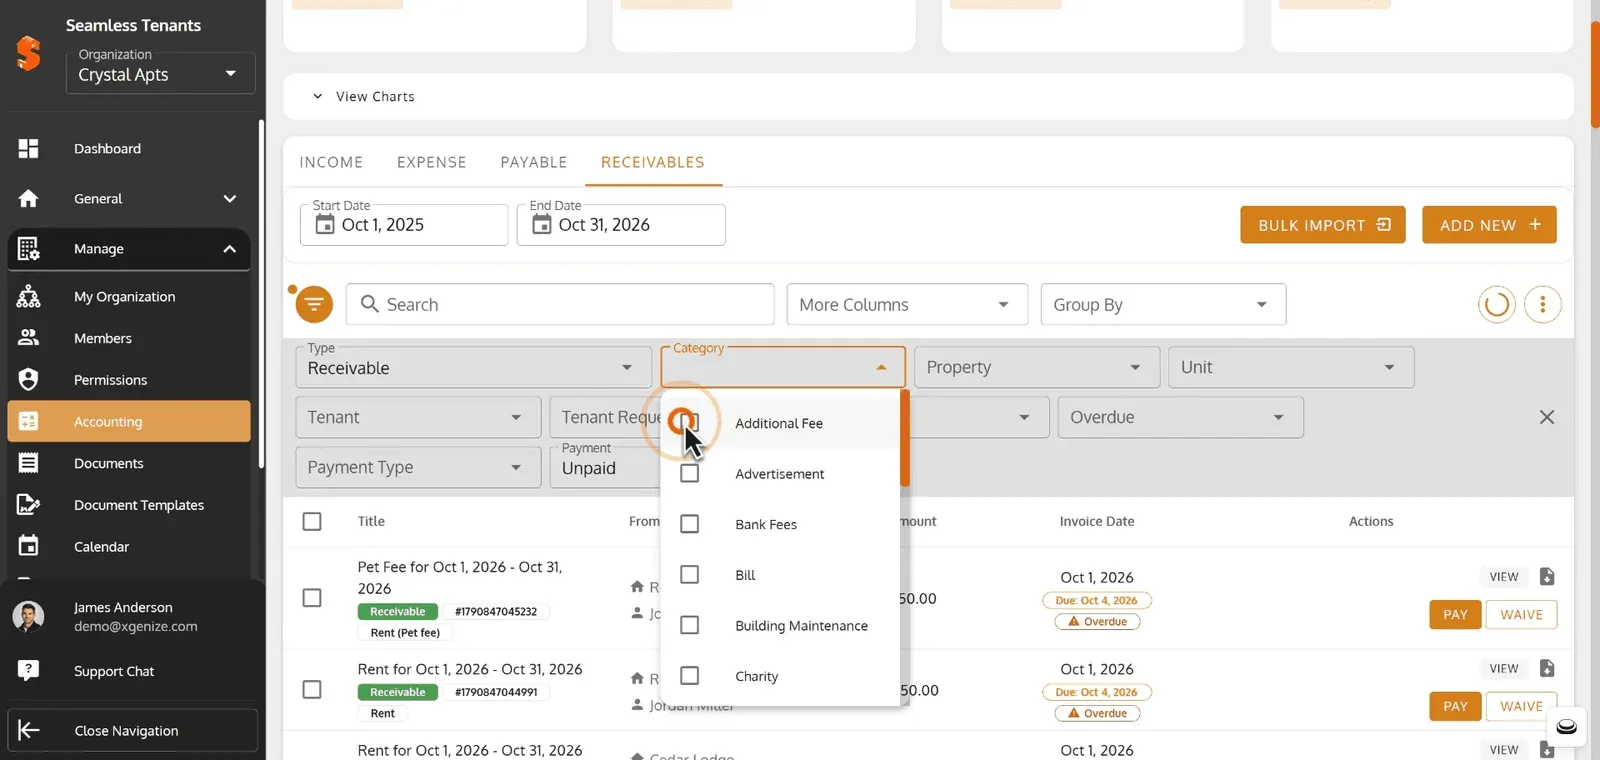
Choose category or other filter options that you want.
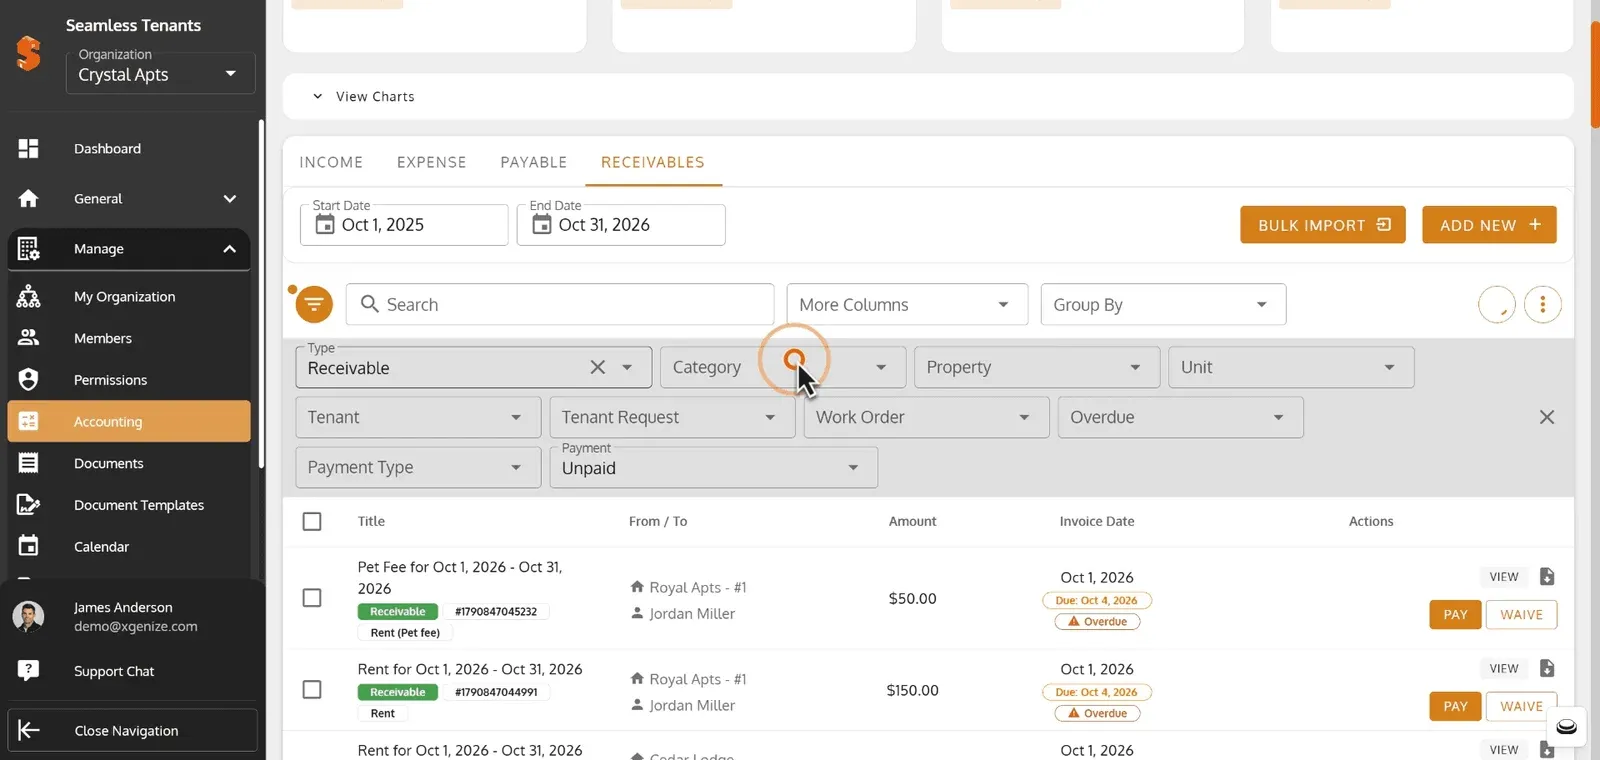
Select the topics.
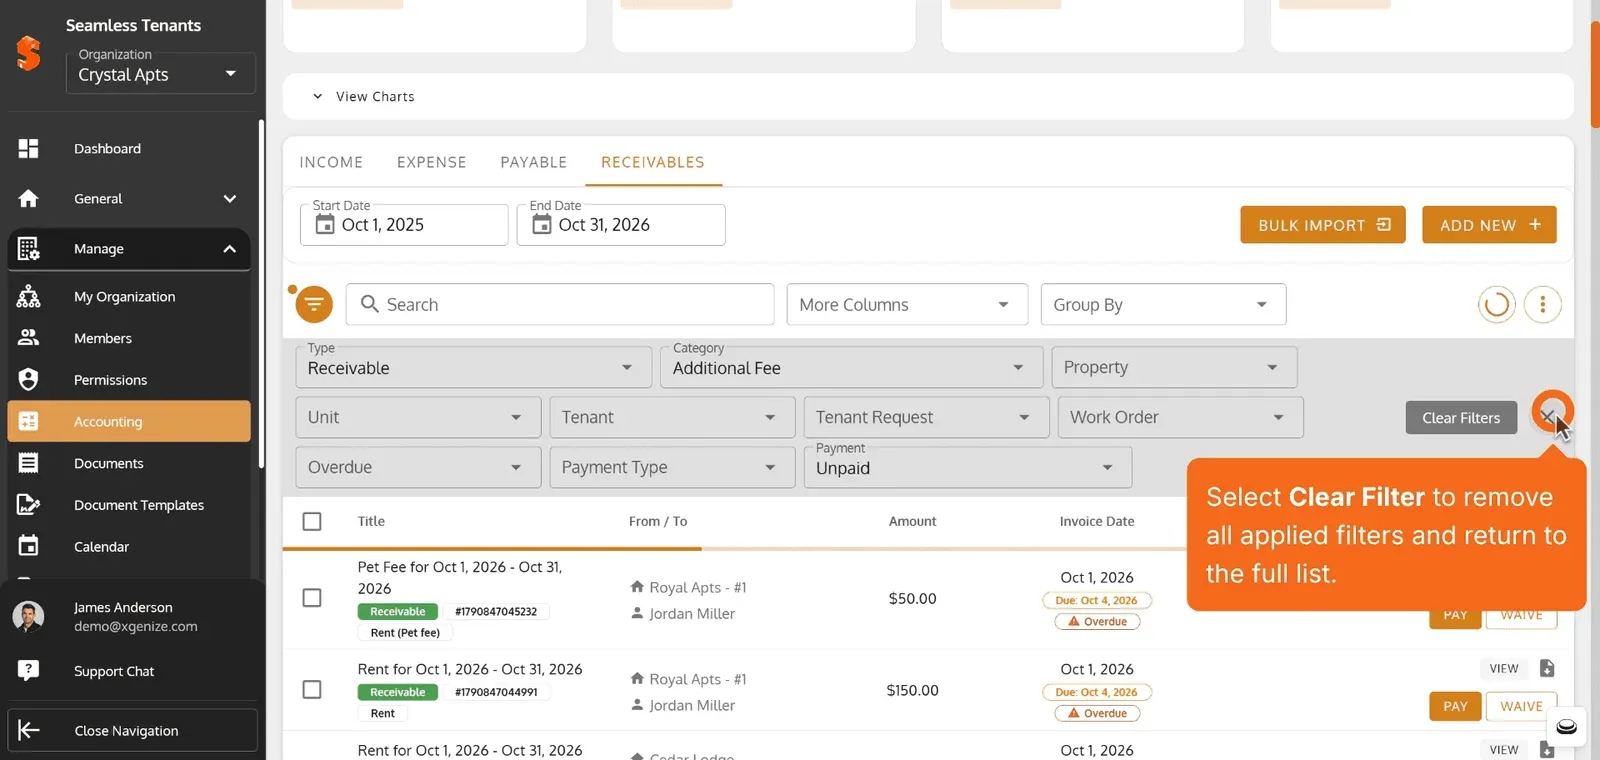
Select Clear Filter to remove all applied filters and return to the full list.
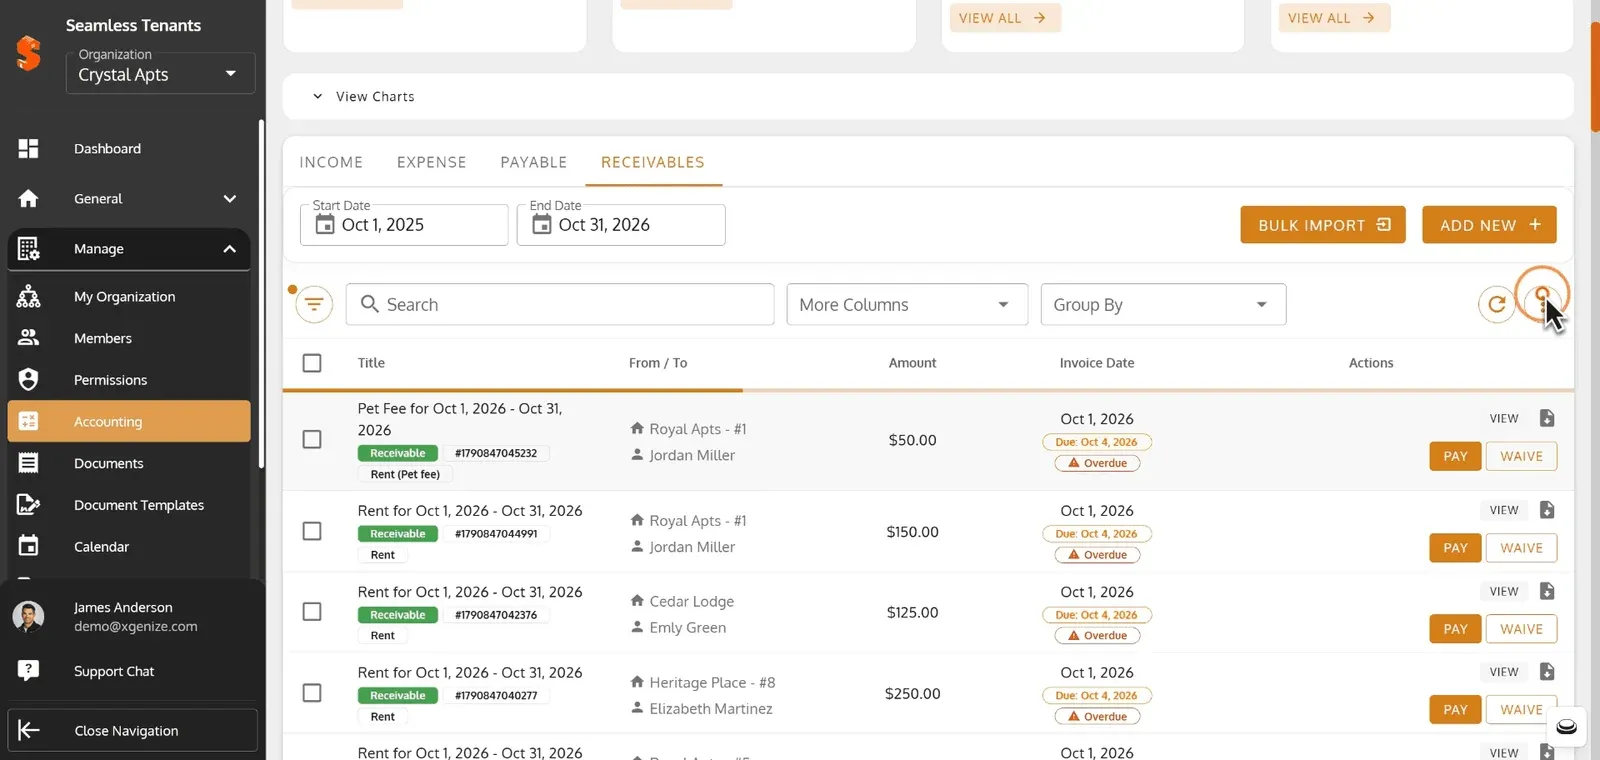
Click the Menu Icon to export as data.
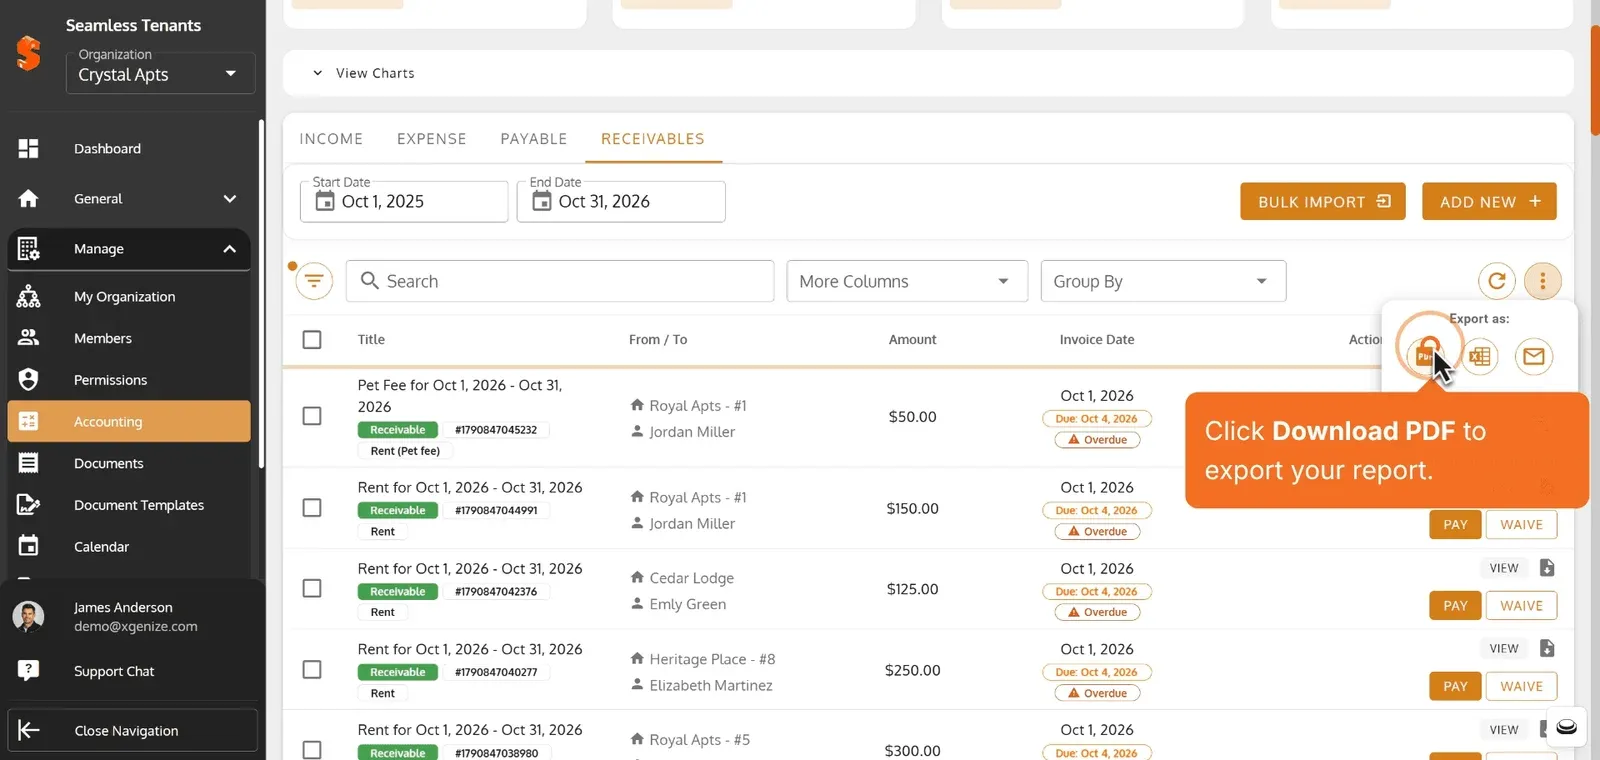
Click Download PDF to export your report.
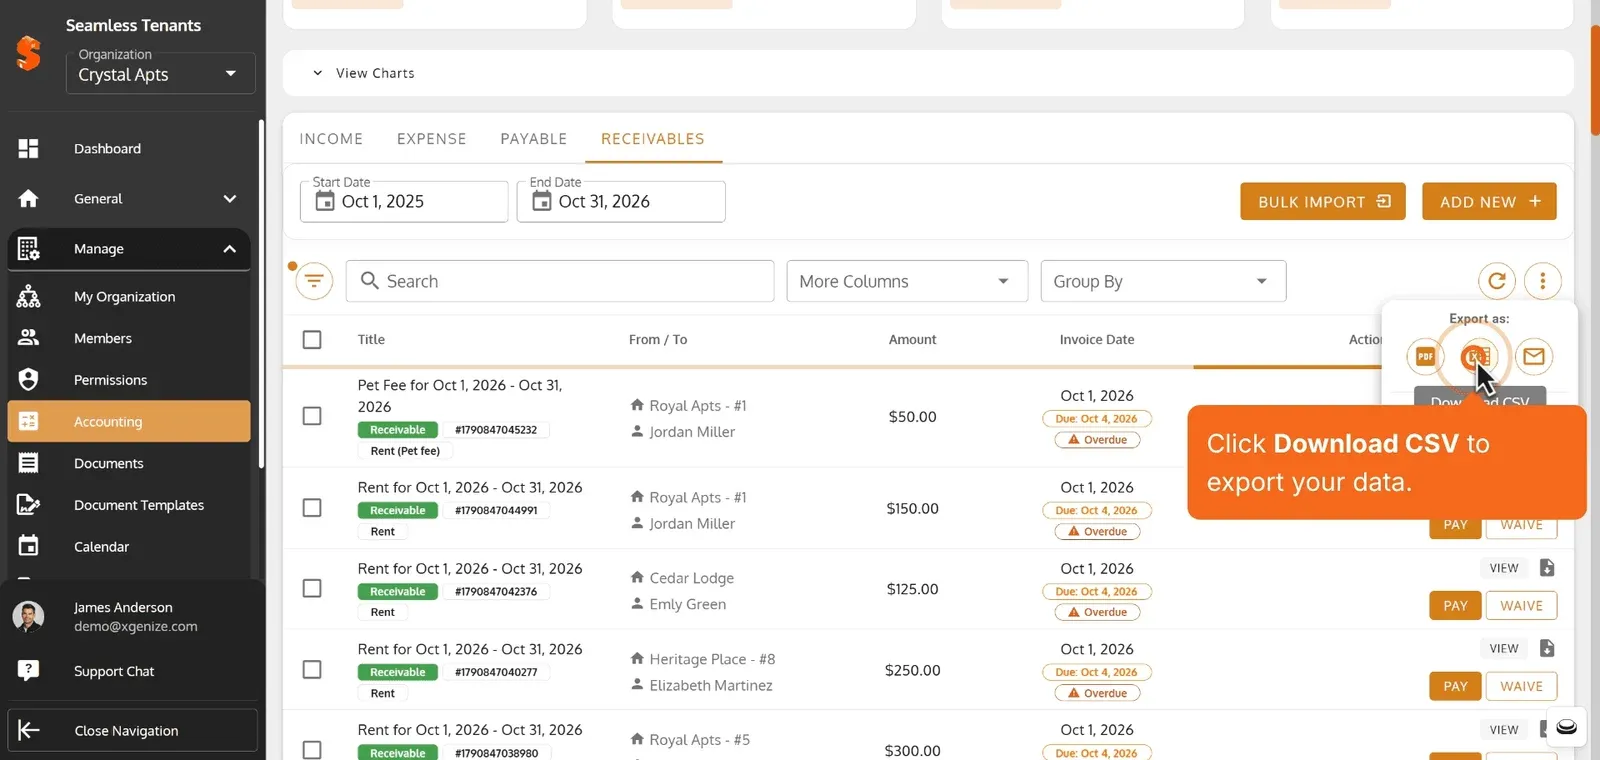
Click Download CSV to export your data.
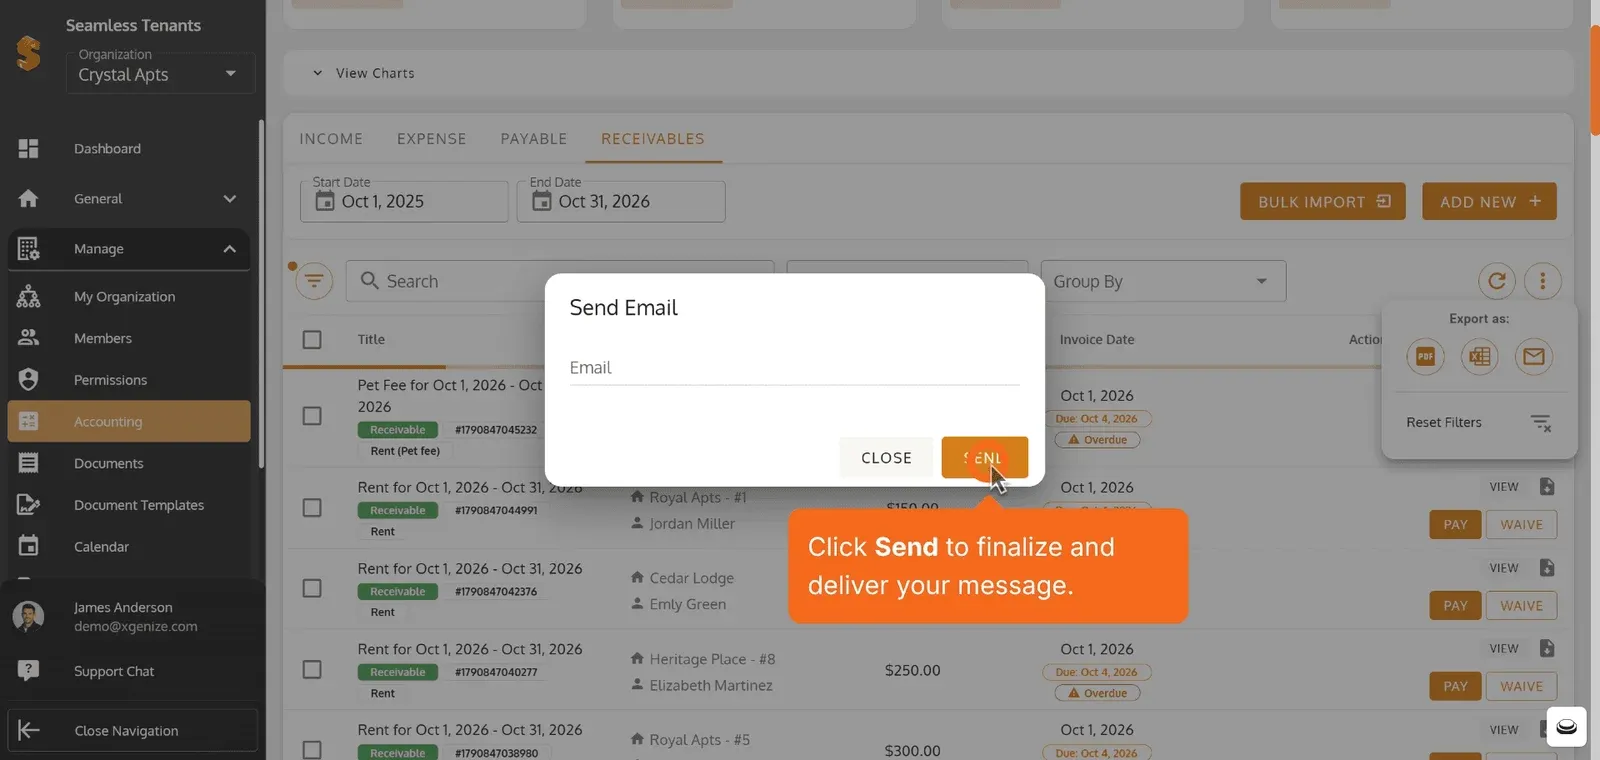
Click Send to finalize and deliver your message.
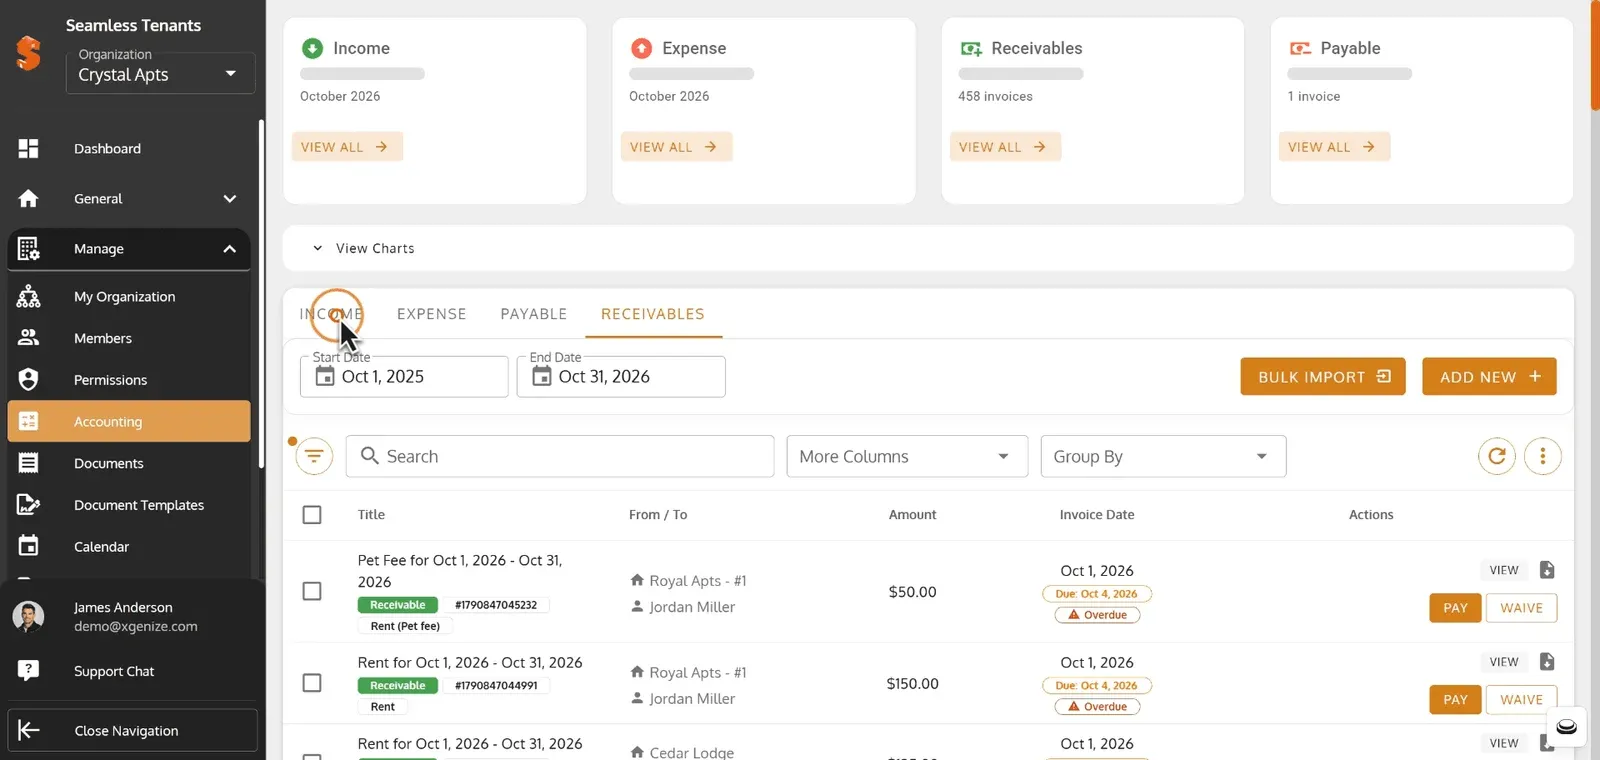
Choose by tabs where you want to go.
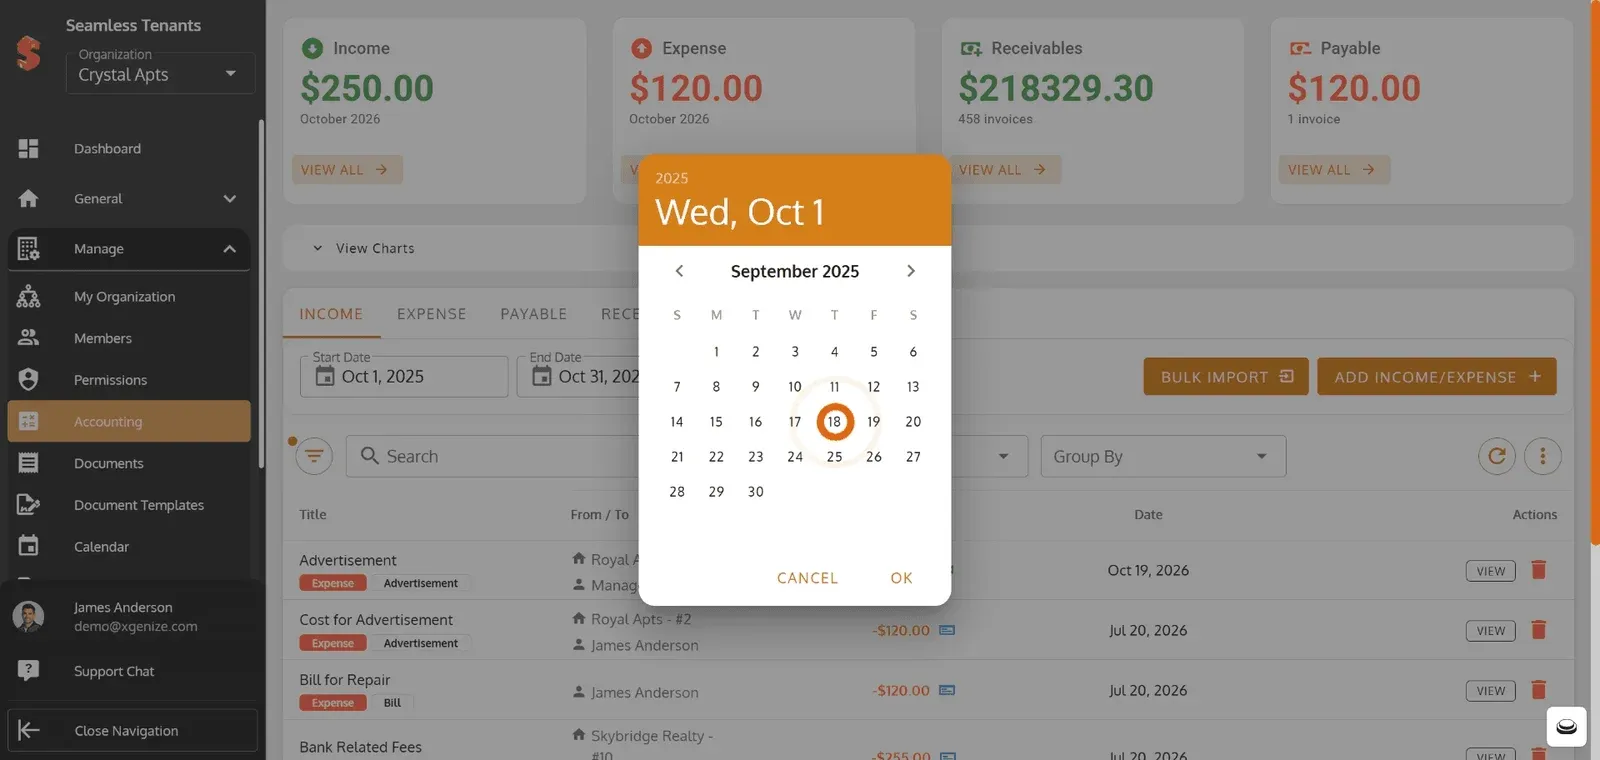
Click Start Date to set when this expense begins.
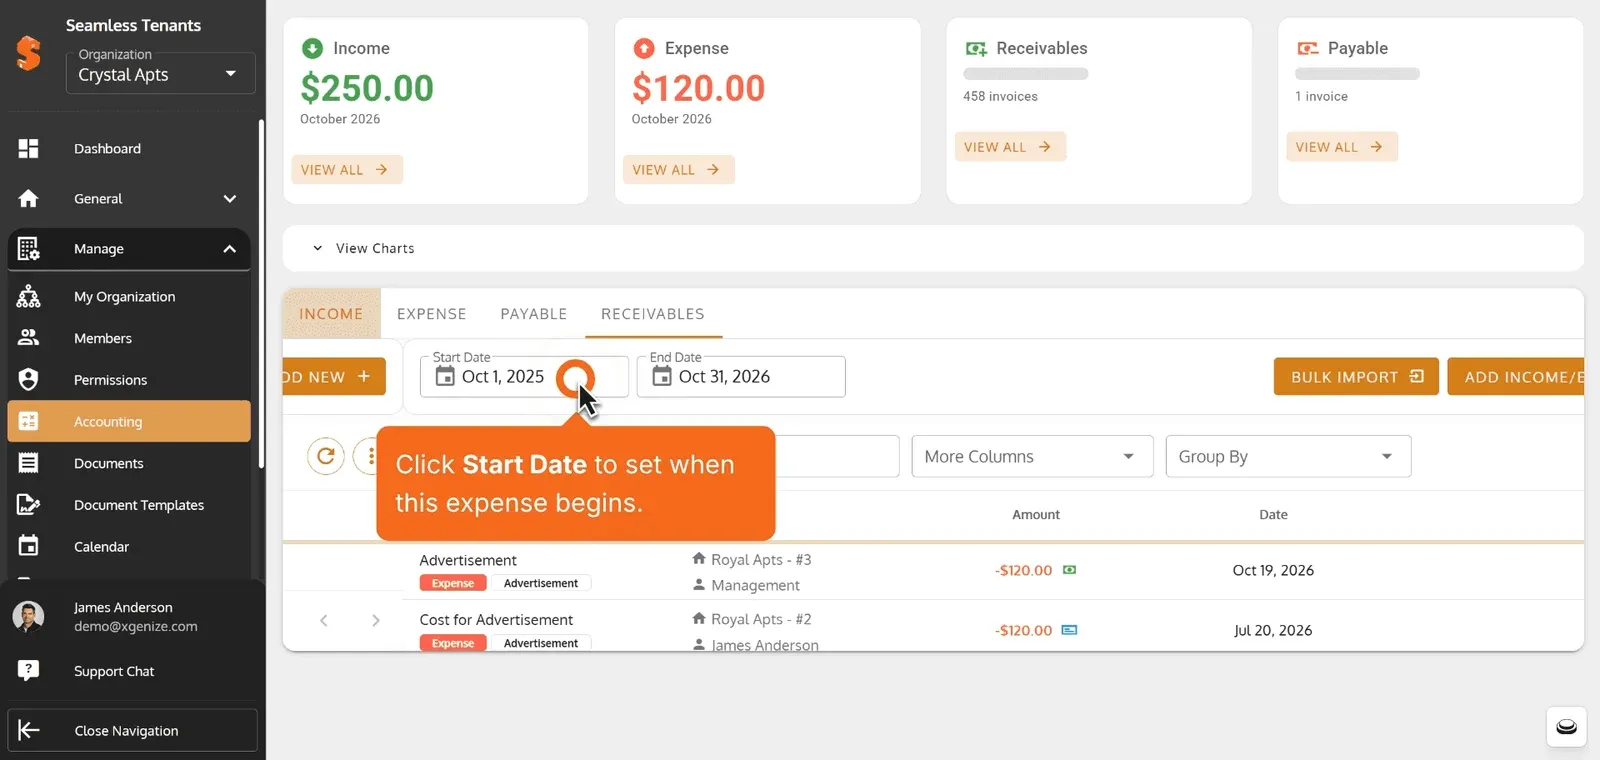
Select the start date.
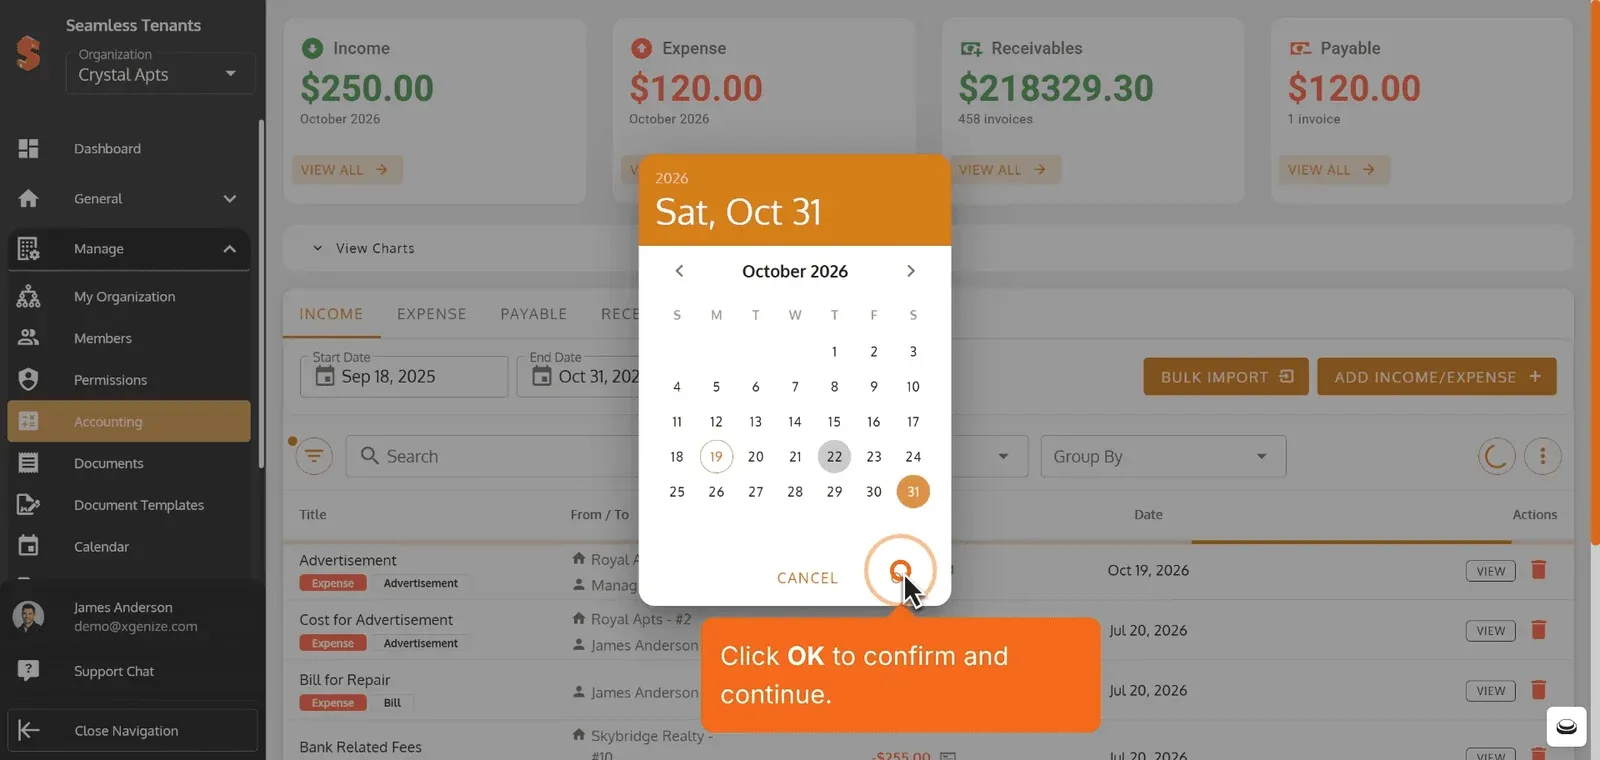
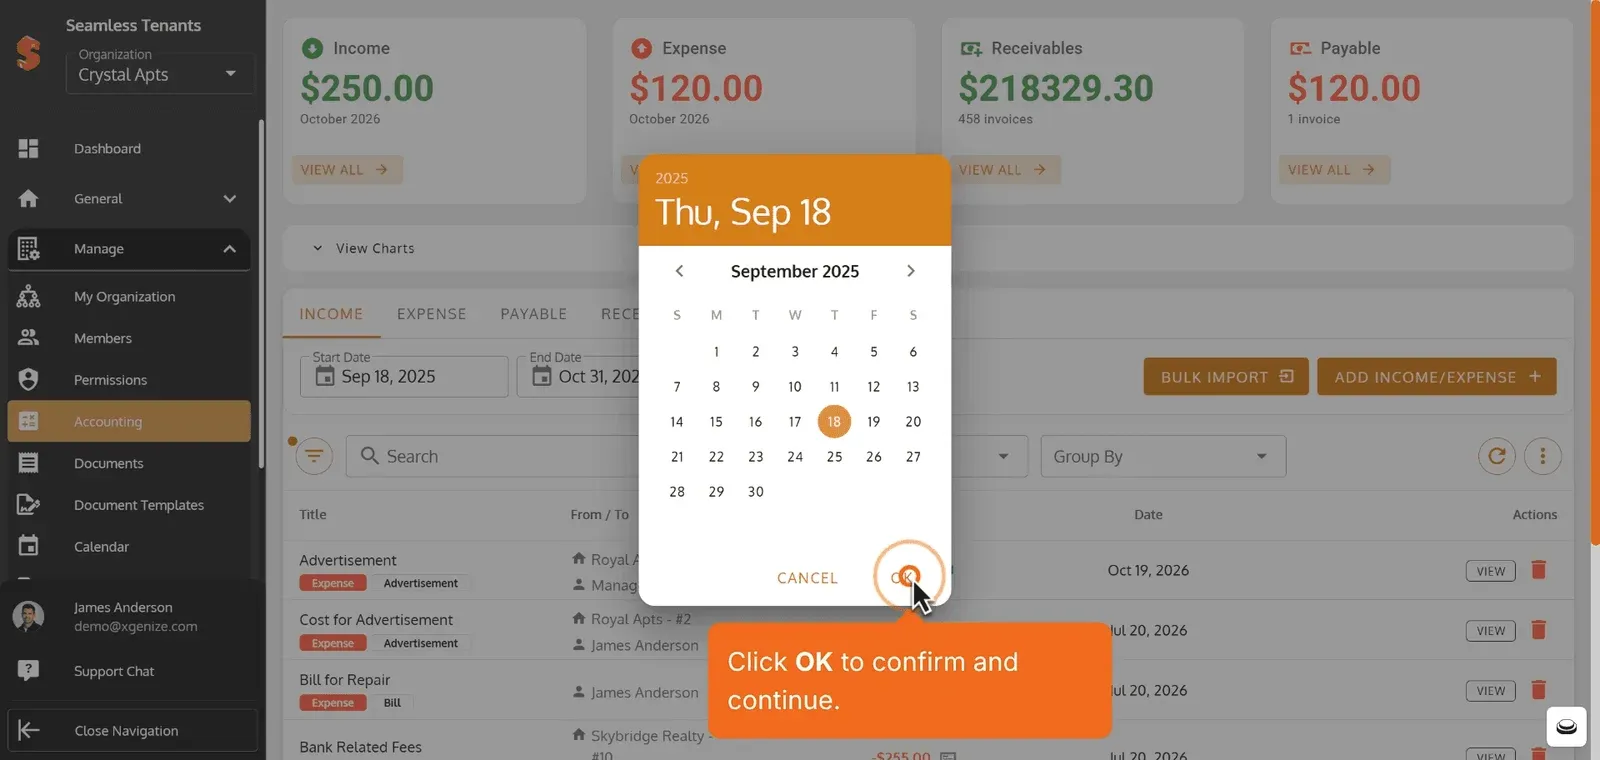
Click OK to confirm and continue.
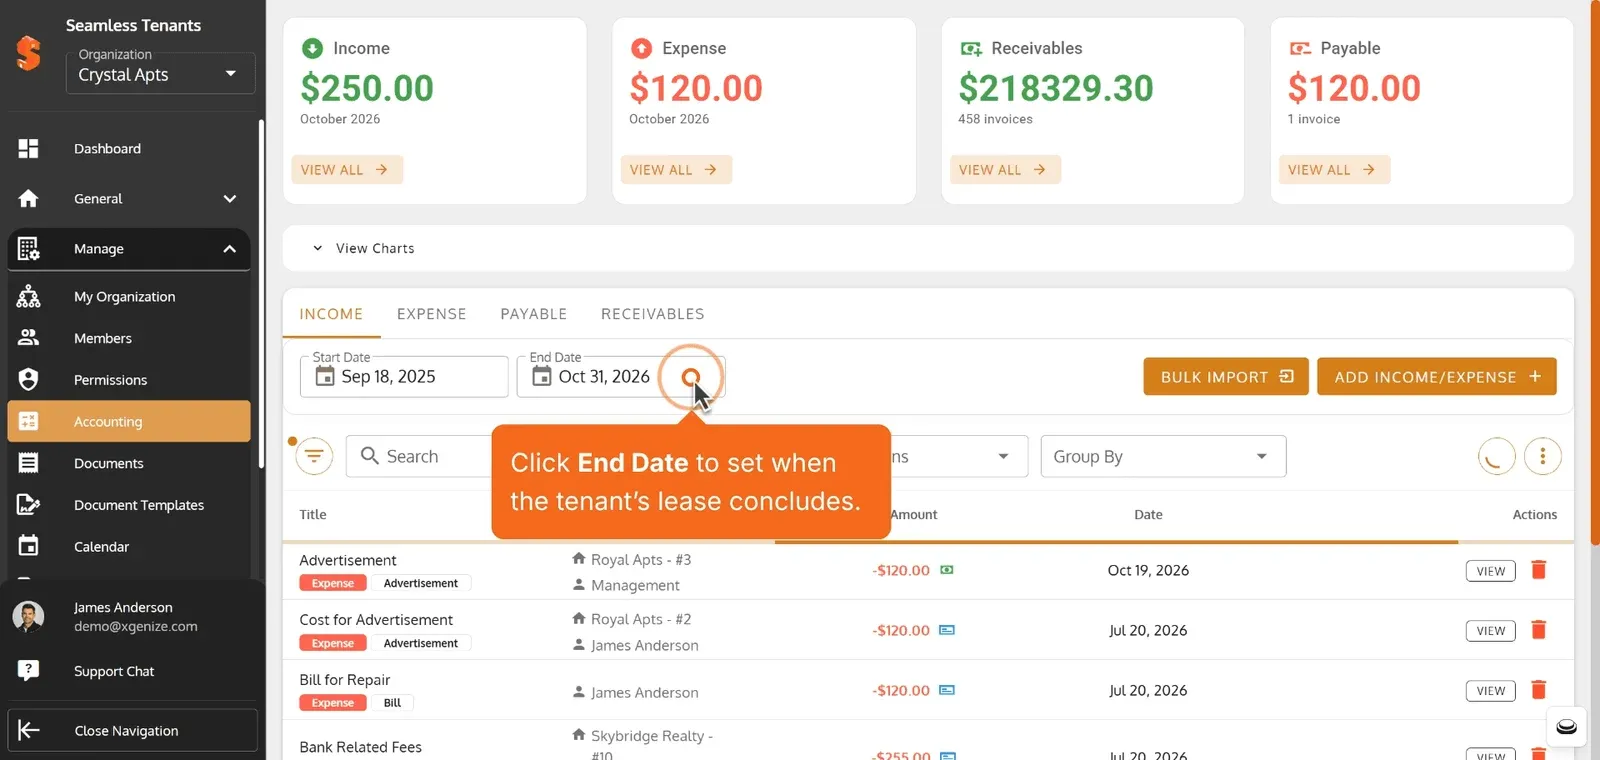
Click End Date to set when the tenant’s lease concludes.
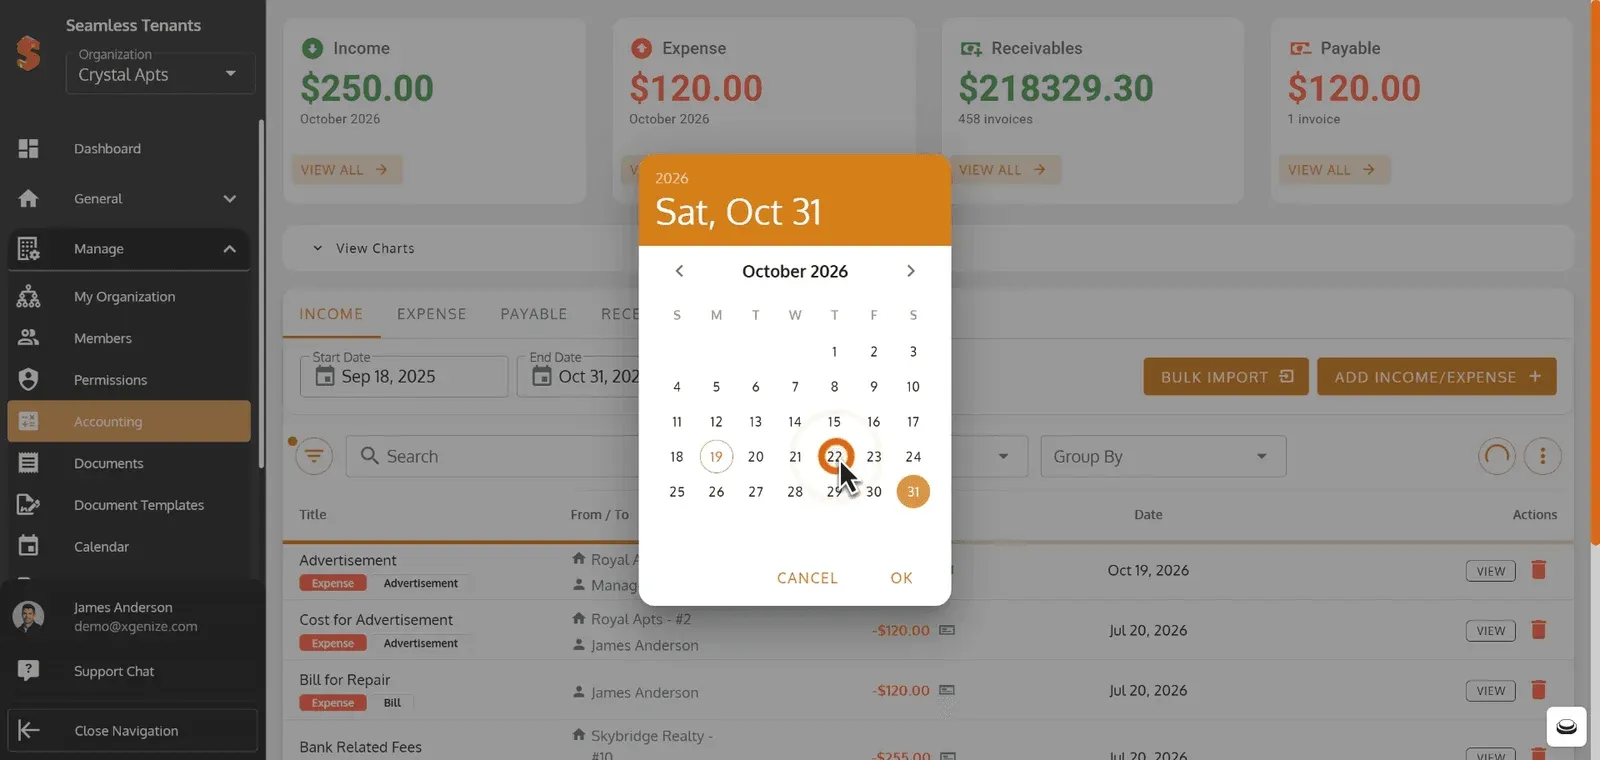
Select End Date here.
Click OK to confirm and continue.