
Add a Property
Add the property
Section titled “Add the property”-
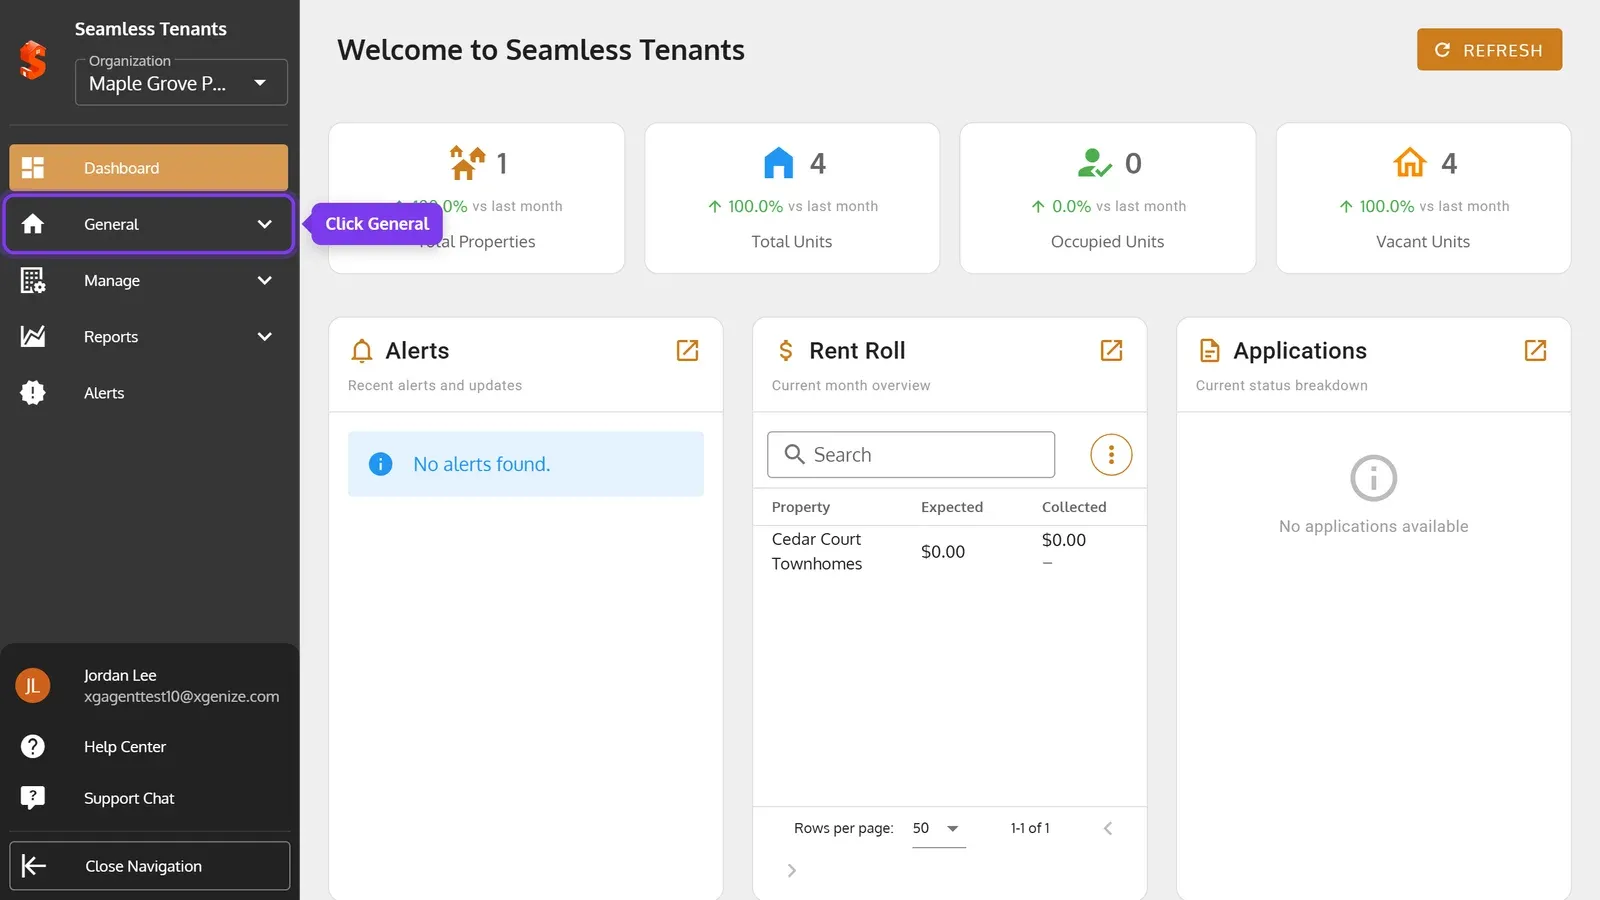
In the sidebar, click General.
-
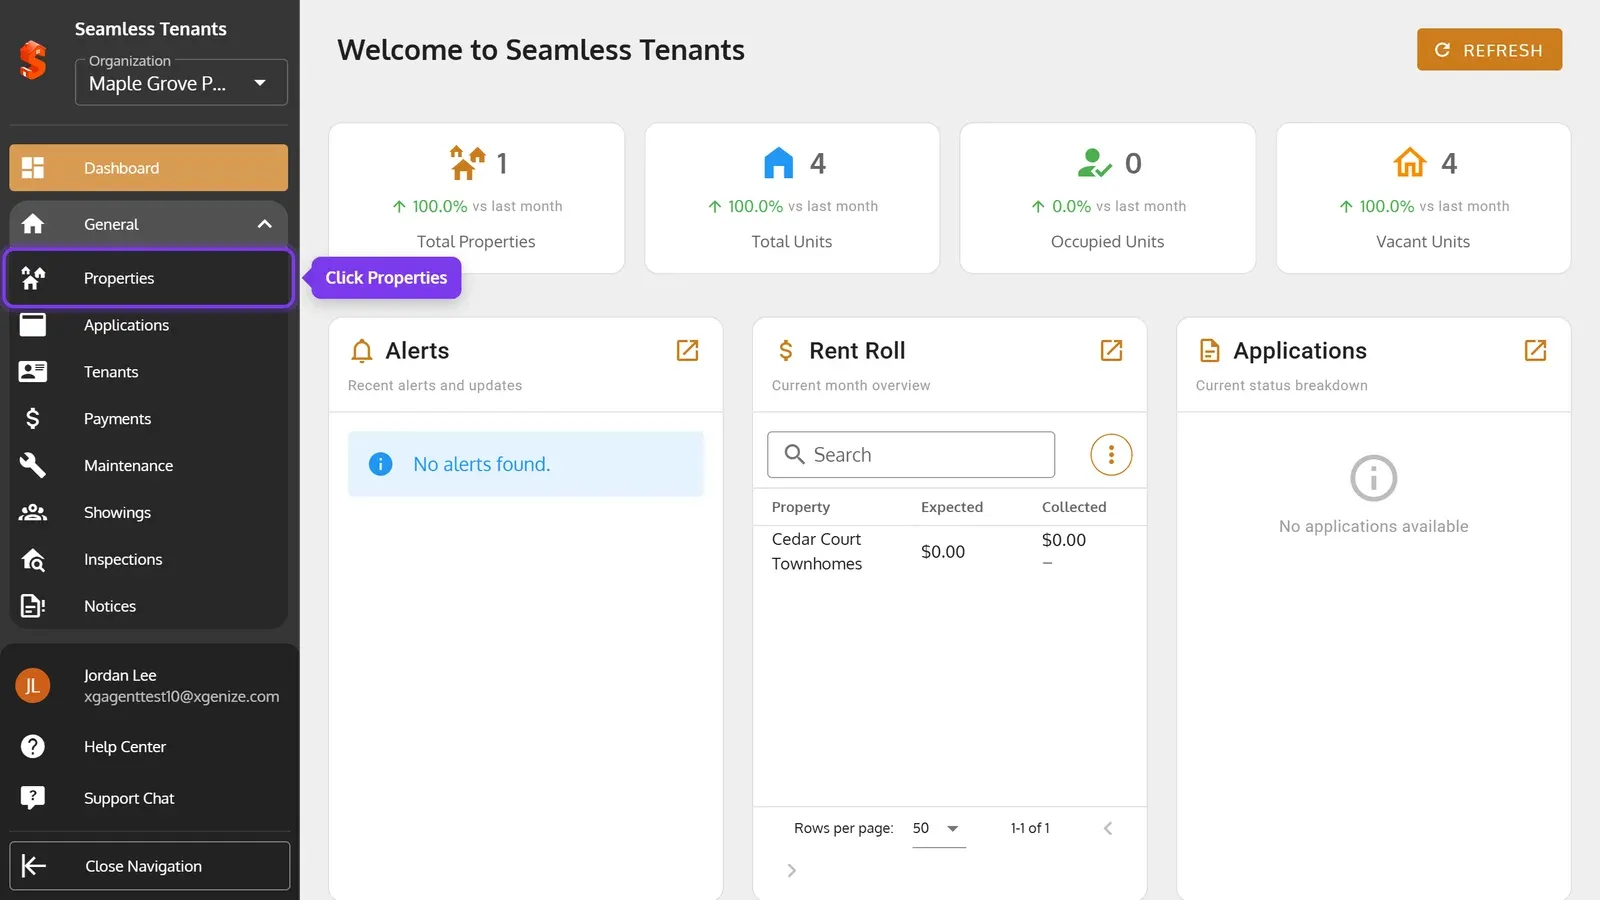
Click Properties.
-
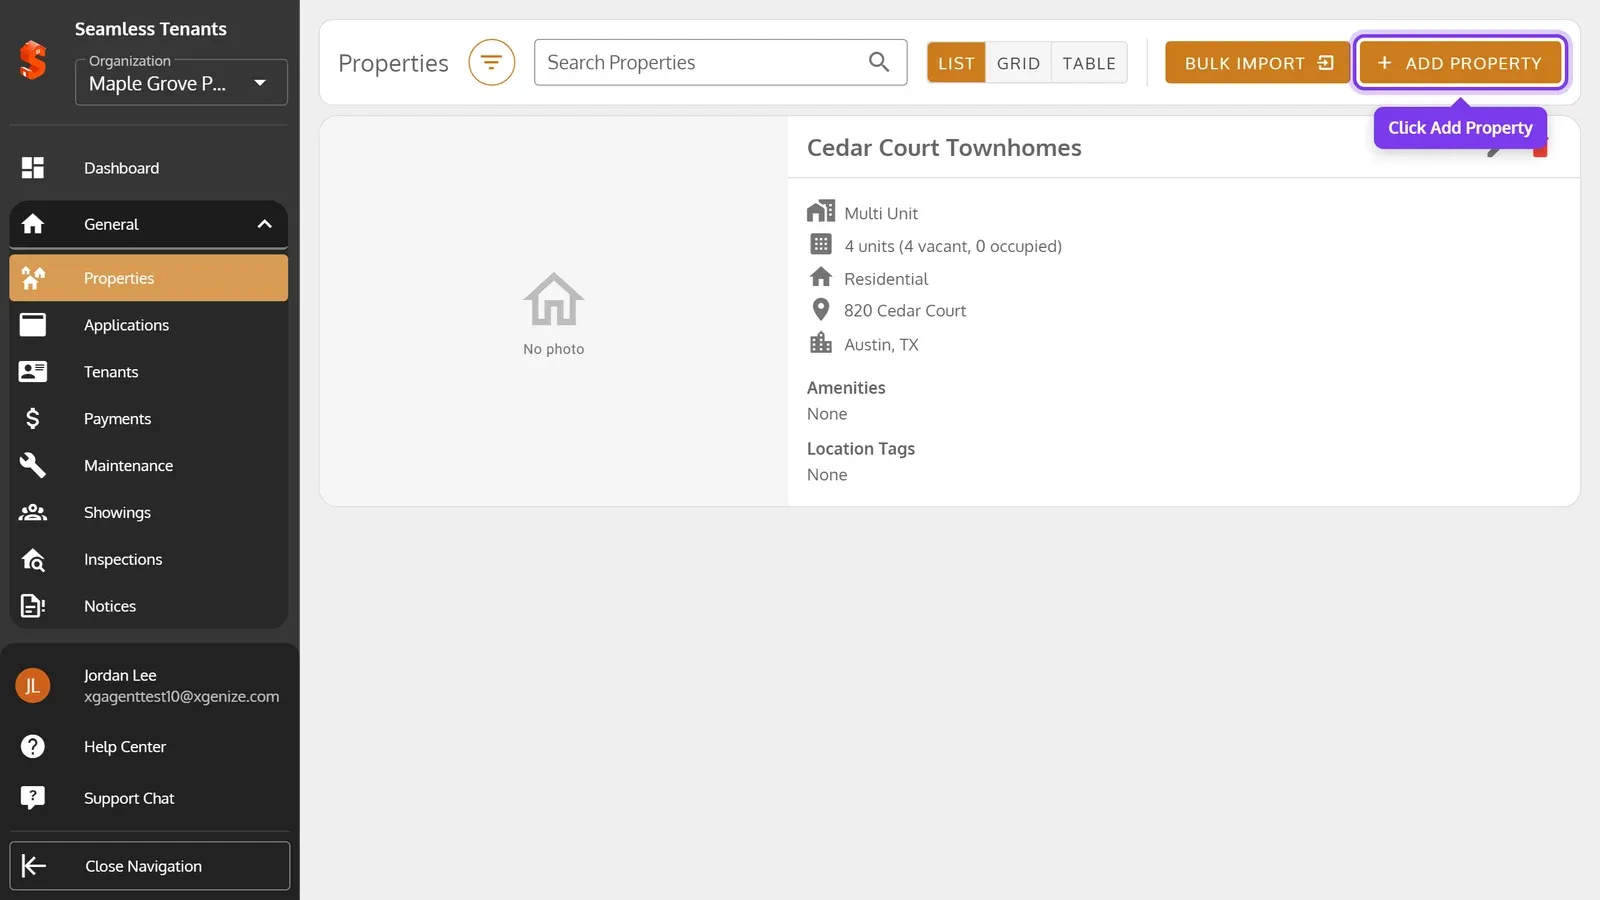
Click Add Property.
-
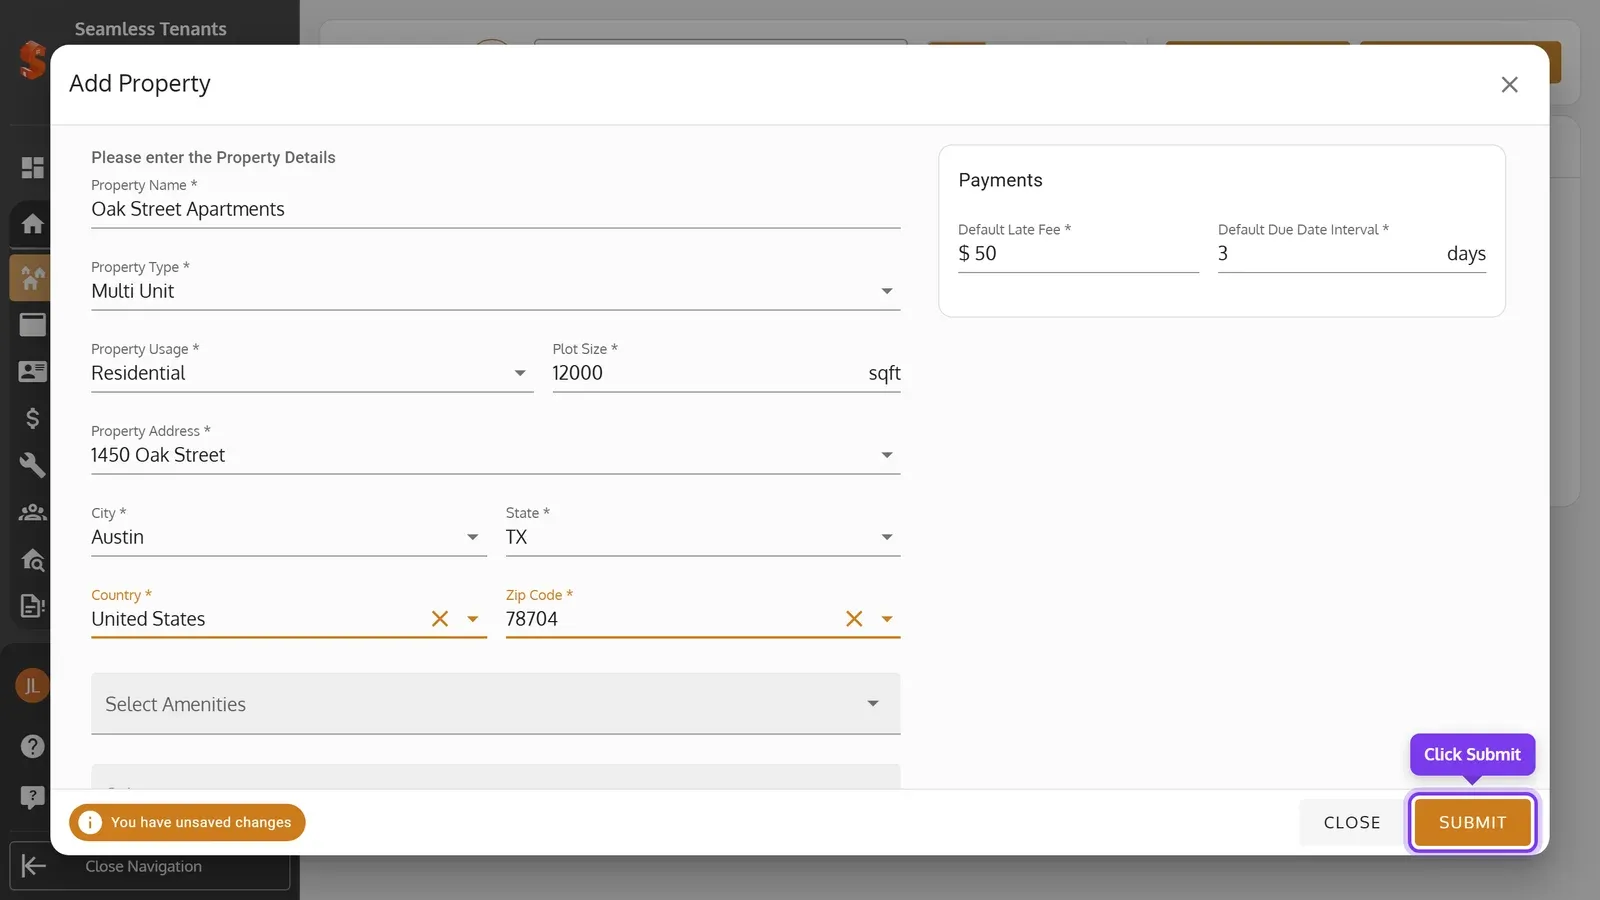
Enter the property’s details, then click Submit.
-
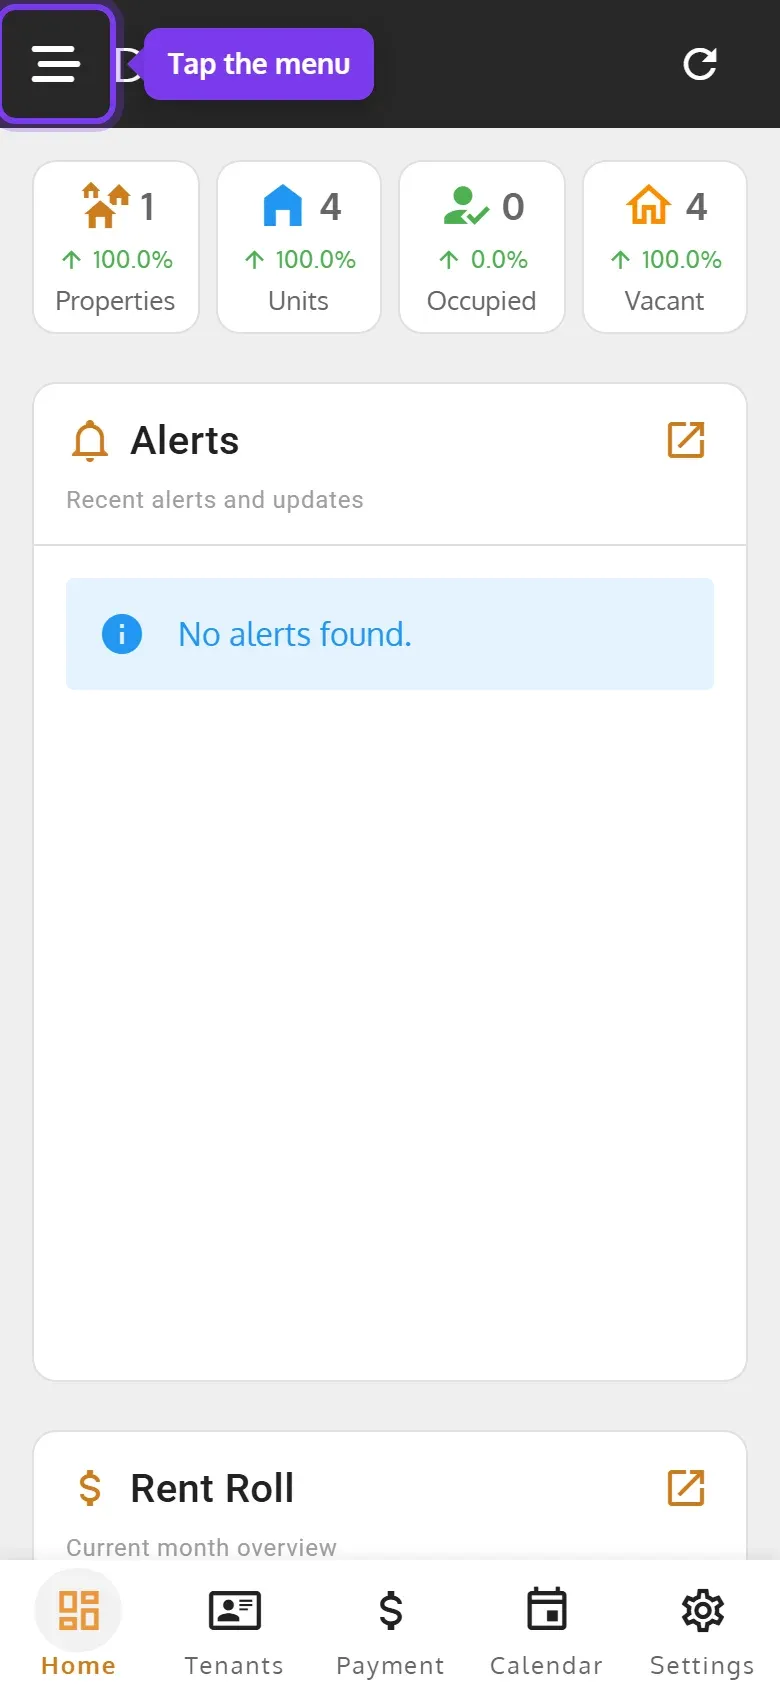
Tap the menu at the top left.
-
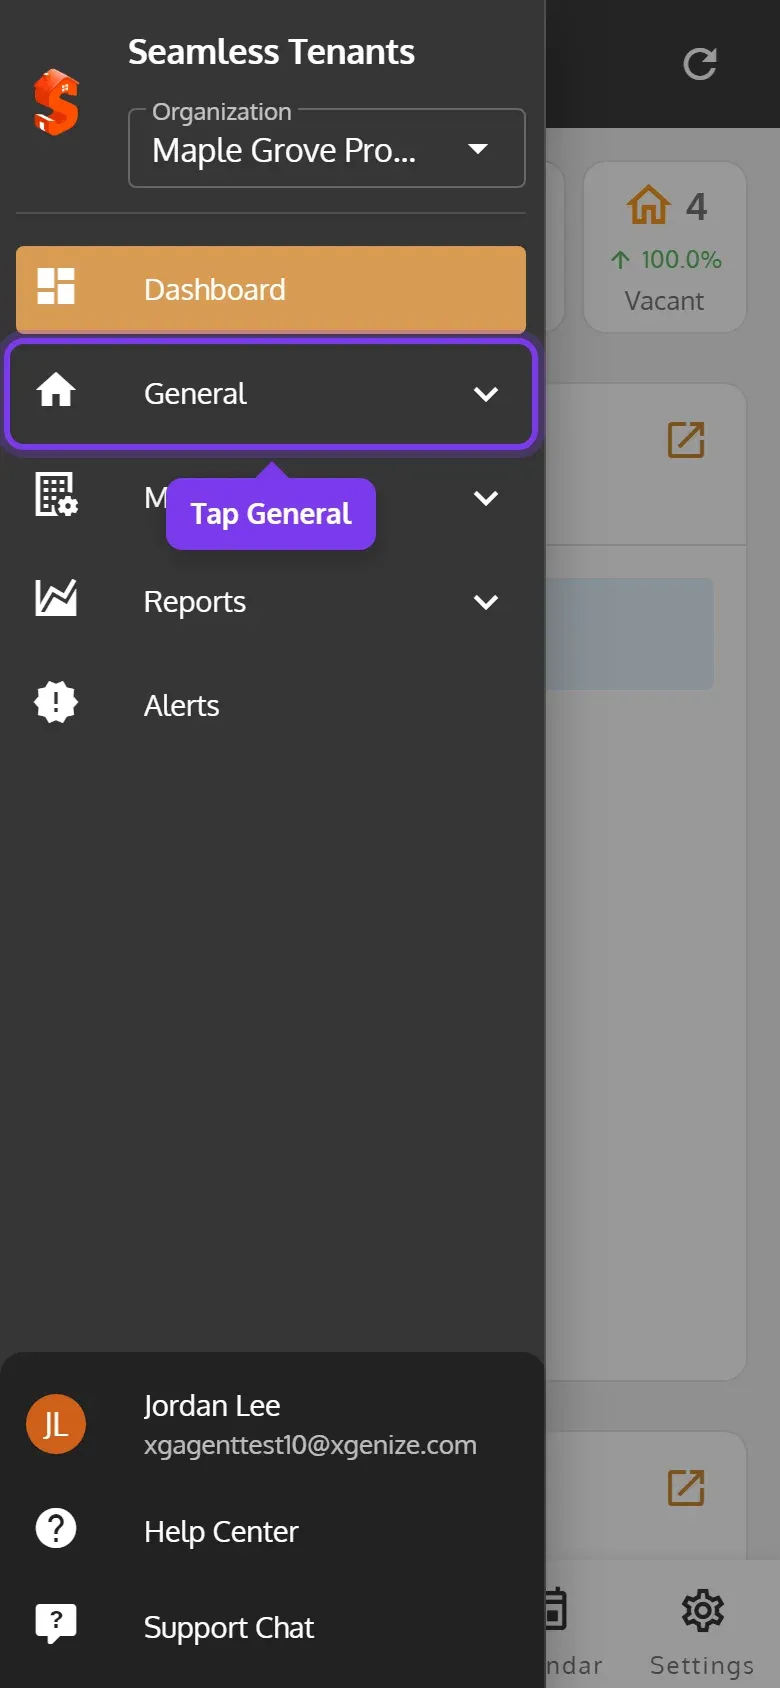
Tap General.
-
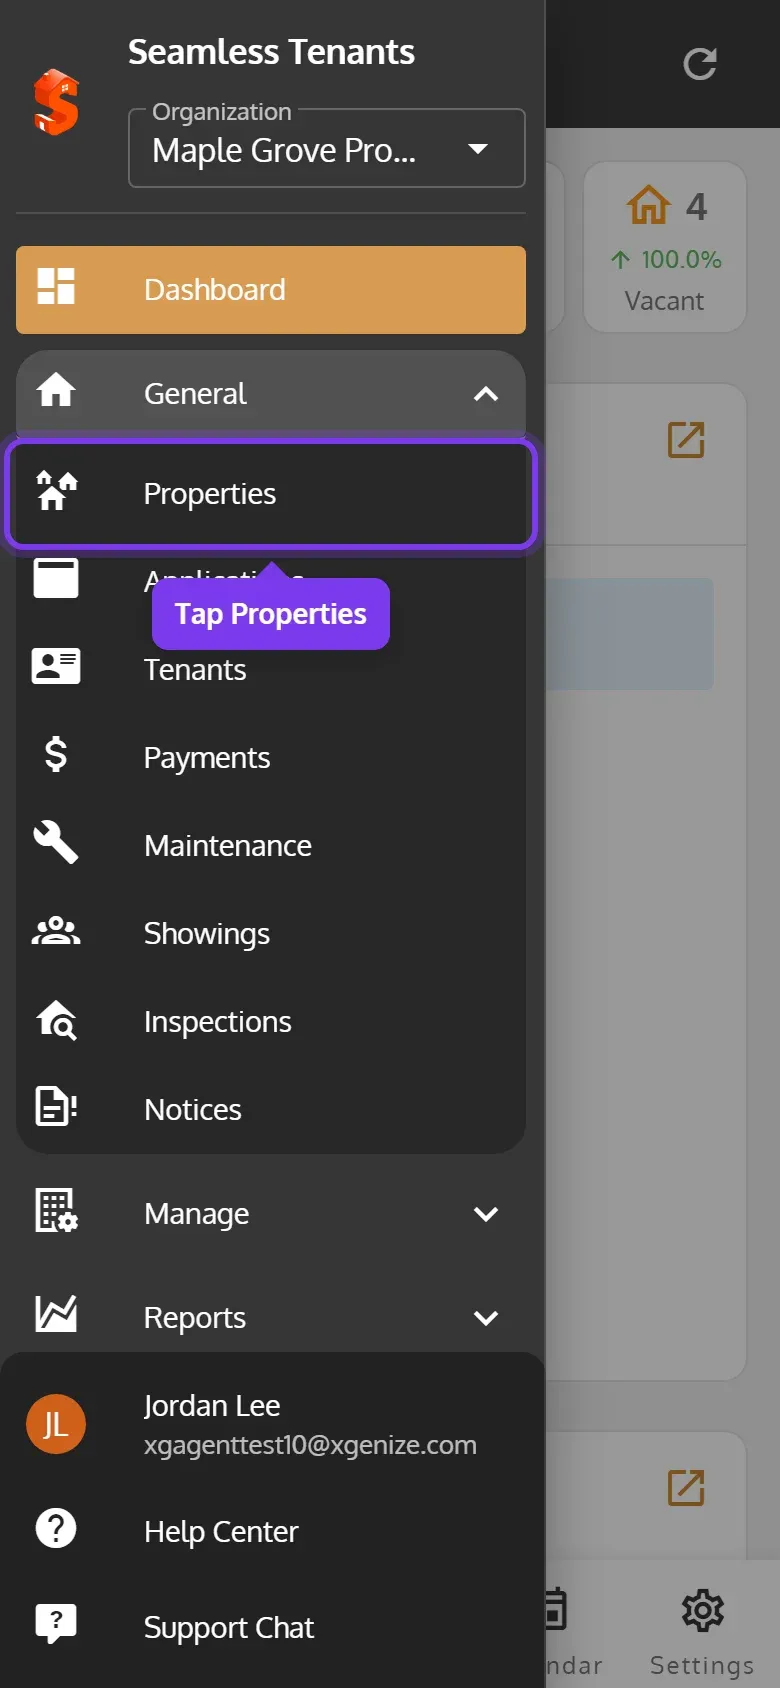
Tap Properties.
-
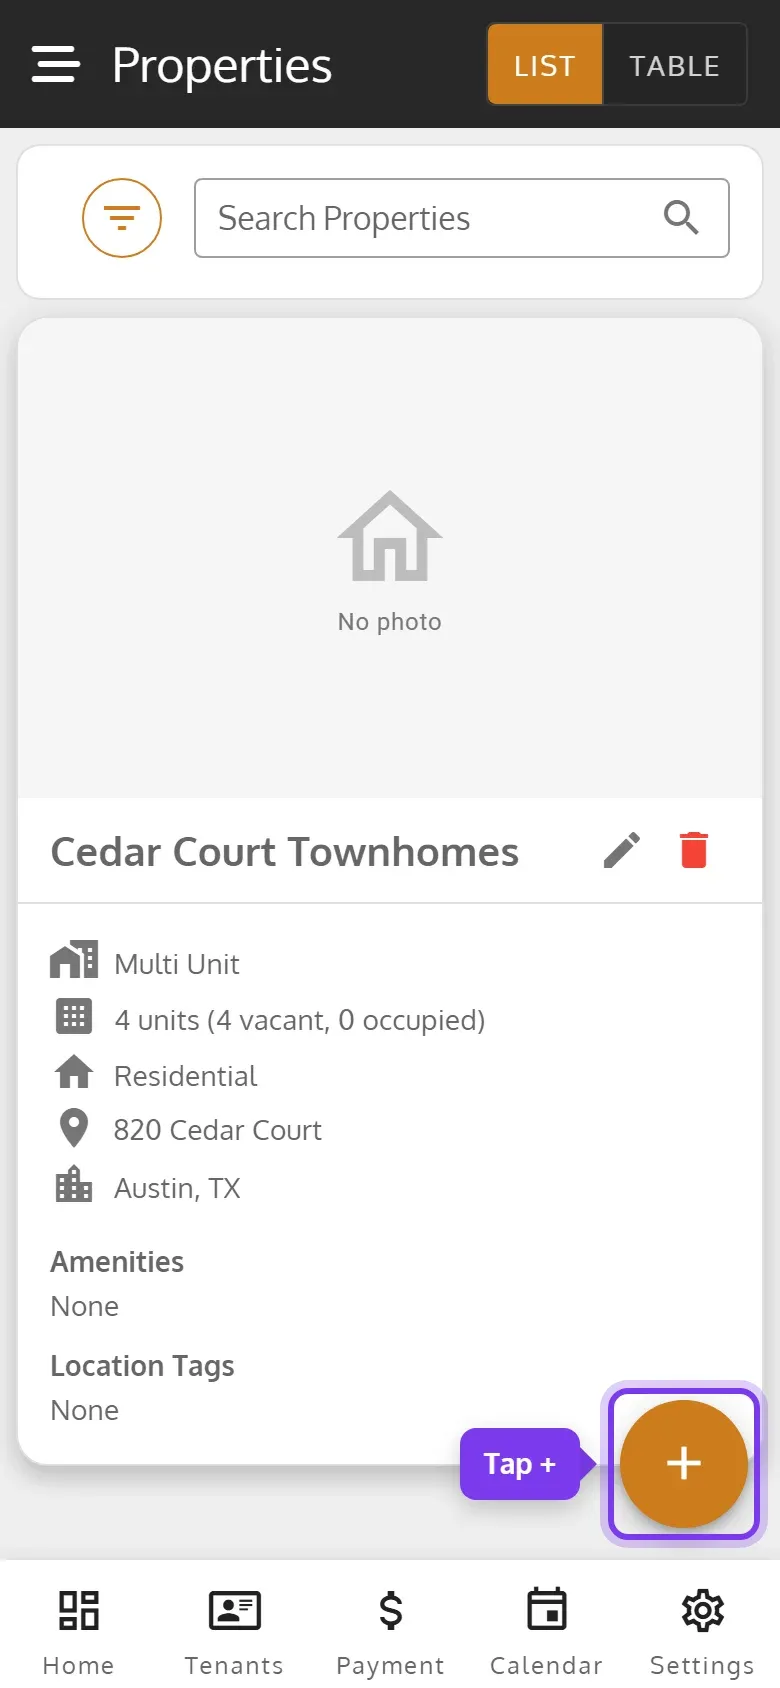
Tap + at the bottom right.
-
Enter the property’s details, then tap Submit.
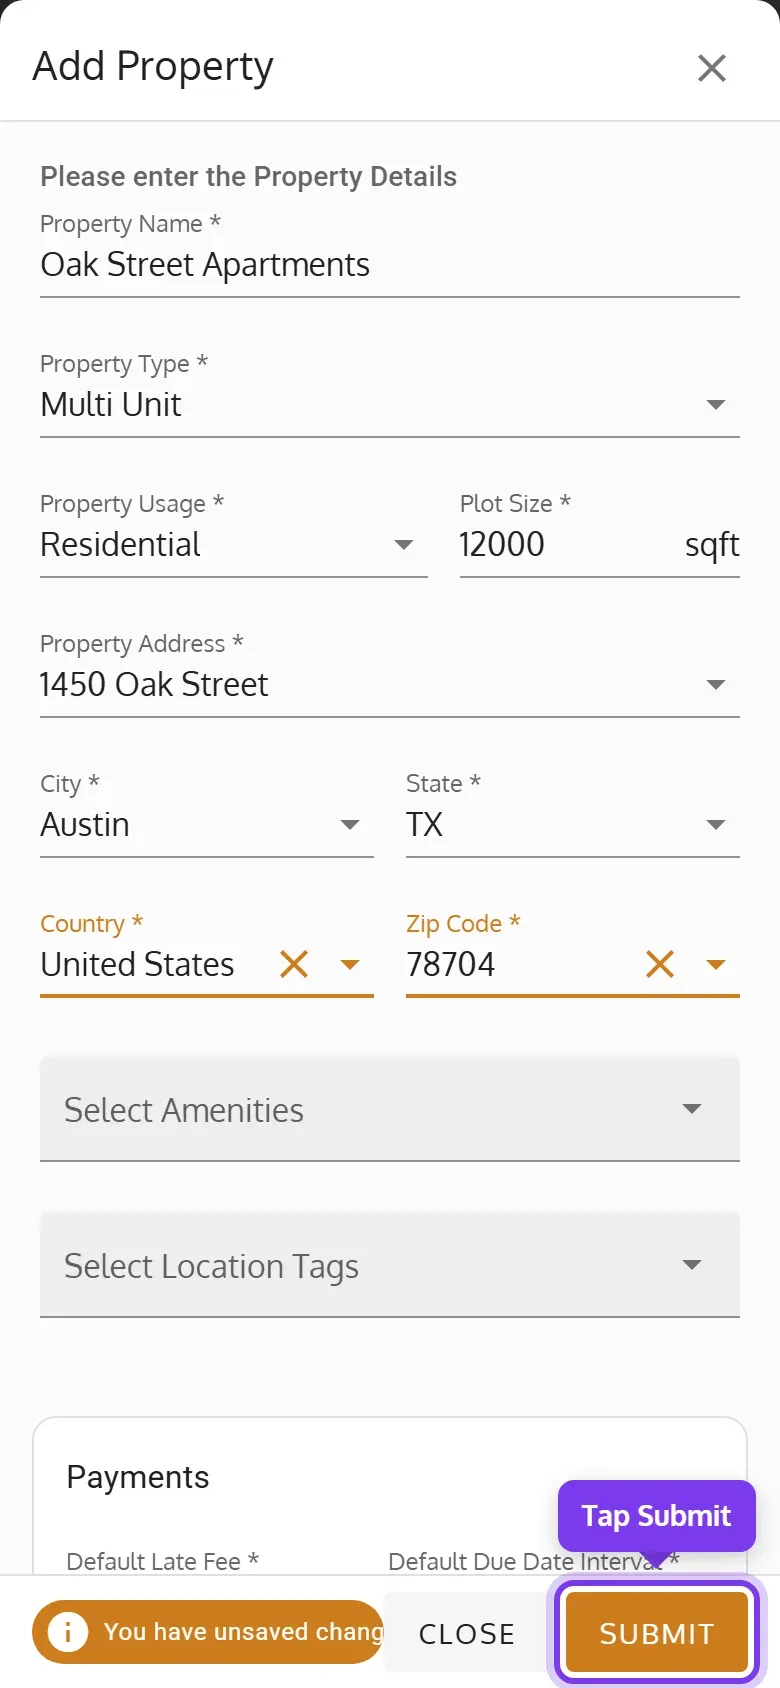
- Property Type: Single Unit for a house, which comes with its one unit, or Multi Unit for a building with several units.
- Default Late Fee and Default Due Date Interval: new leases at this property start with these. You can change them on each lease.
Add its units
Section titled “Add its units”A Single Unit property comes with its one unit. Open its House Details tab, fill in the unit’s details, save them, and go on to Add photos. For a Multi Unit property:
-
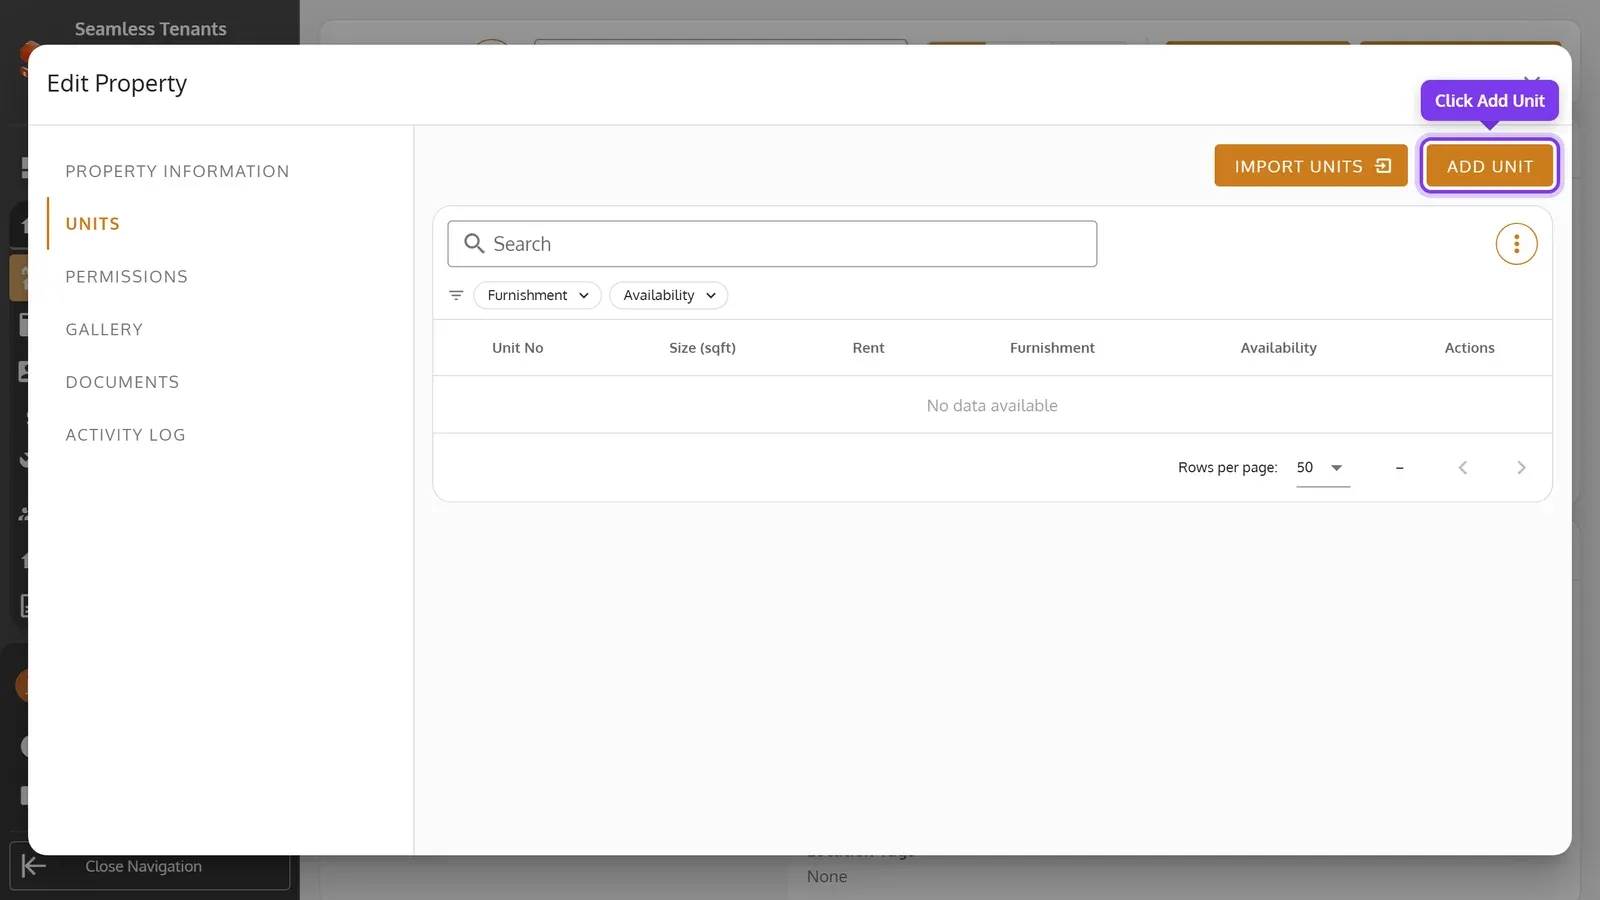
The property opens. Open Units and click Add Unit.
-
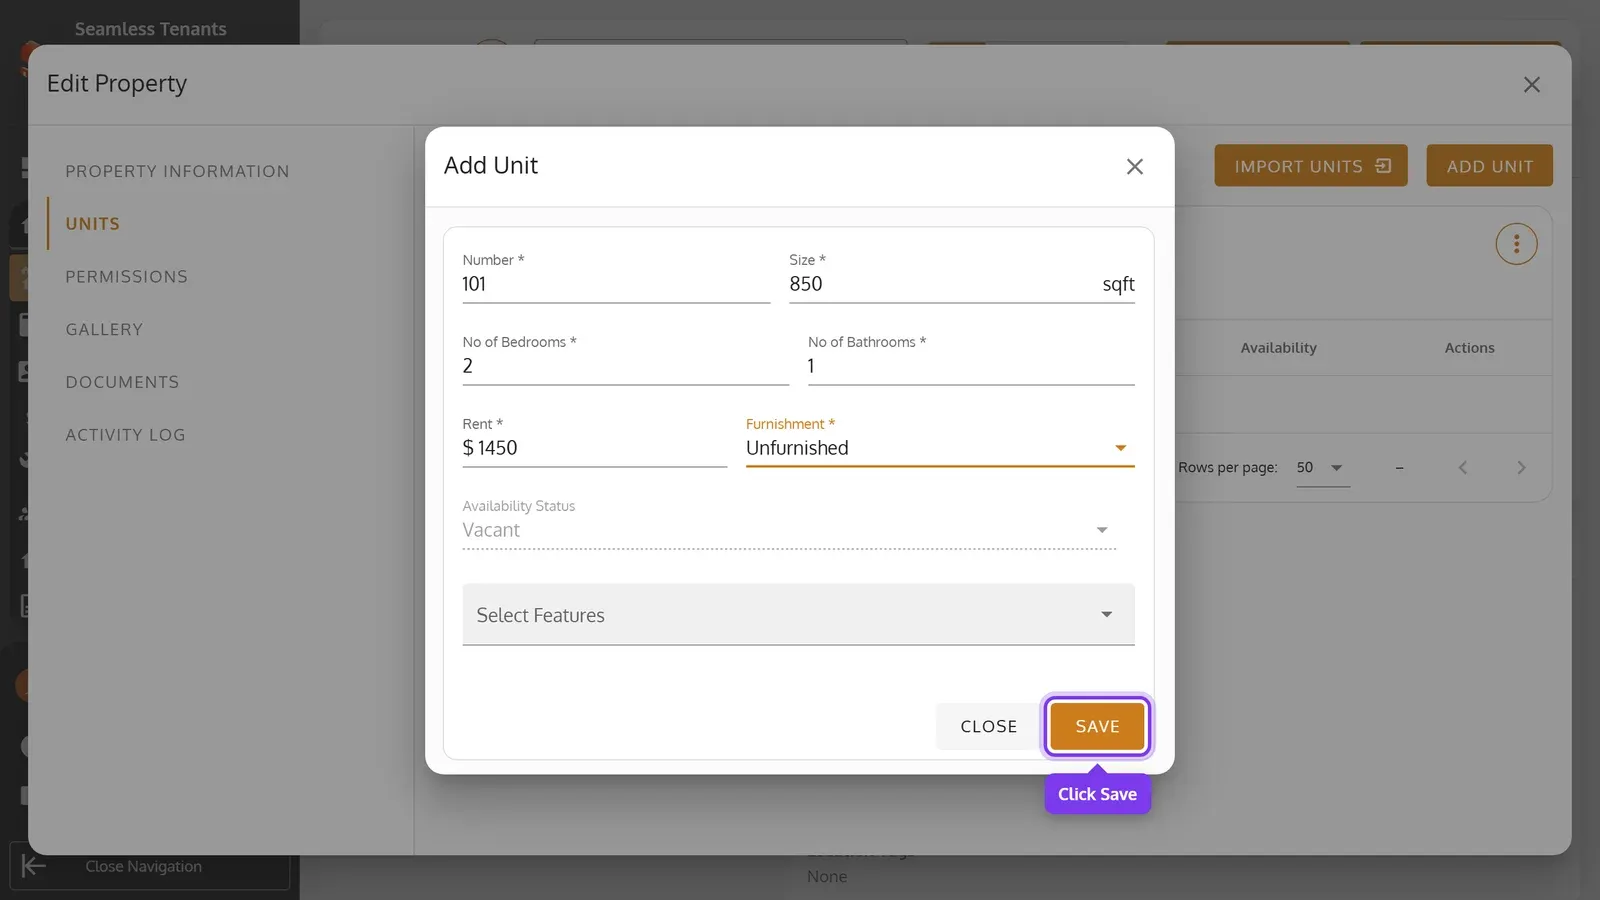
Enter the unit’s number, size, bedrooms, bathrooms, rent and furnishment, then click Save.
-
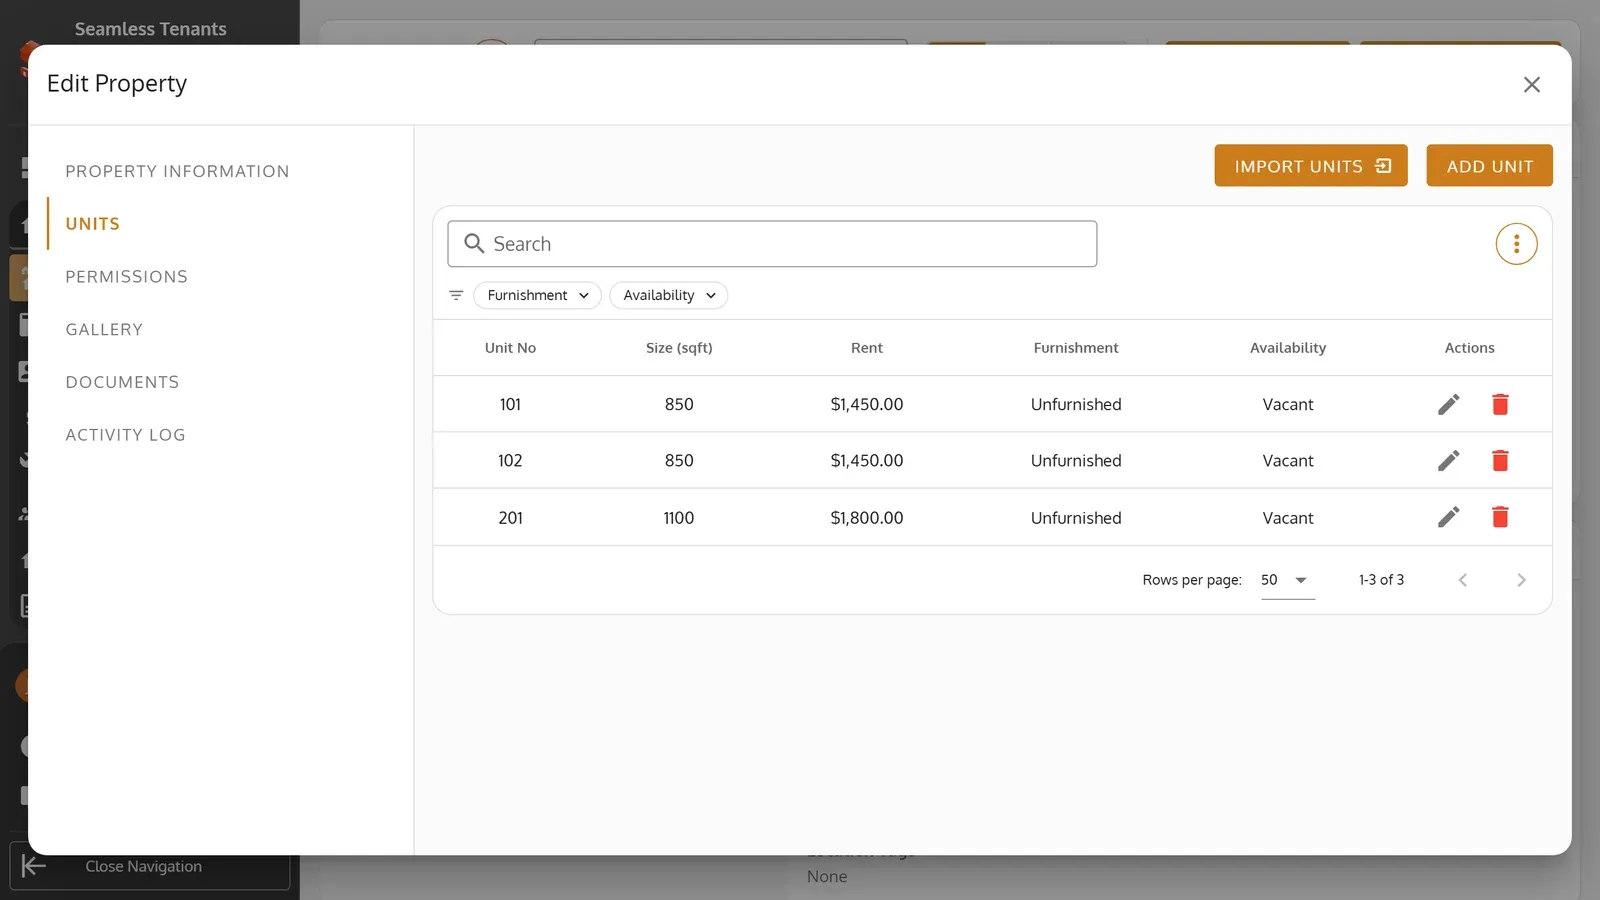
Add the rest of the units the same way. They’re listed under Units.
-
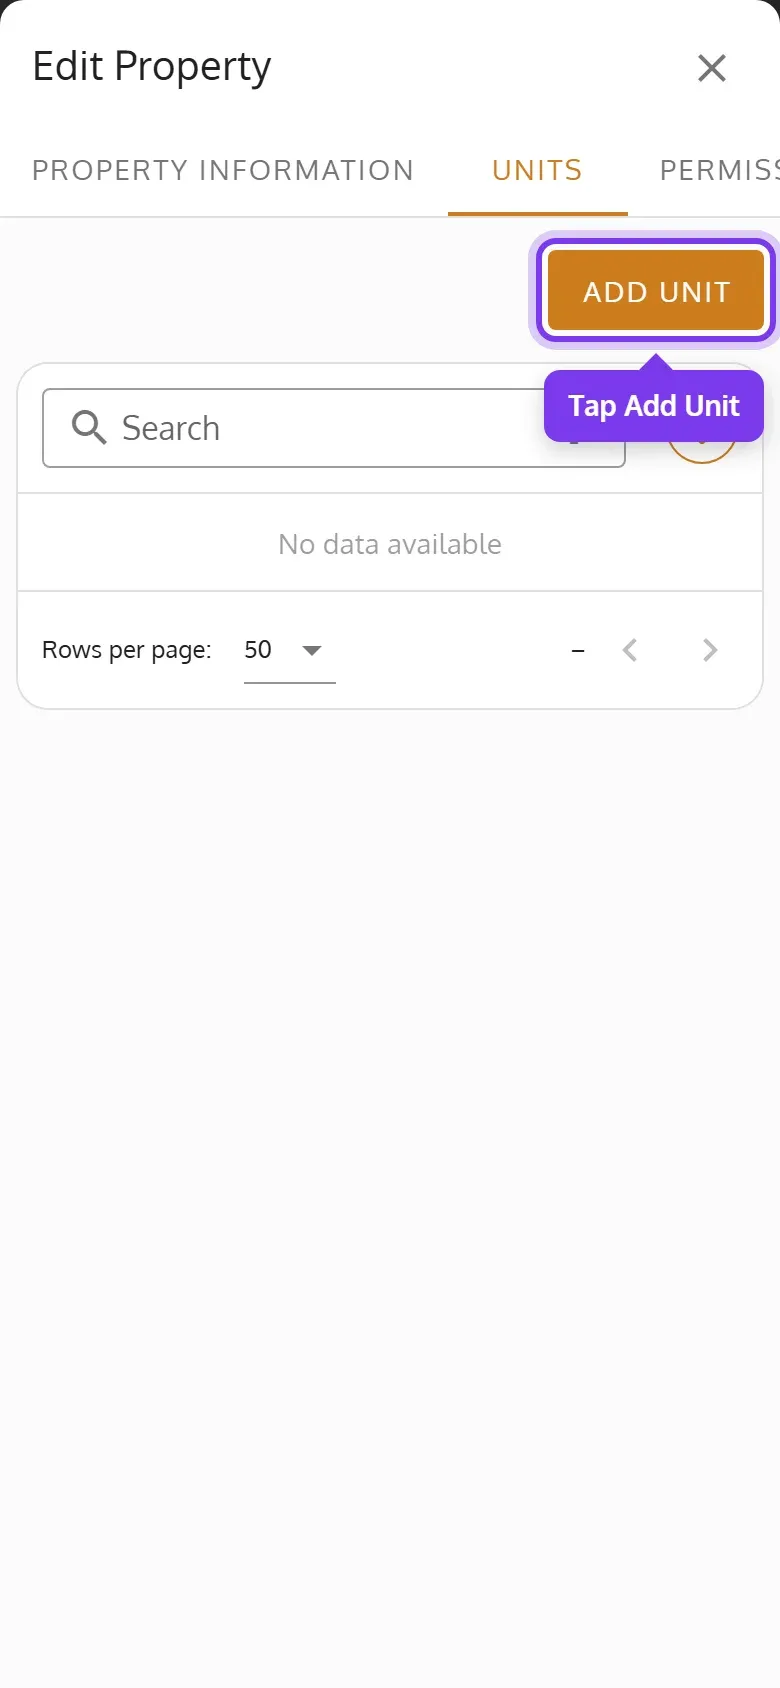
The property opens. Tap Units, then Add Unit.
-
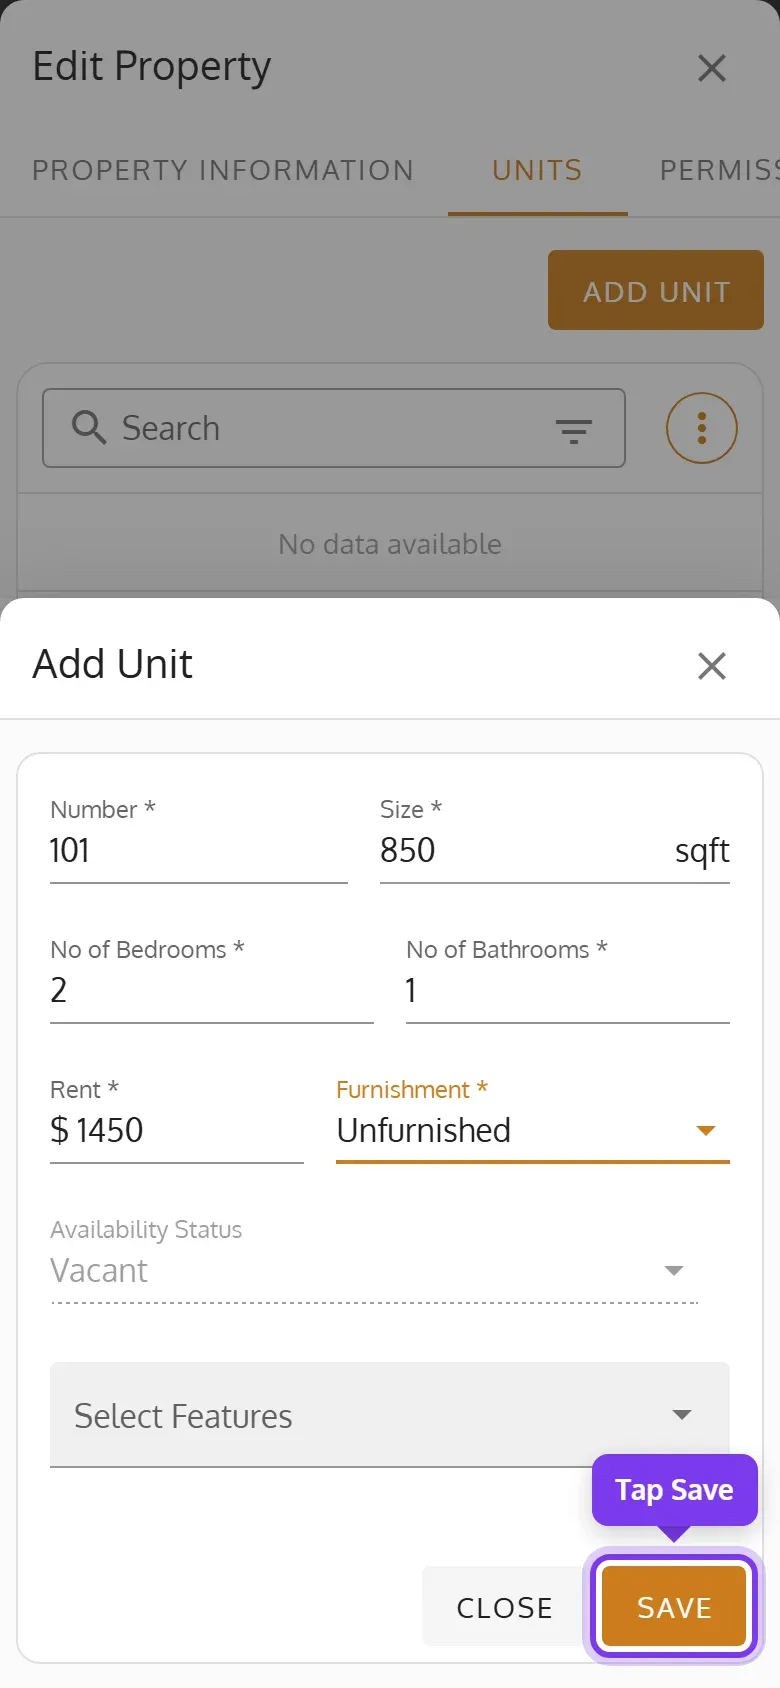
Enter the unit’s number, size, bedrooms, bathrooms, rent and furnishment, then tap Save.
-
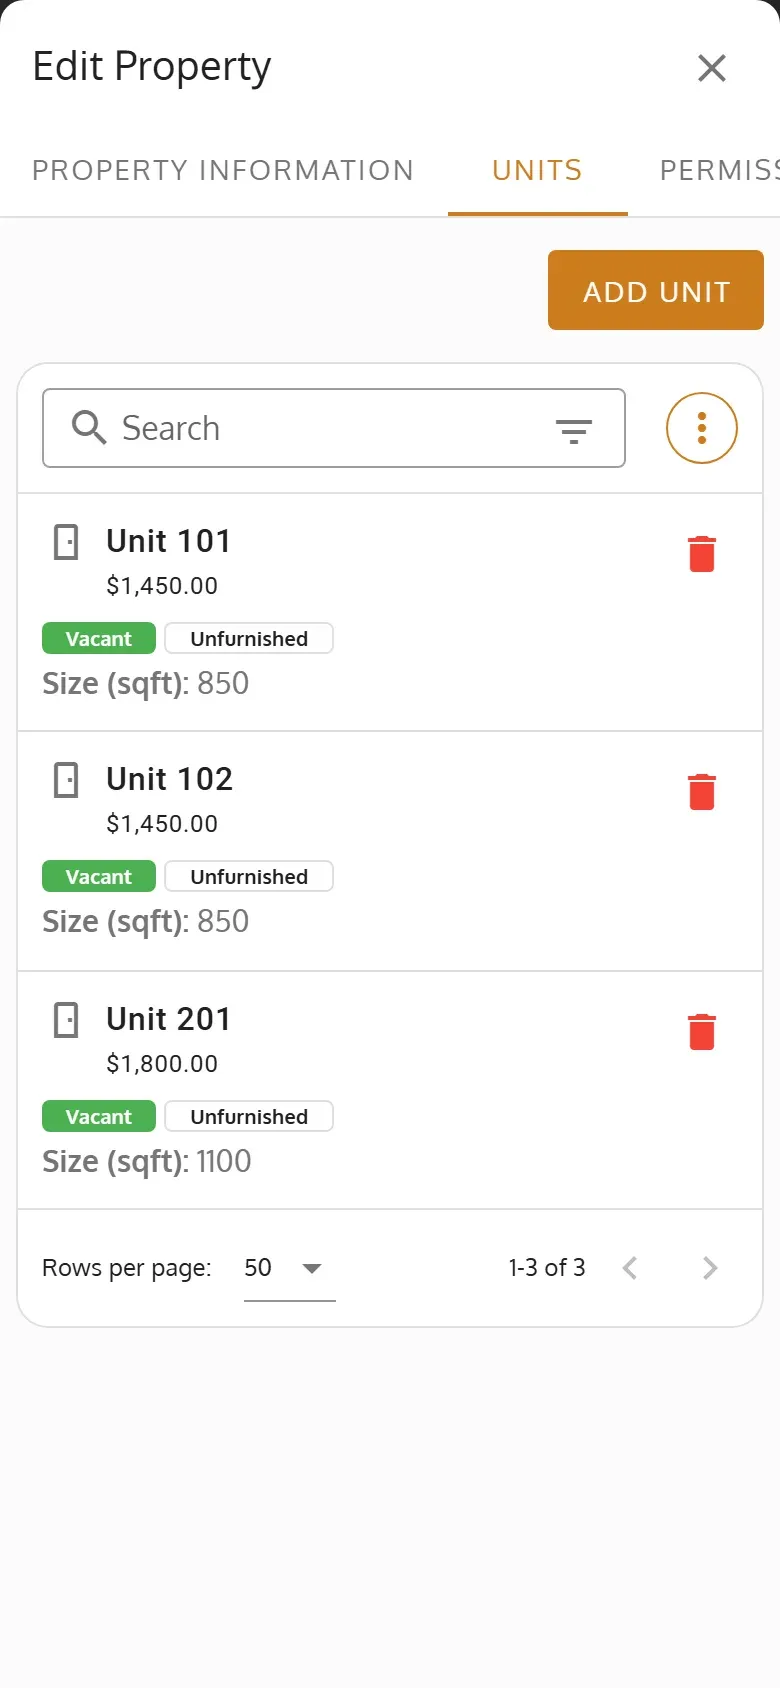
Add the rest of the units the same way. They’re listed under Units.
- When a unit adds to your bill, Seamless Tenants says how much and asks you to confirm. That includes a Single Unit property’s unit, when you submit the property.
- To add many units at once on a computer, use Import Units. More about units: Add and Manage Units.
Add photos
Section titled “Add photos”-
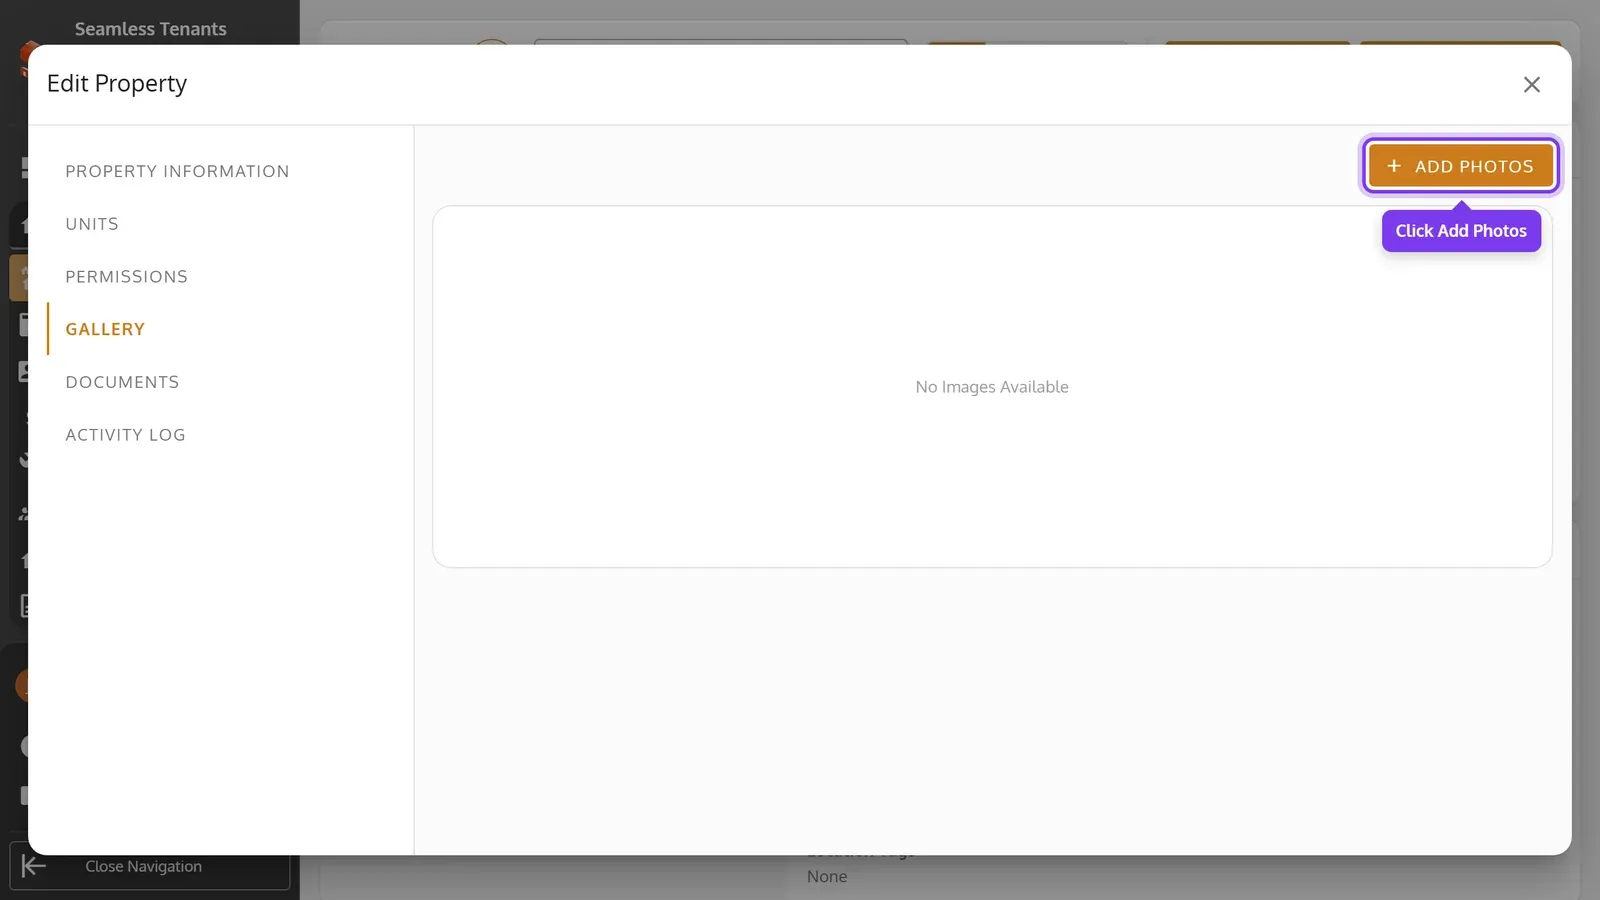
Open Gallery and click Add Photos.
-
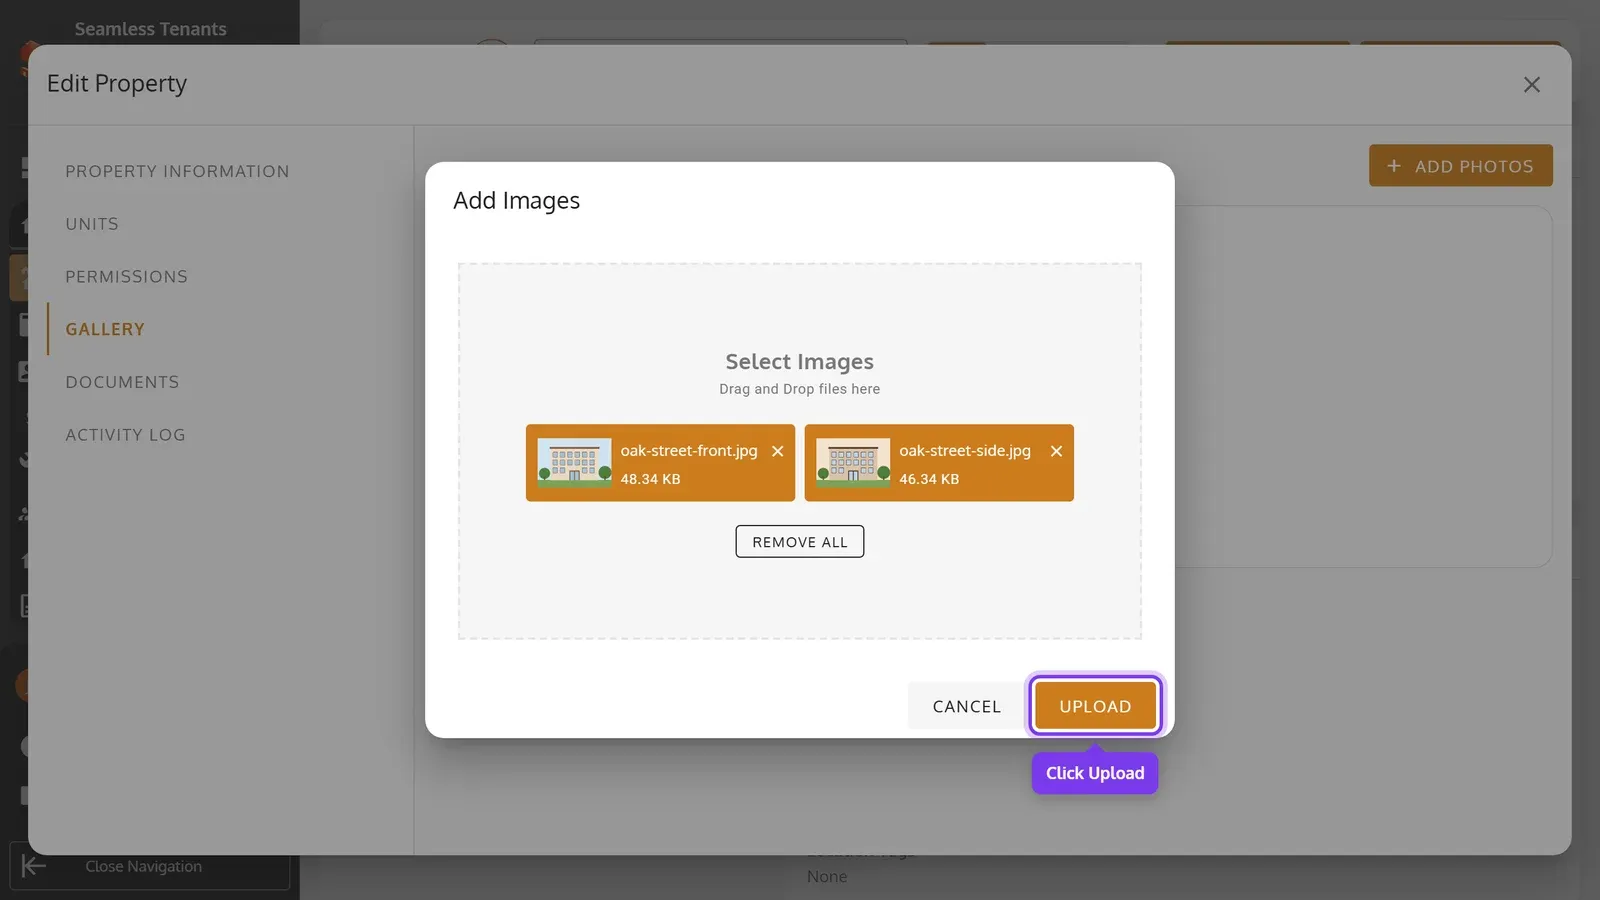
Click Select Images and choose the photos, or drag them onto it. Then click Upload.
-
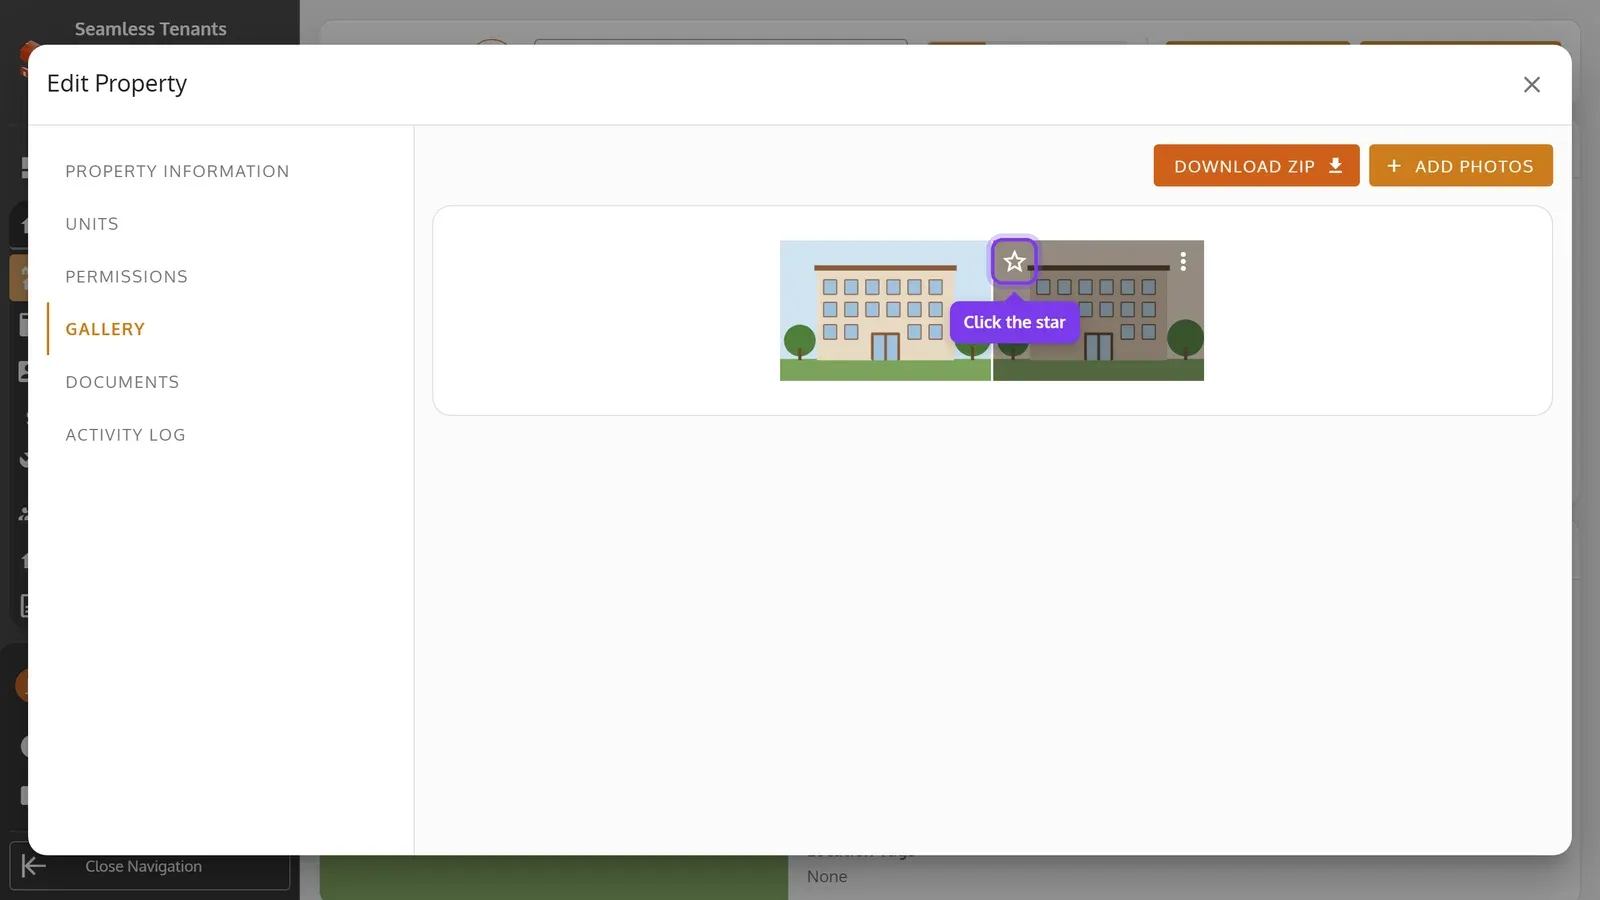
To pick the photo the property’s card shows, point to it and click its star. Without a star, the card shows the first photo.
-
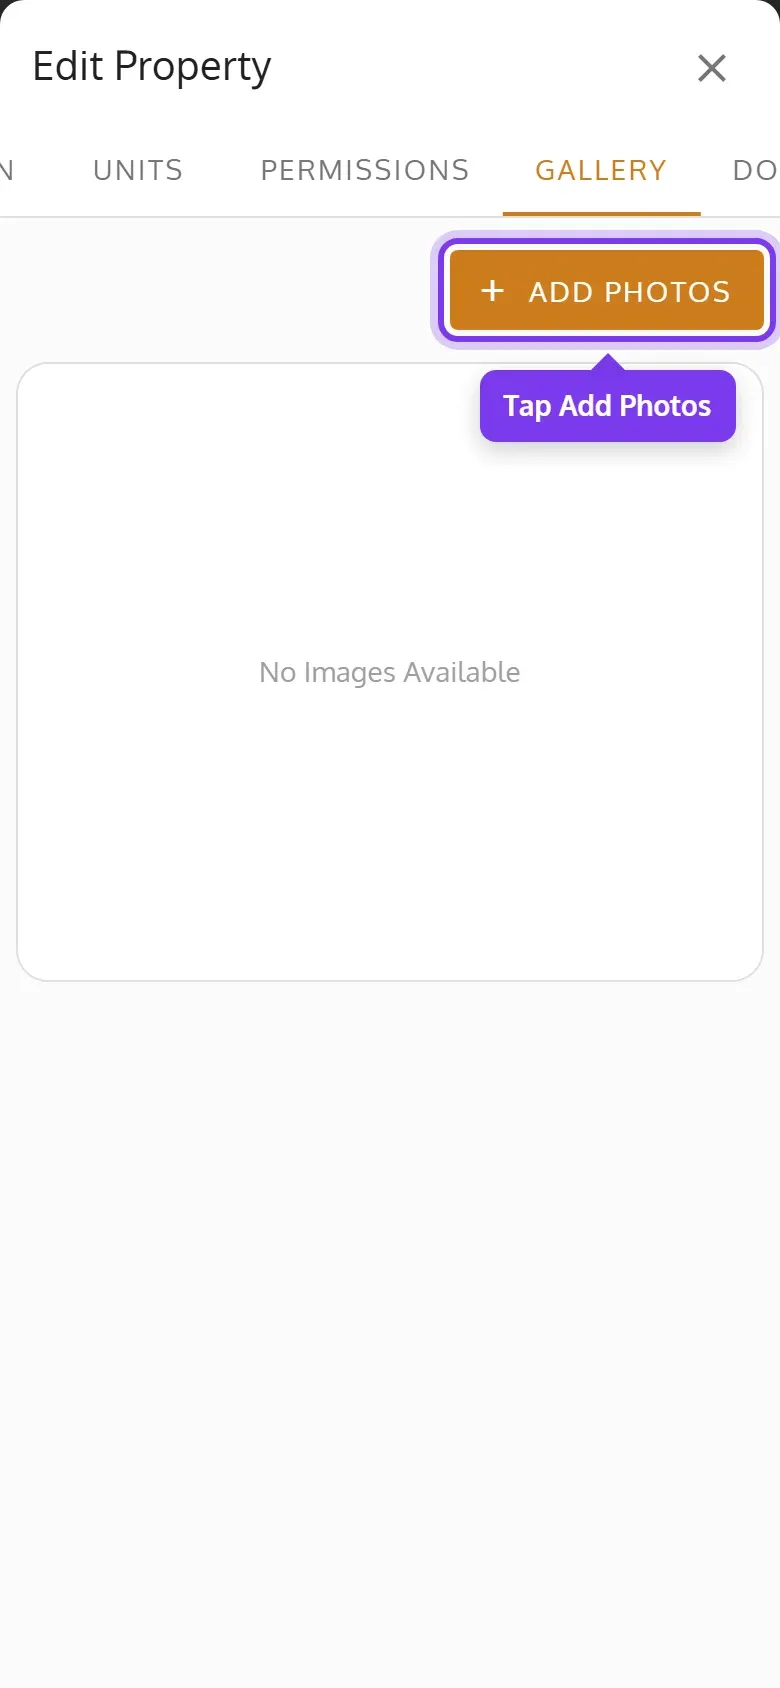
Swipe the tabs and tap Gallery, then Add Photos.
-
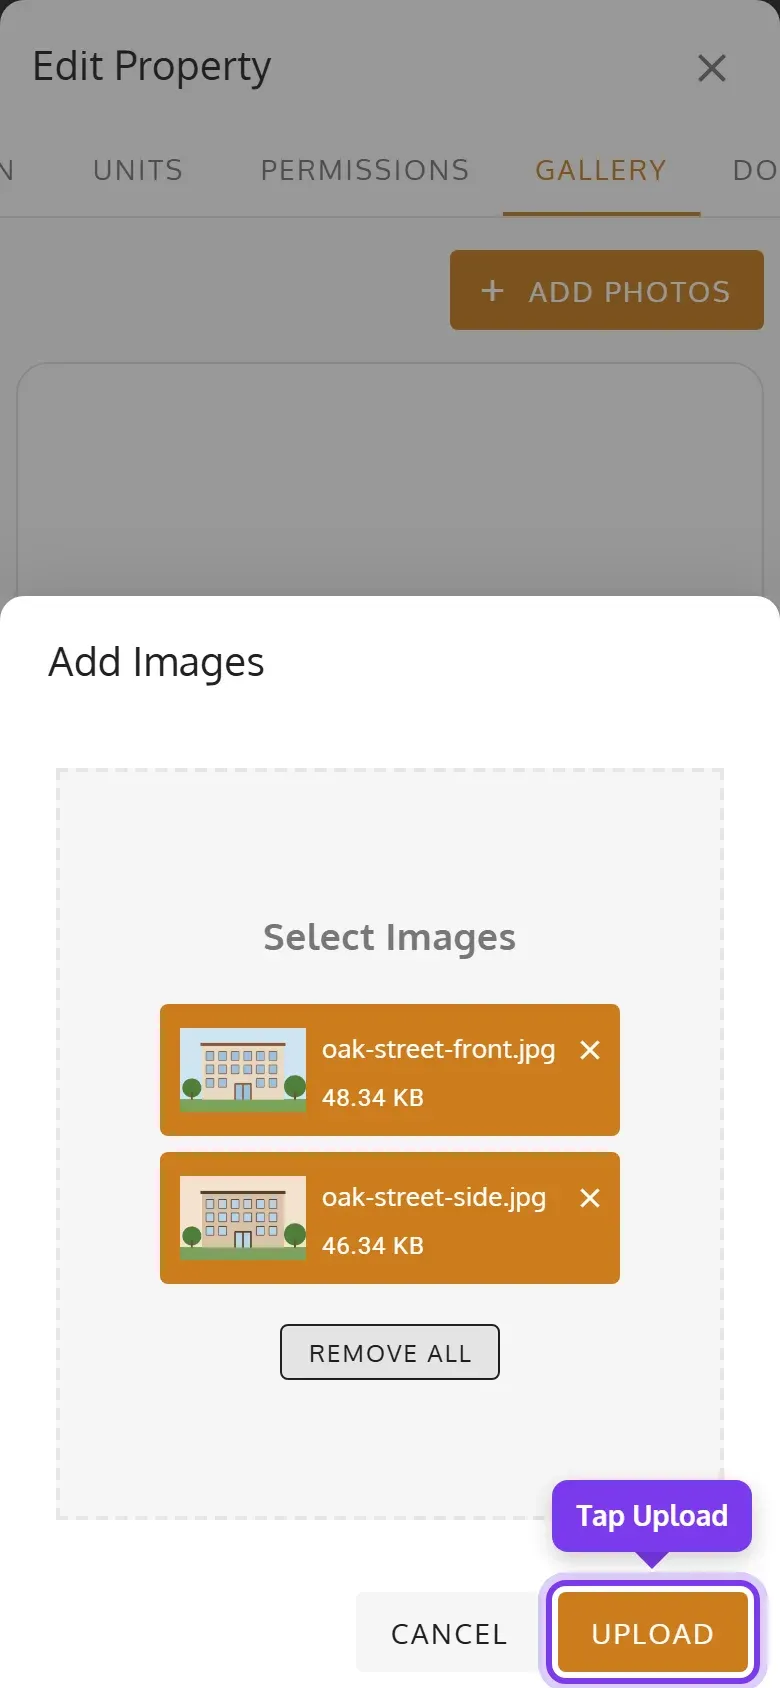
Tap Select Images and choose the photos, then tap Upload.
-
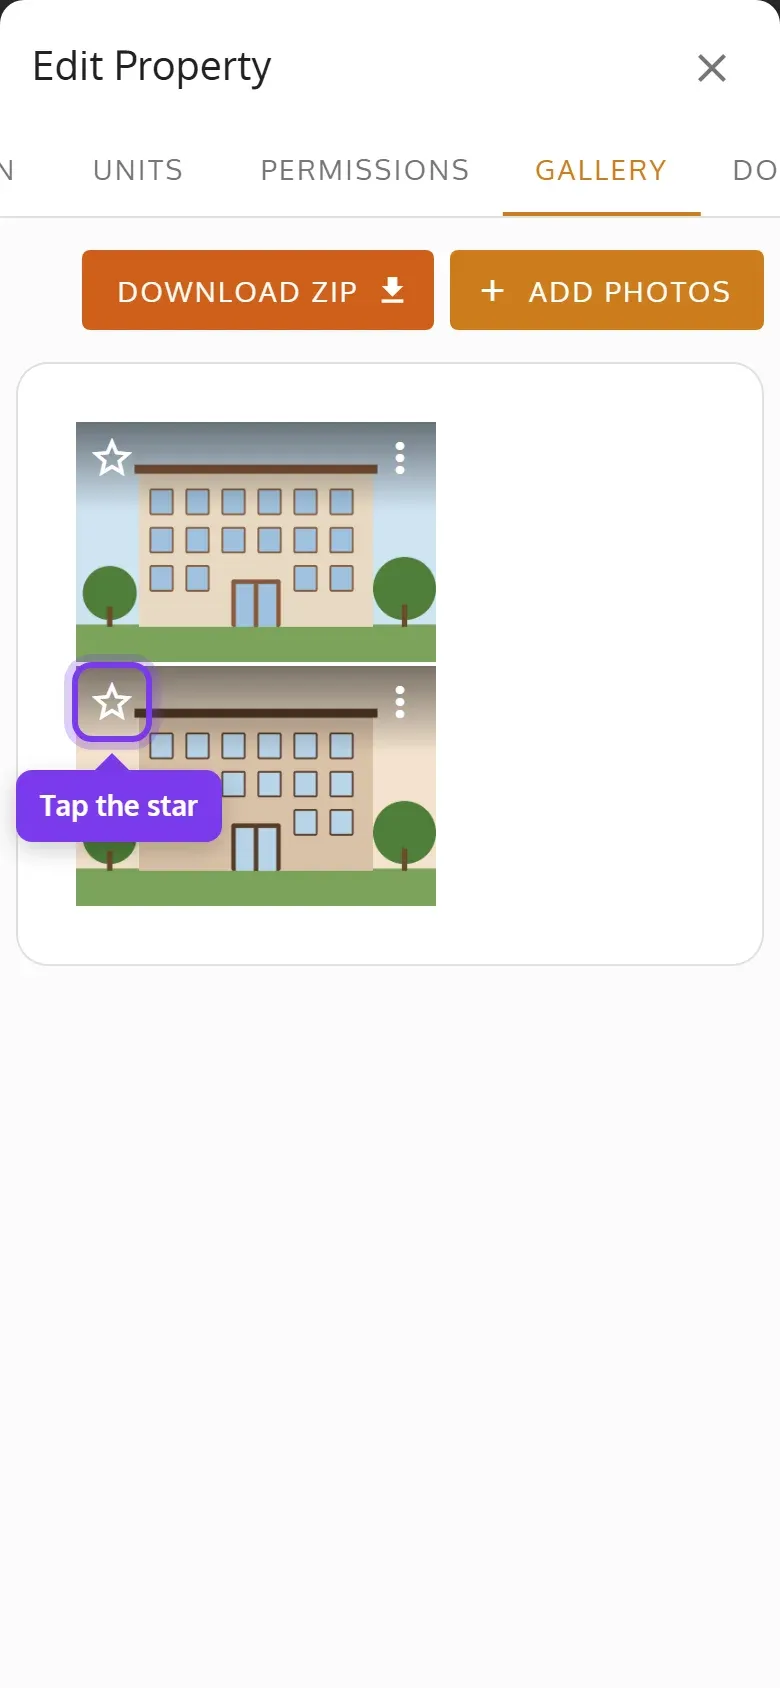
To pick the photo the property’s card shows, tap its star. Without a star, the card shows the first photo.
Add documents
Section titled “Add documents”-
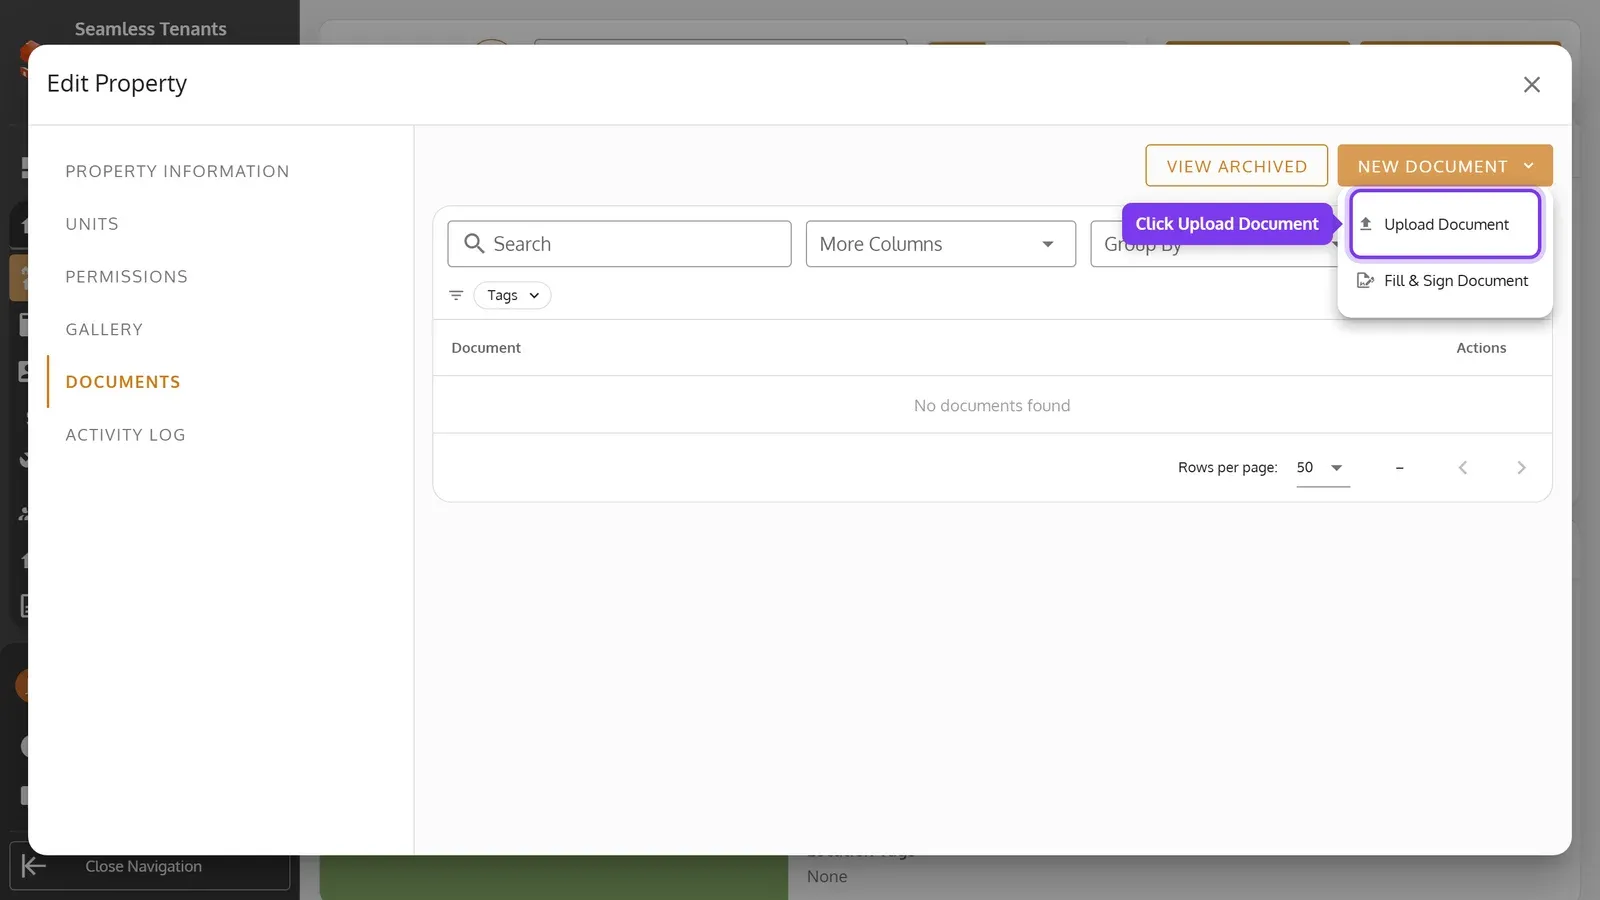
To add a document, such as the insurance certificate, open Documents, click New Document, then Upload Document.
-
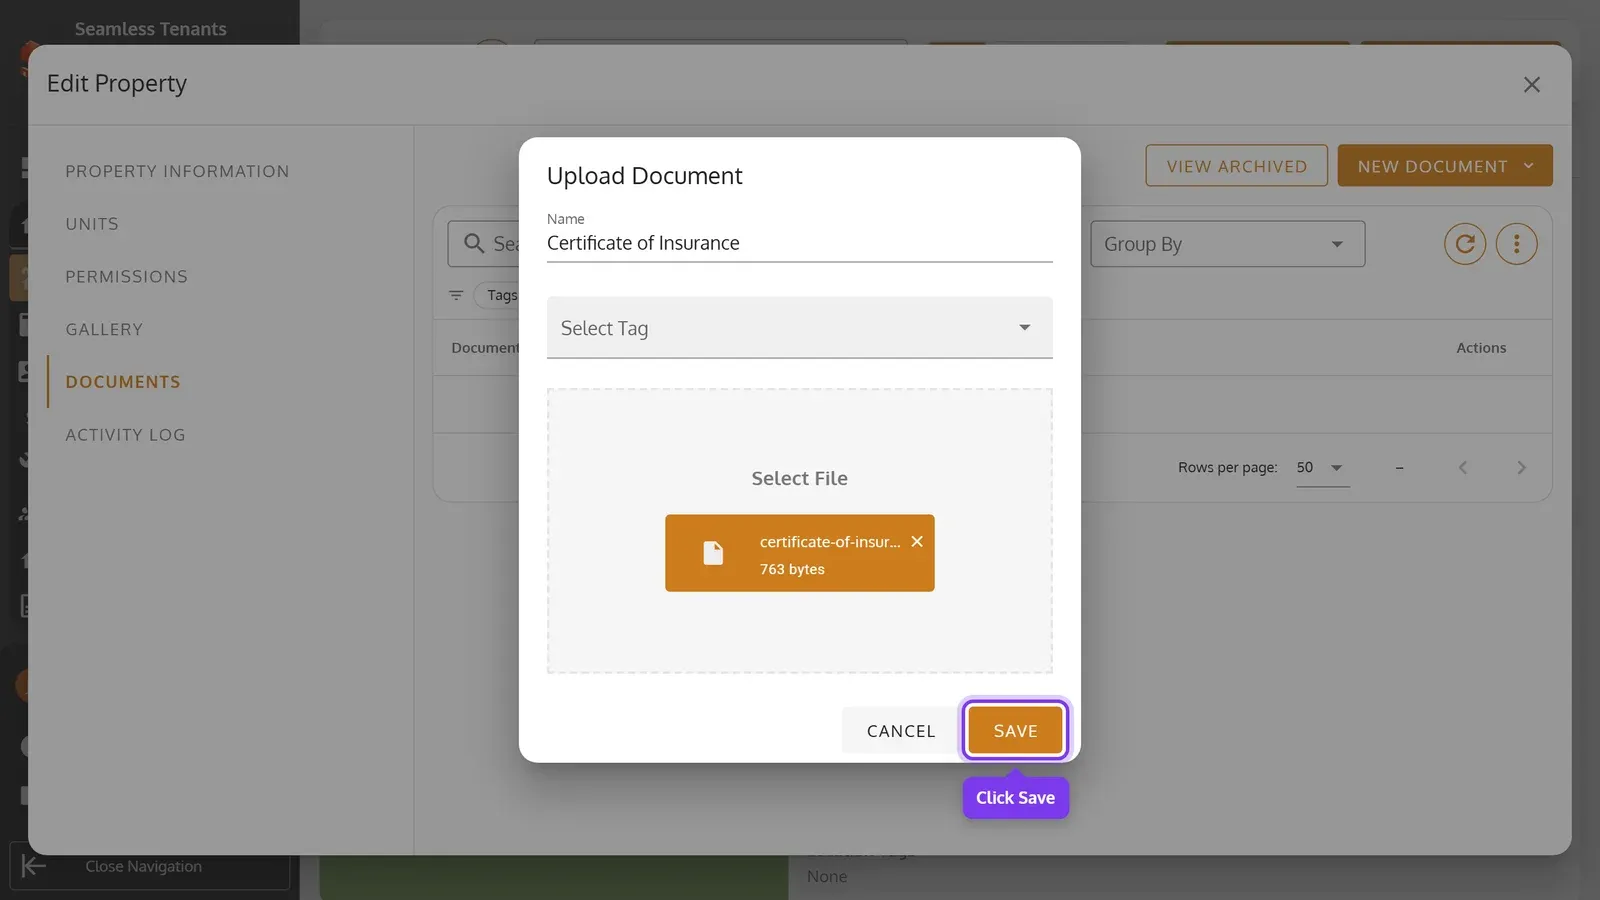
Enter a name, click Select File and choose the file, then click Save.
-
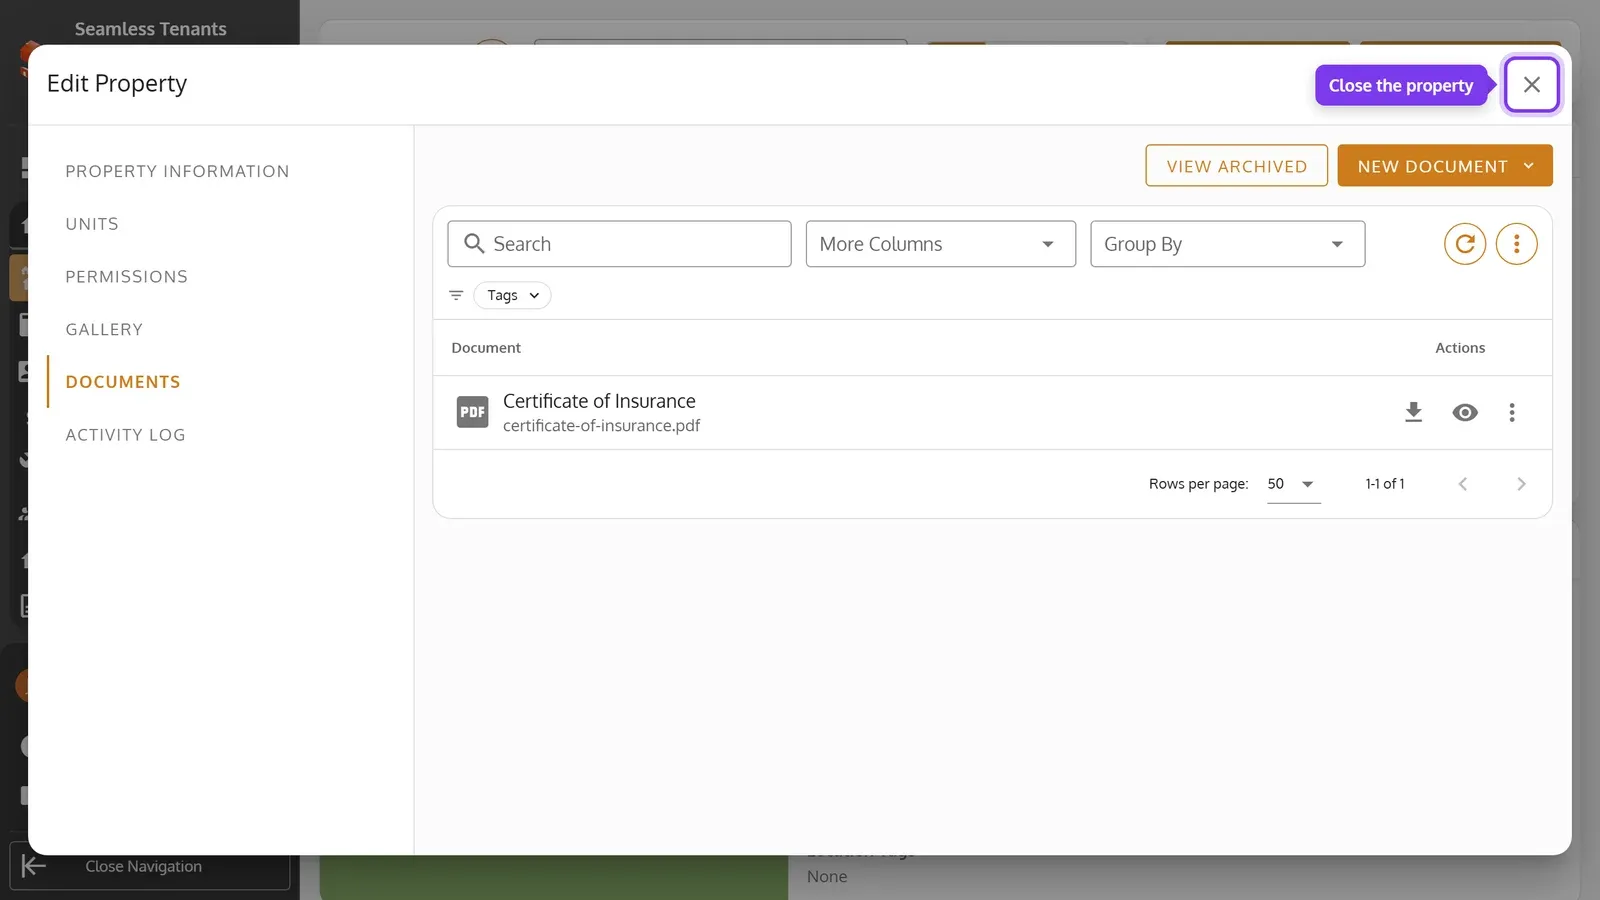
The document is listed under Documents. Close the property.
-
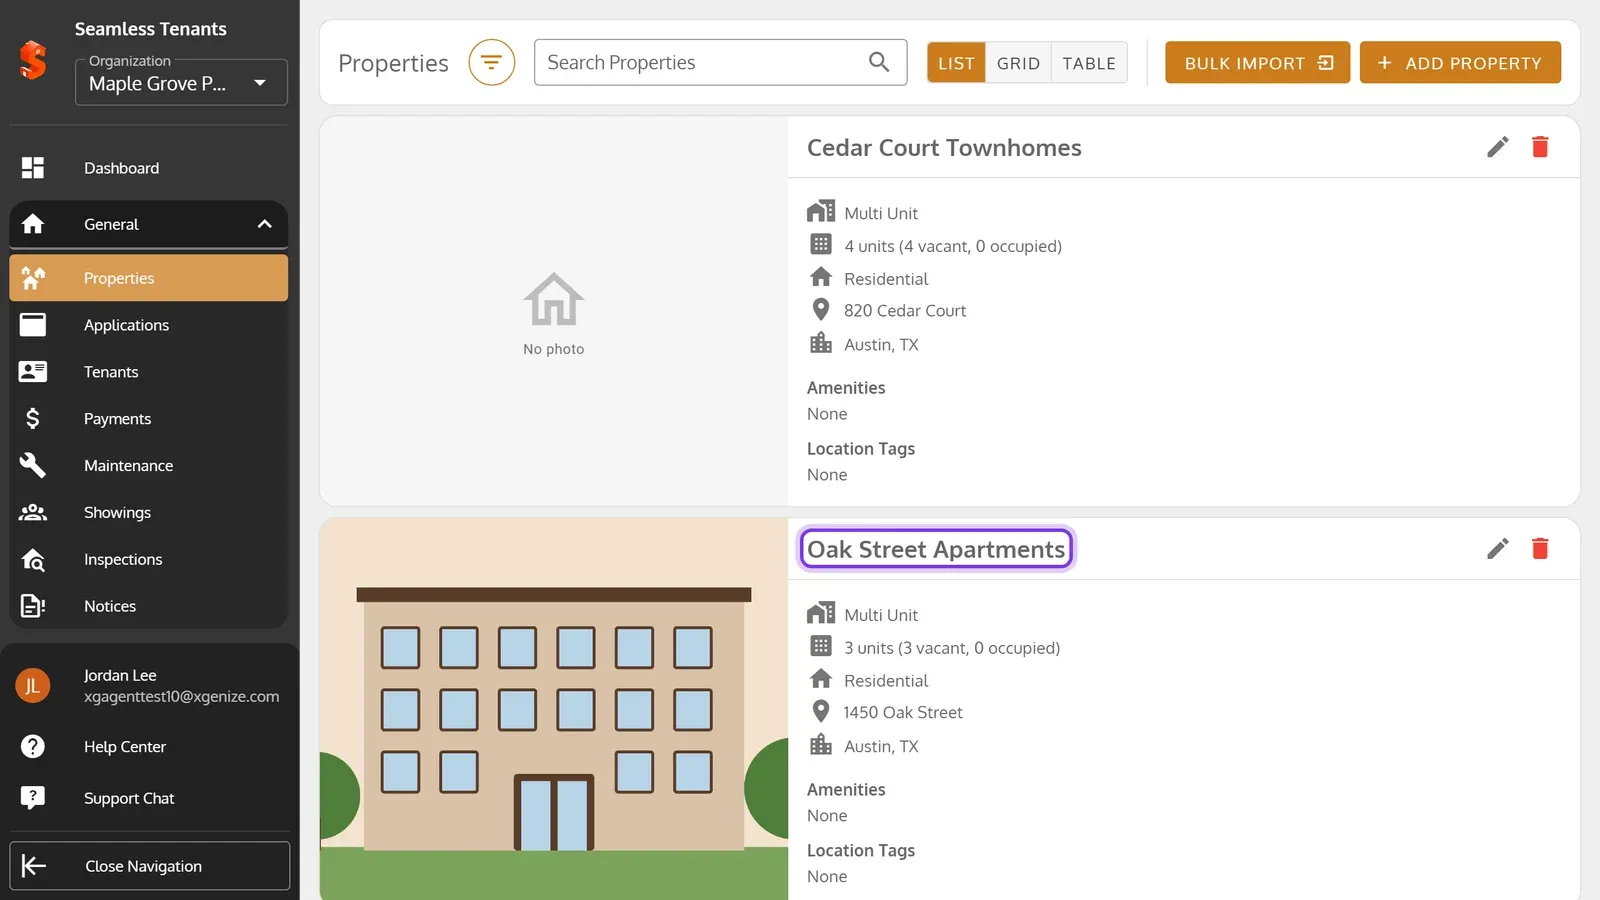
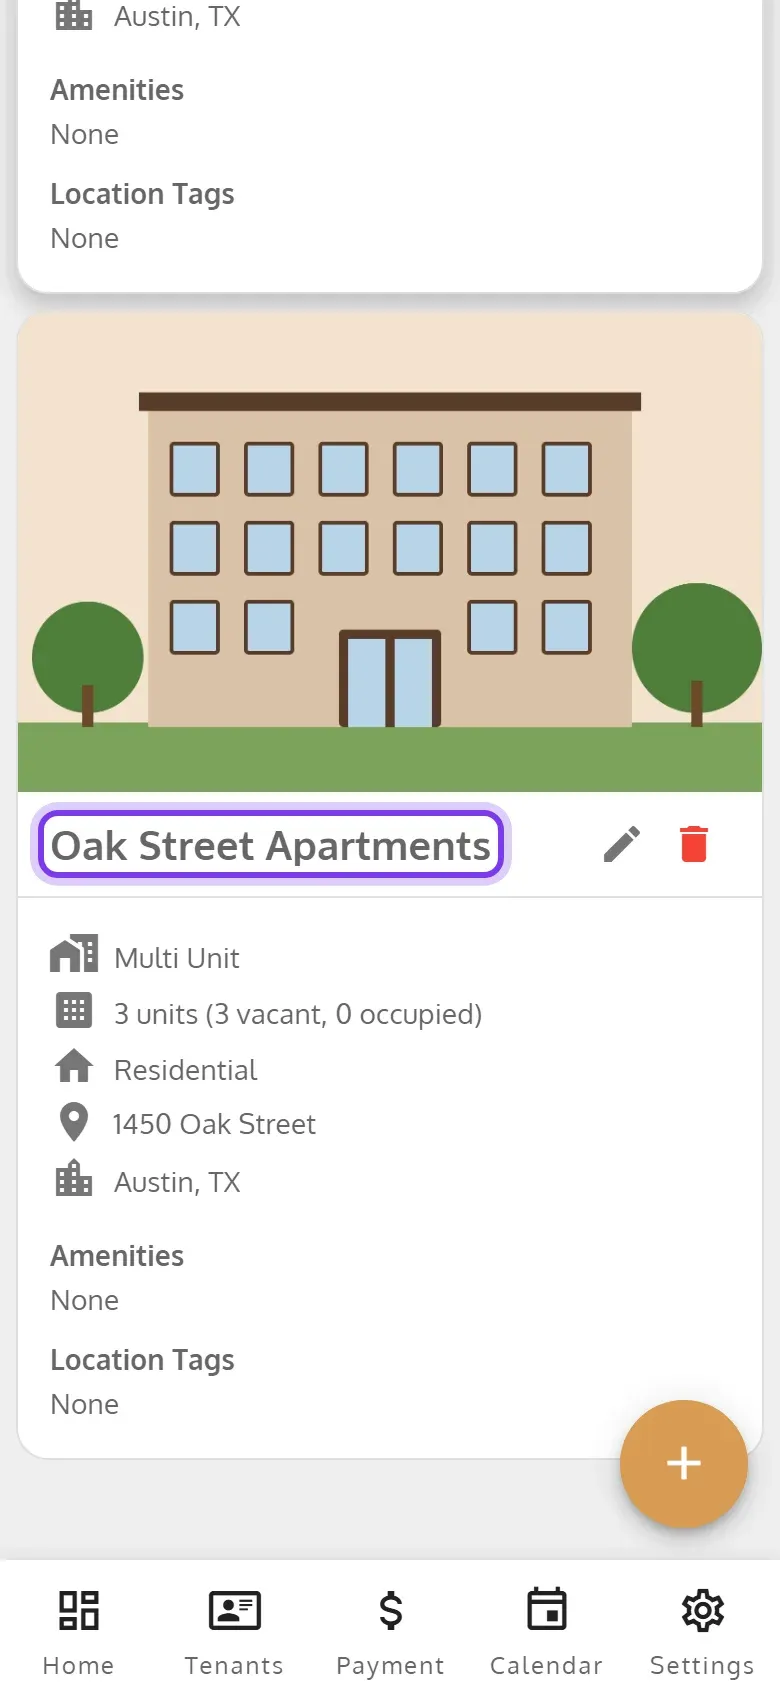
The property is on the Properties page.
-
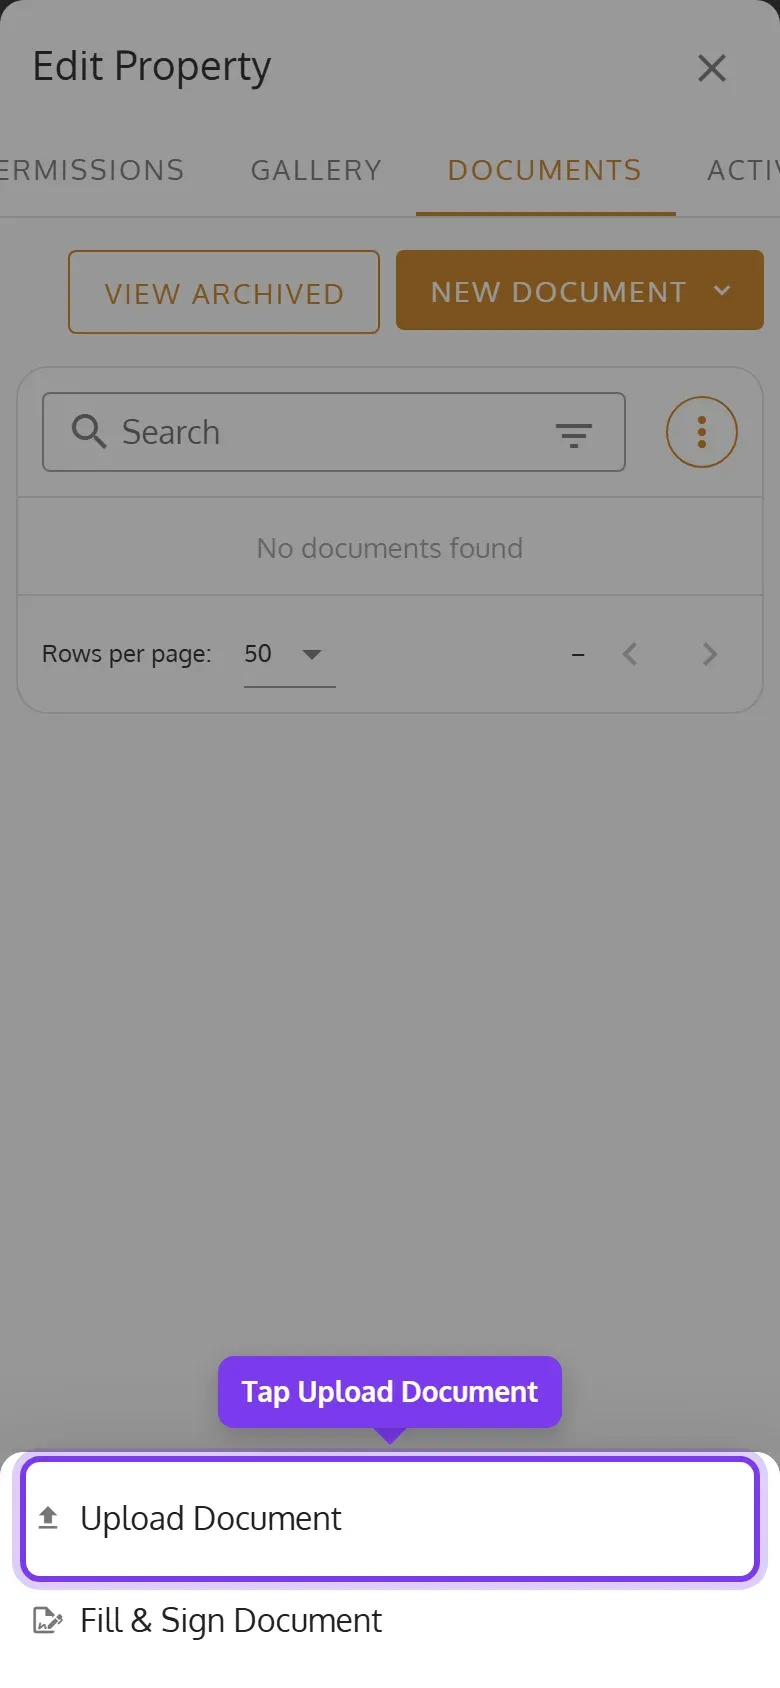
To add a document, such as the insurance certificate, swipe the tabs and tap Documents, New Document, then Upload Document.
-
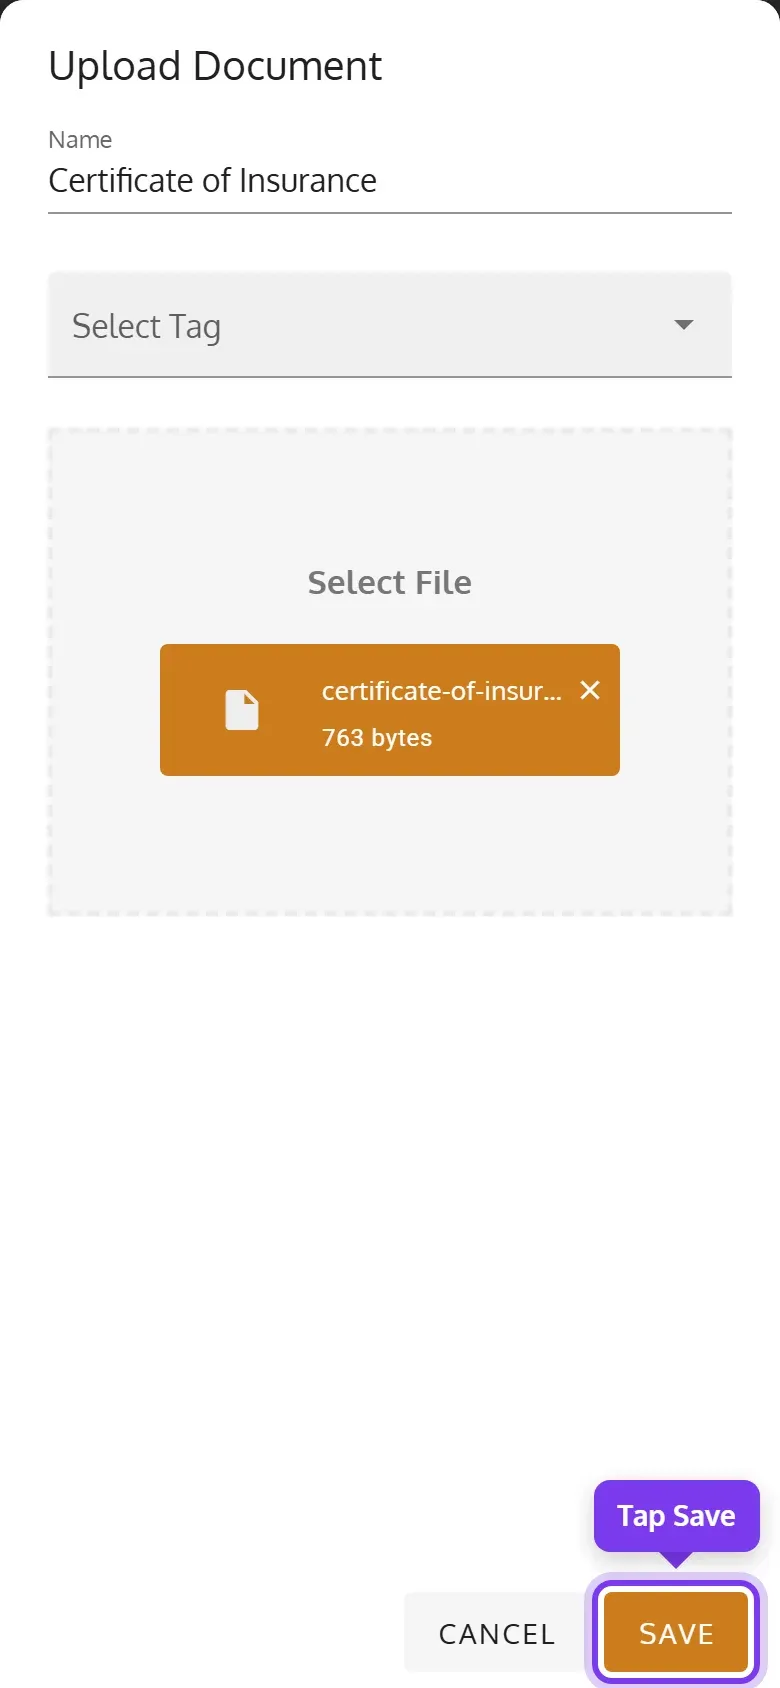
Enter a name, tap Select File and choose the file, then tap Save.
-
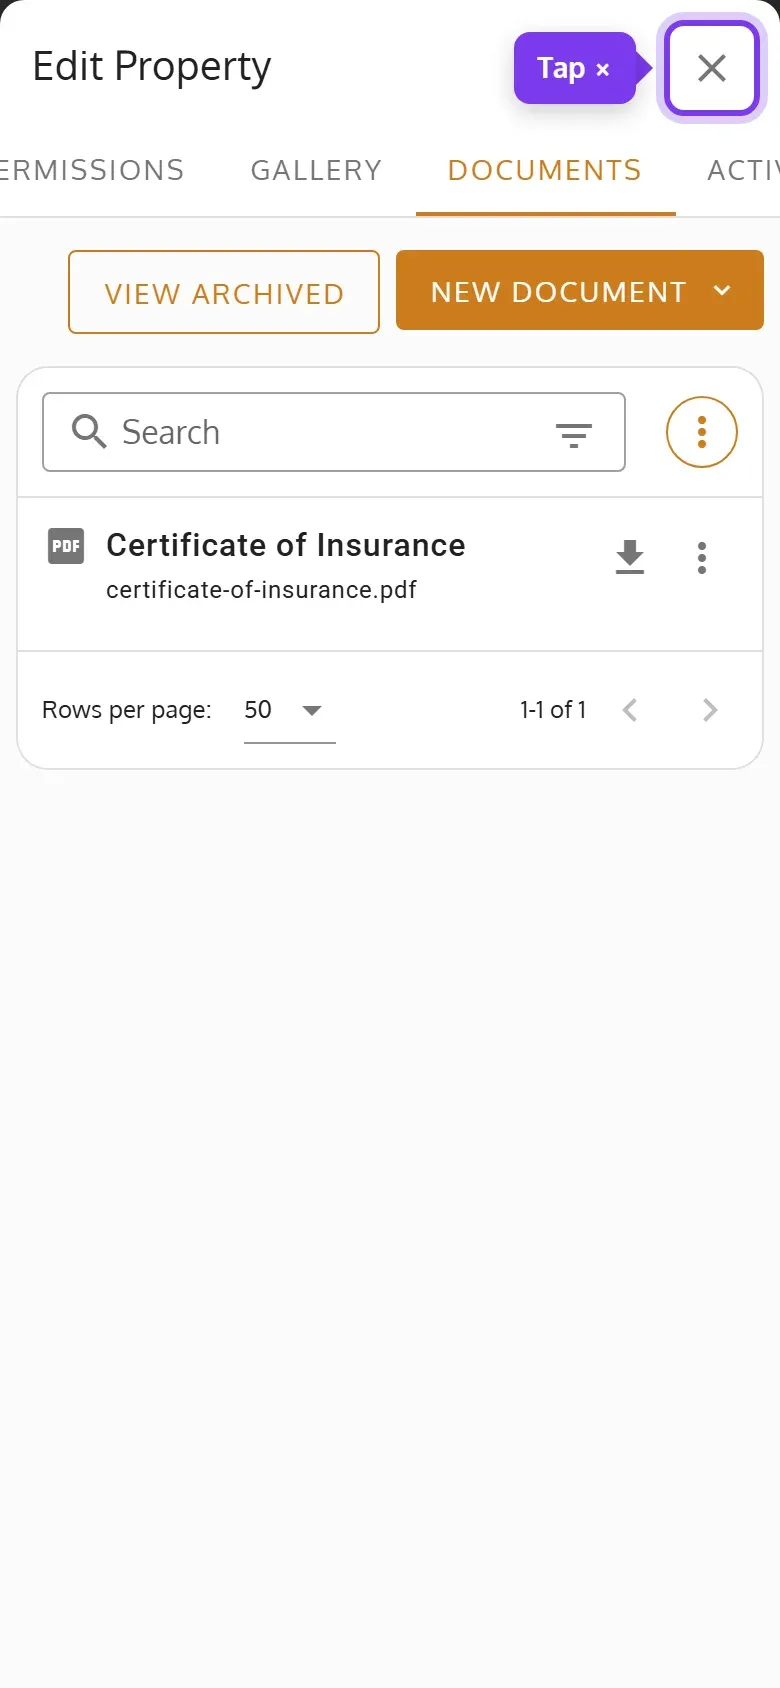
The document is listed under Documents. Tap × to close the property.
-
The property is on the Properties page.
If your plan includes it, the property’s Permissions tab sets which members can see and manage it. See Assign, Update Members(Hosts), User Roles and Permissions.